
This post may contain affiliate links.
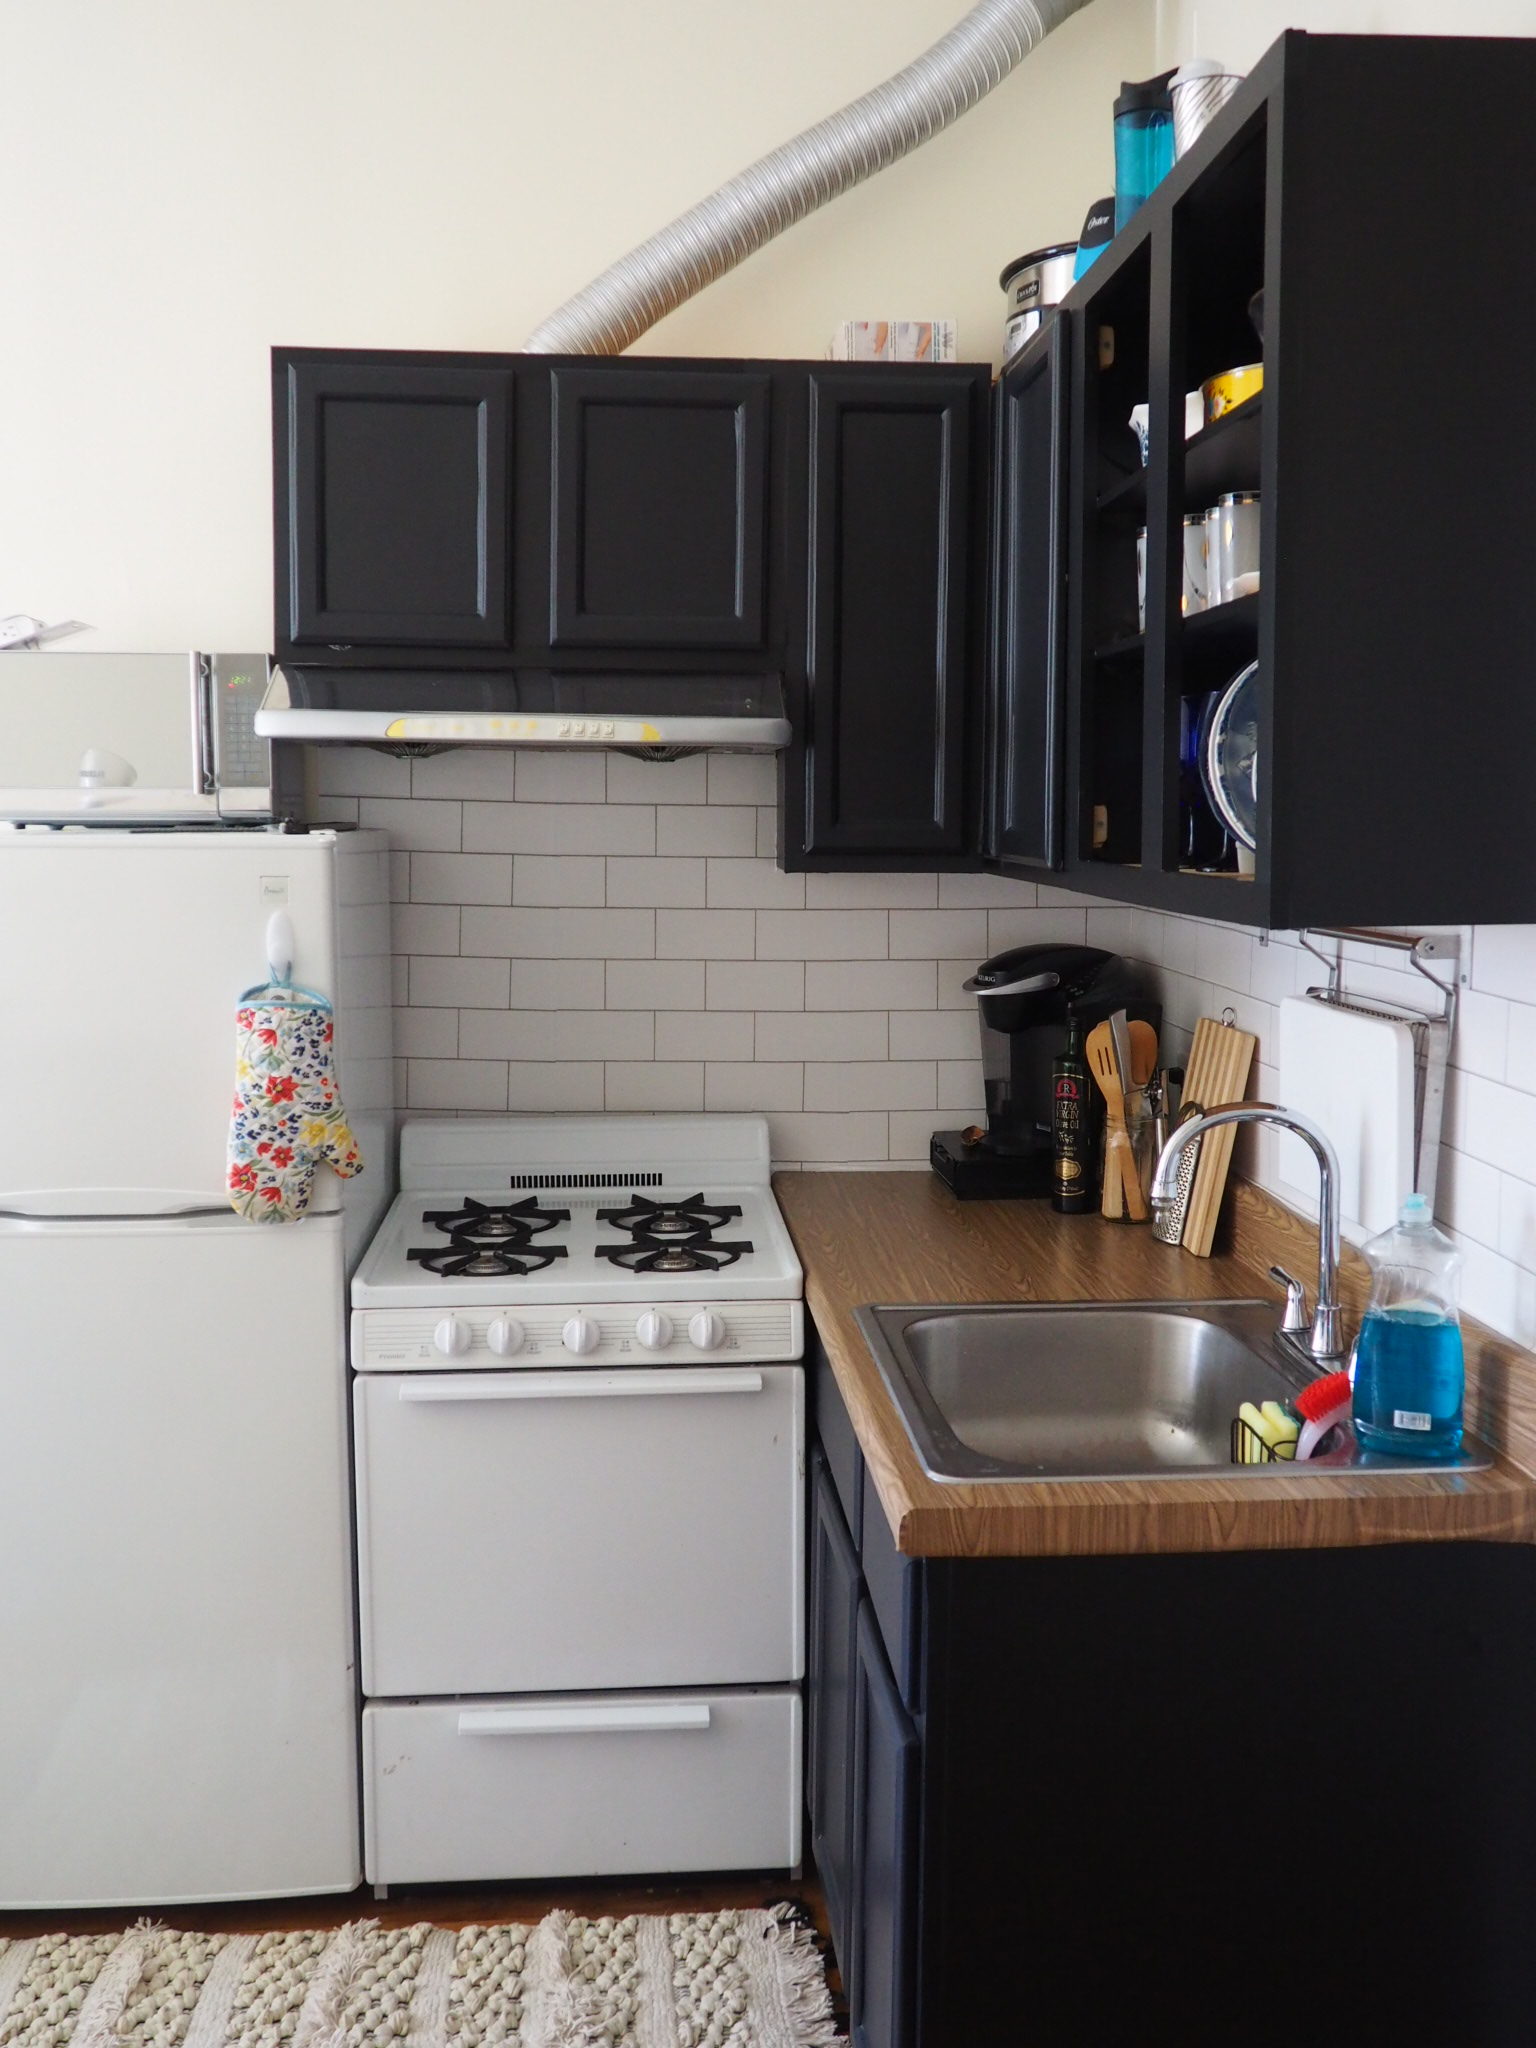
My Progress after part 1 of my contact paper kitchen update
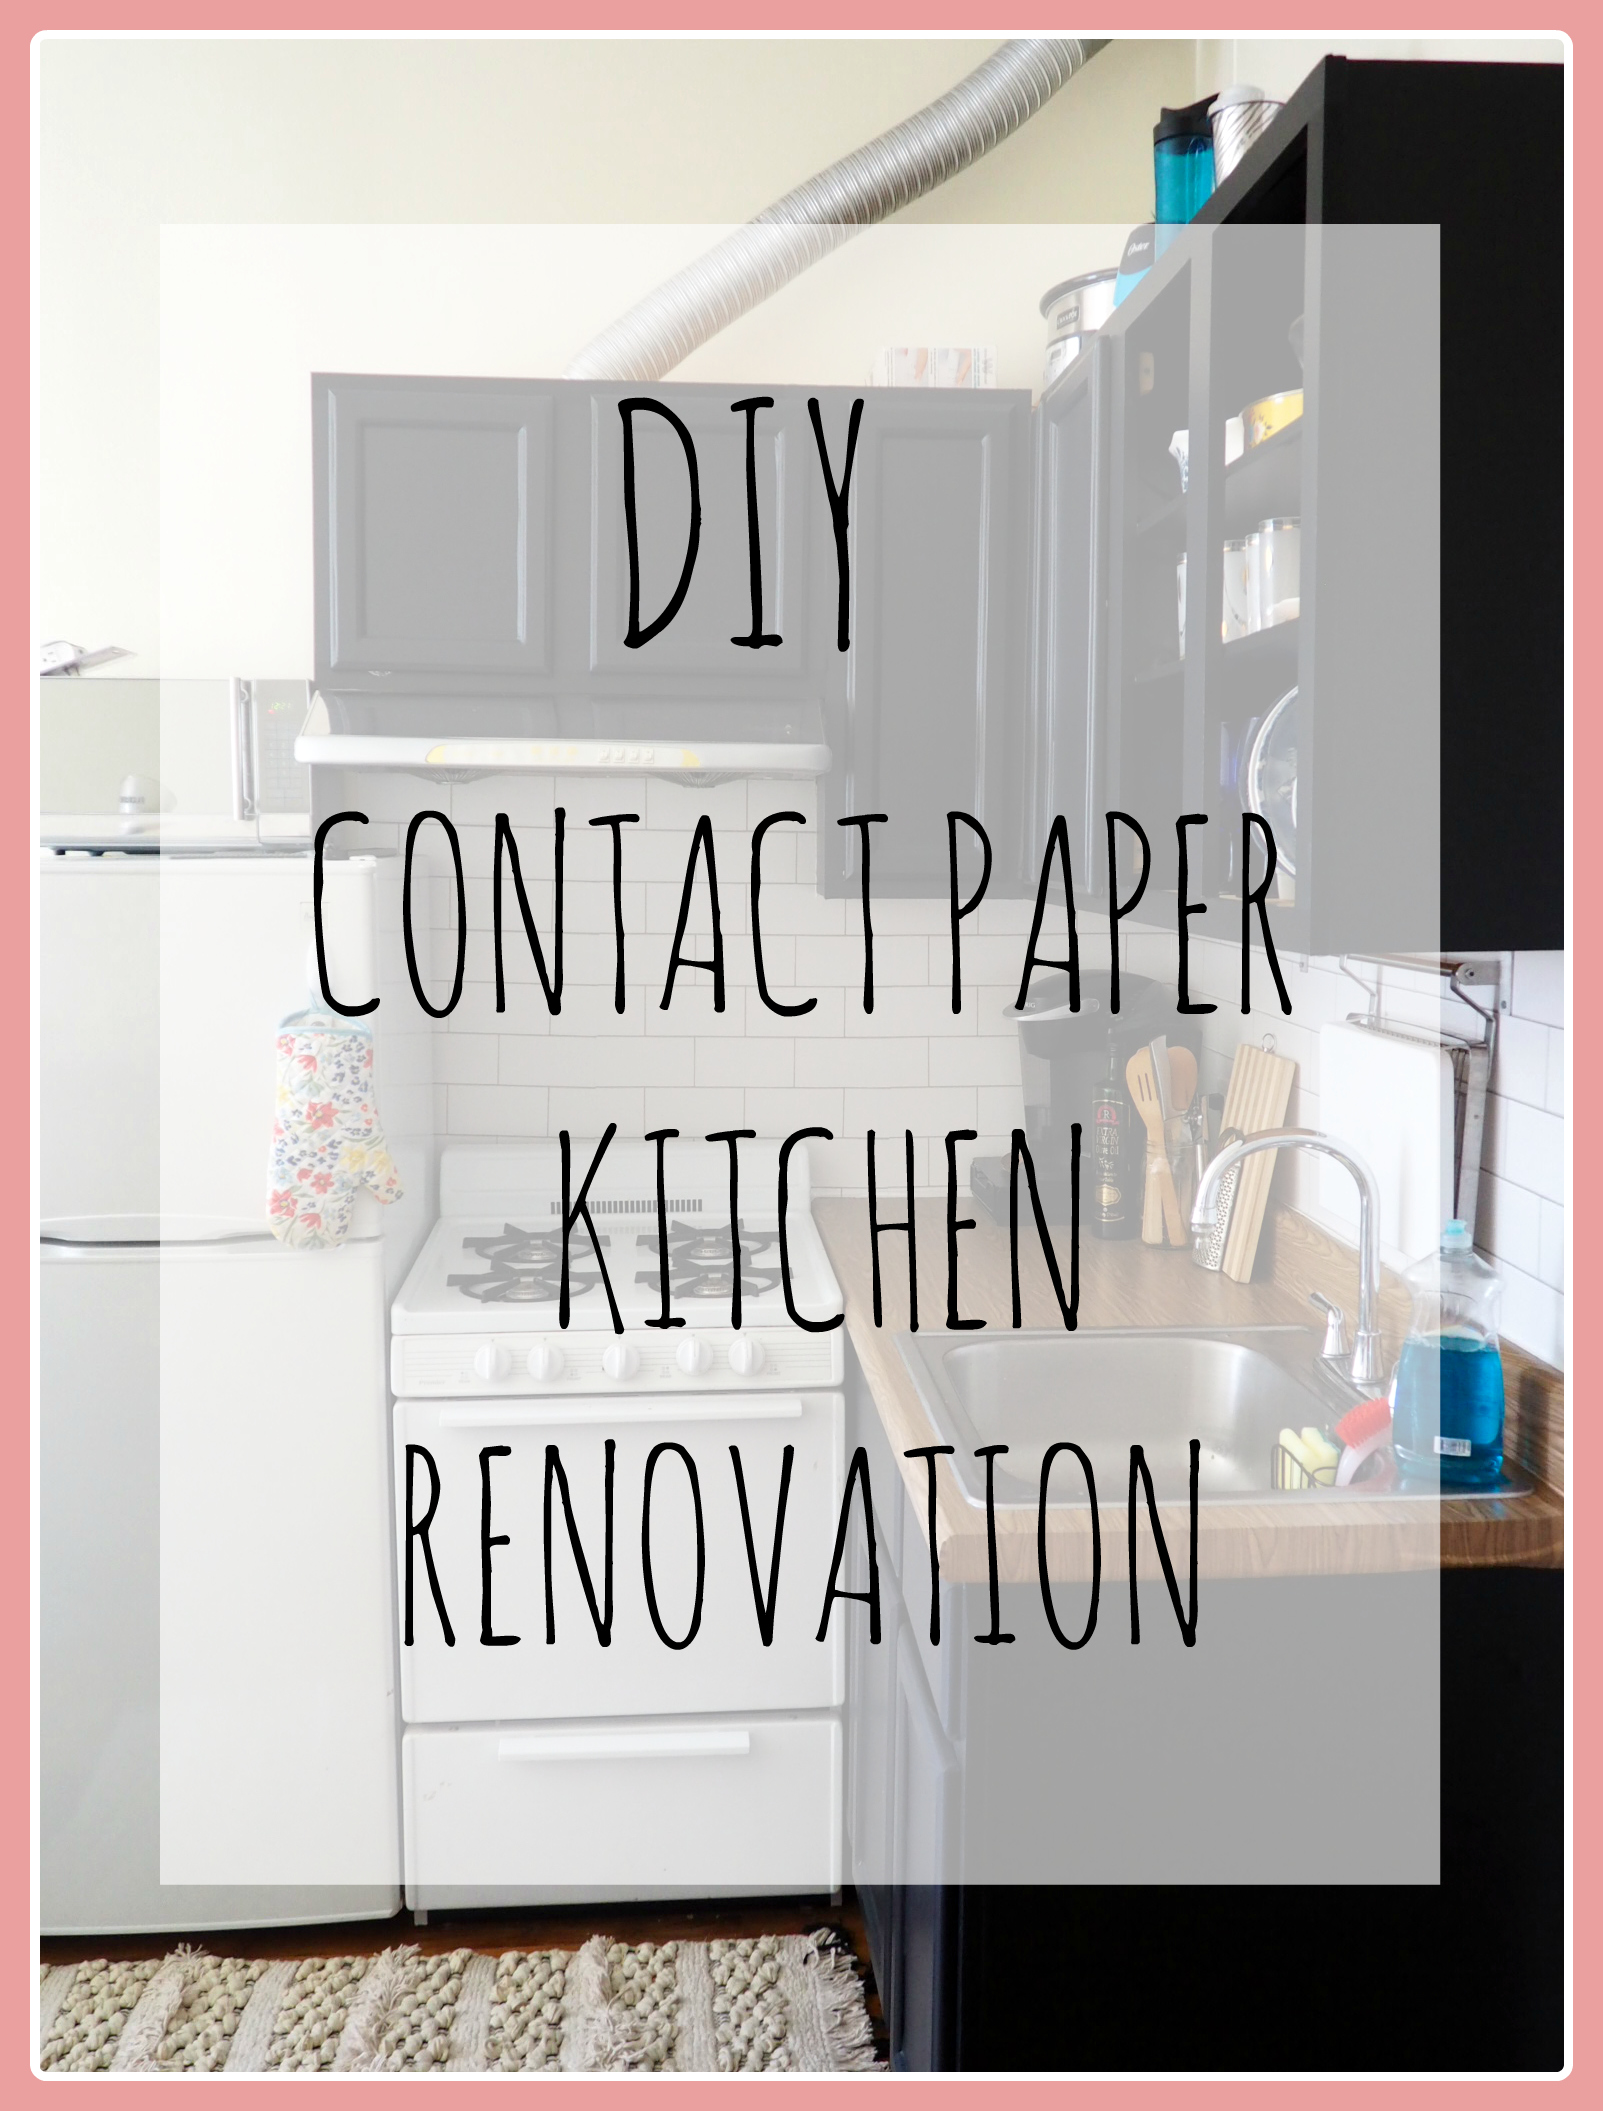
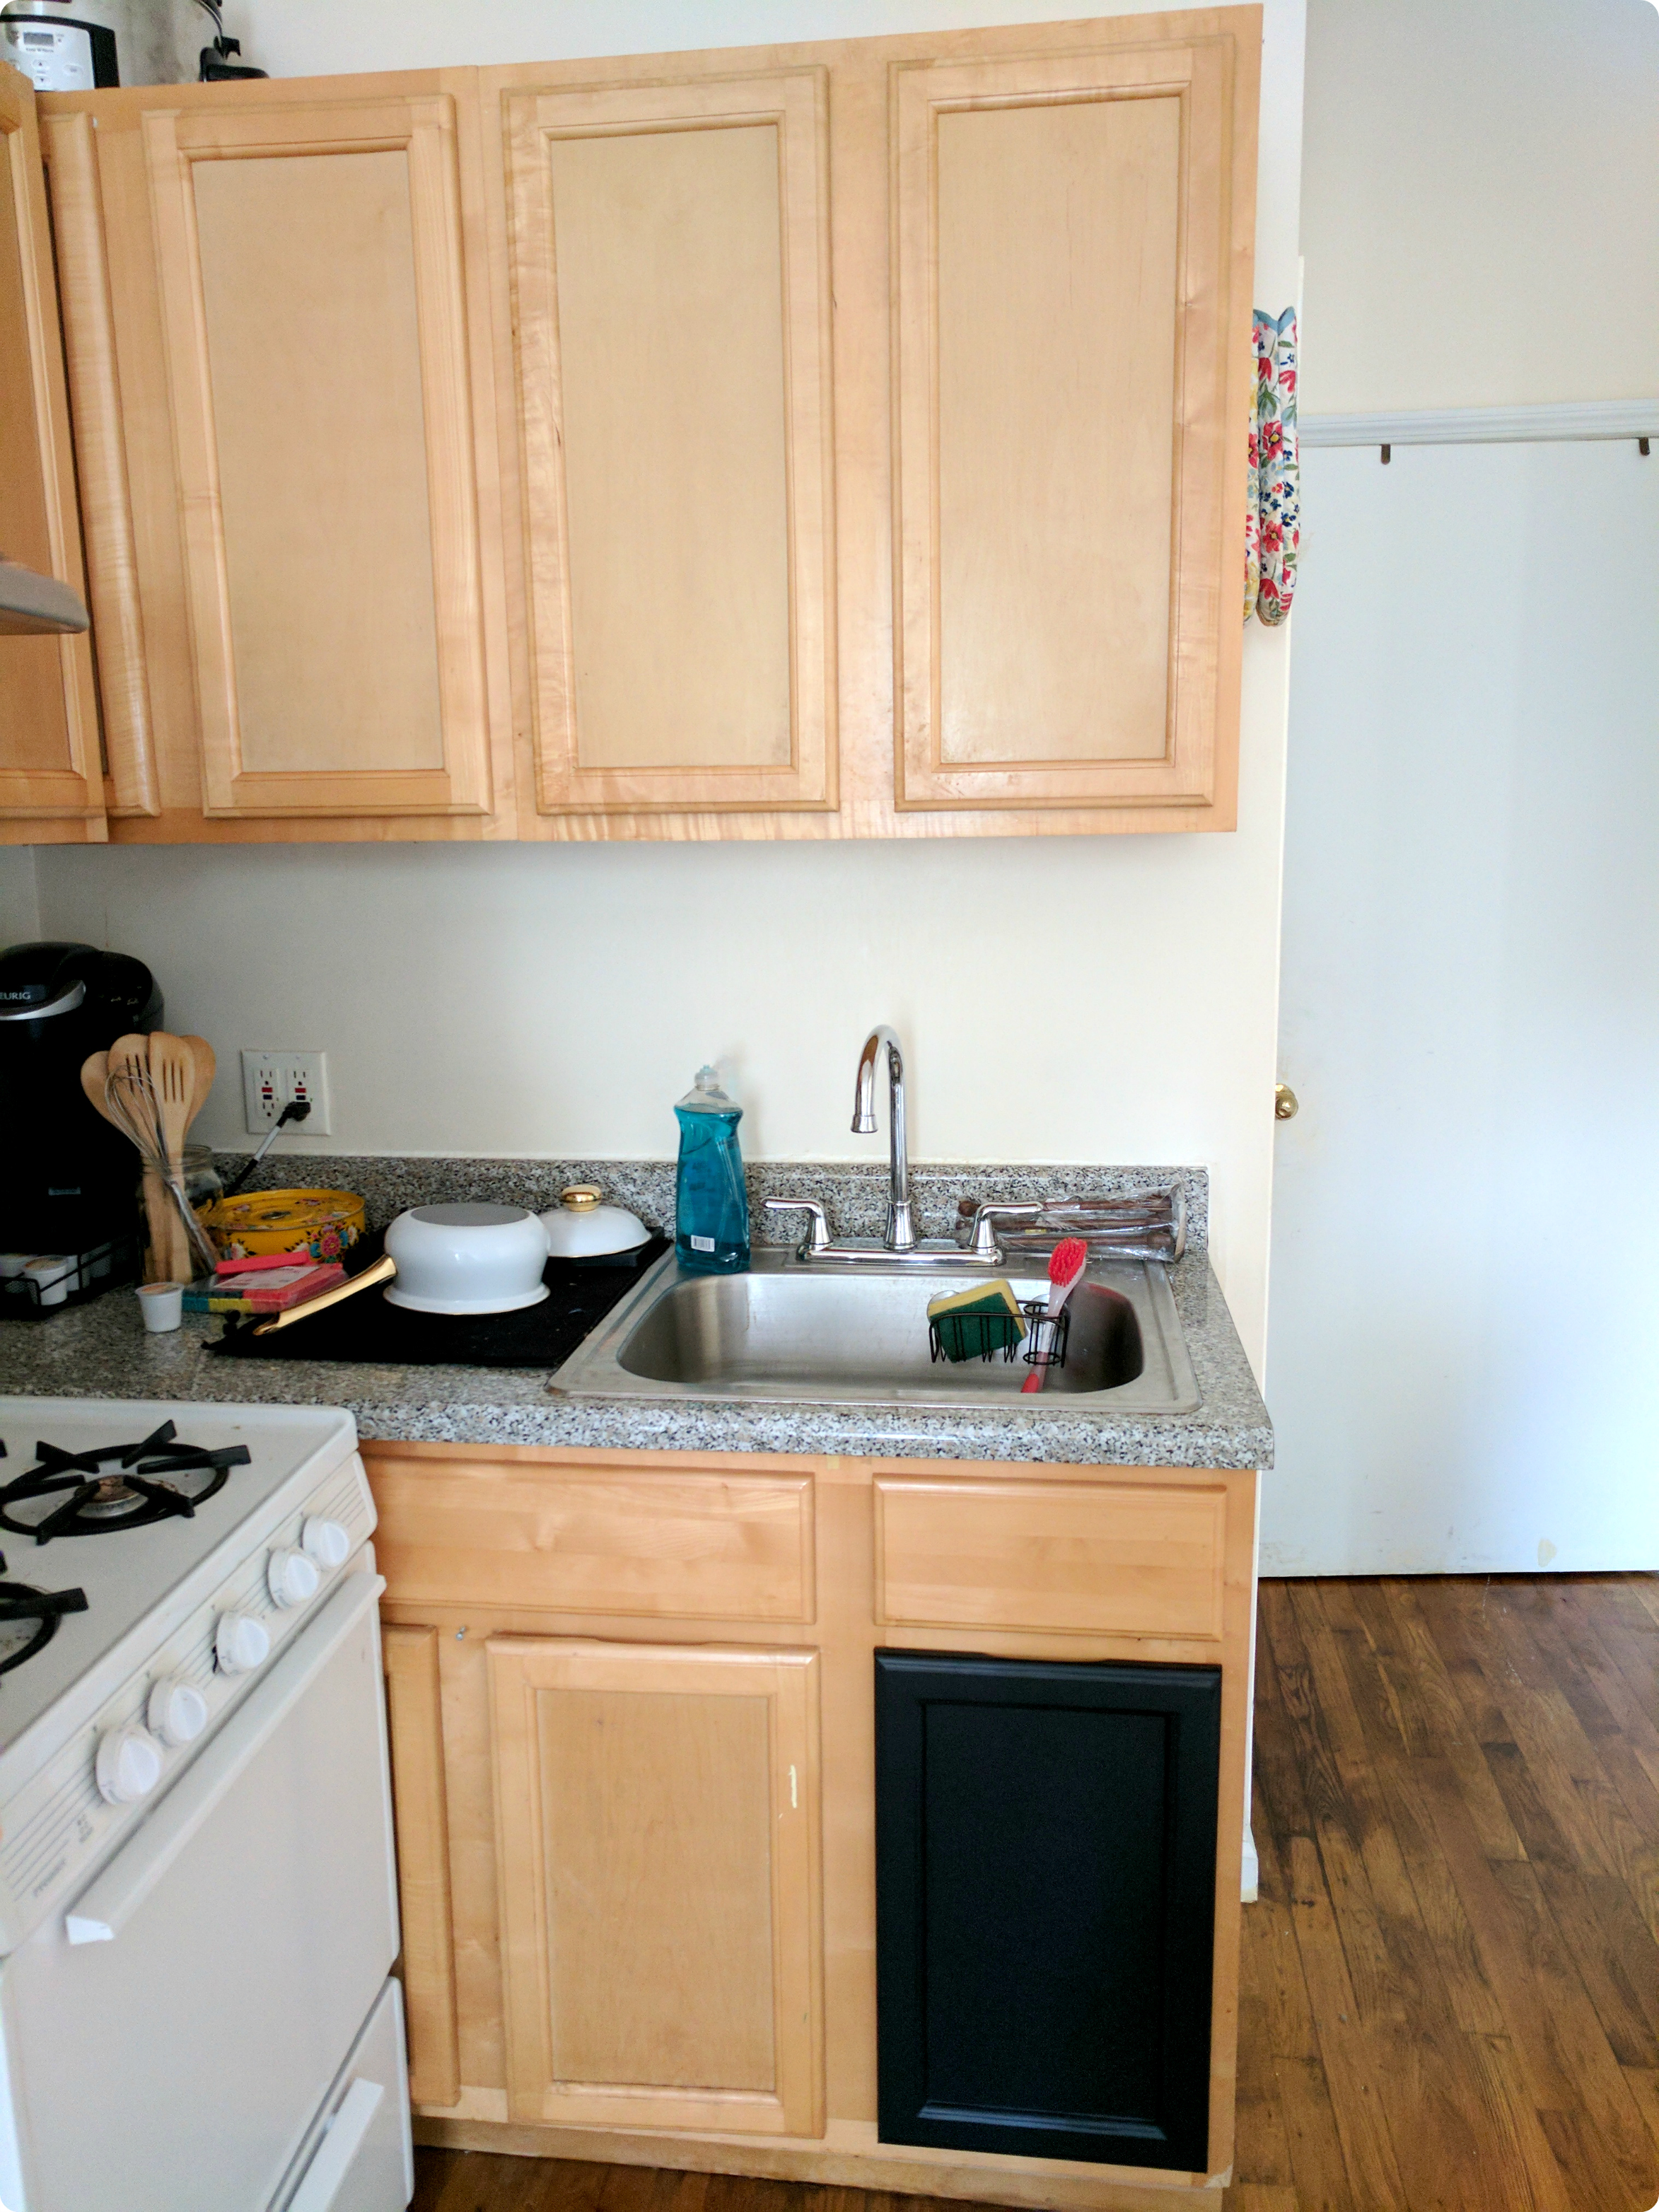
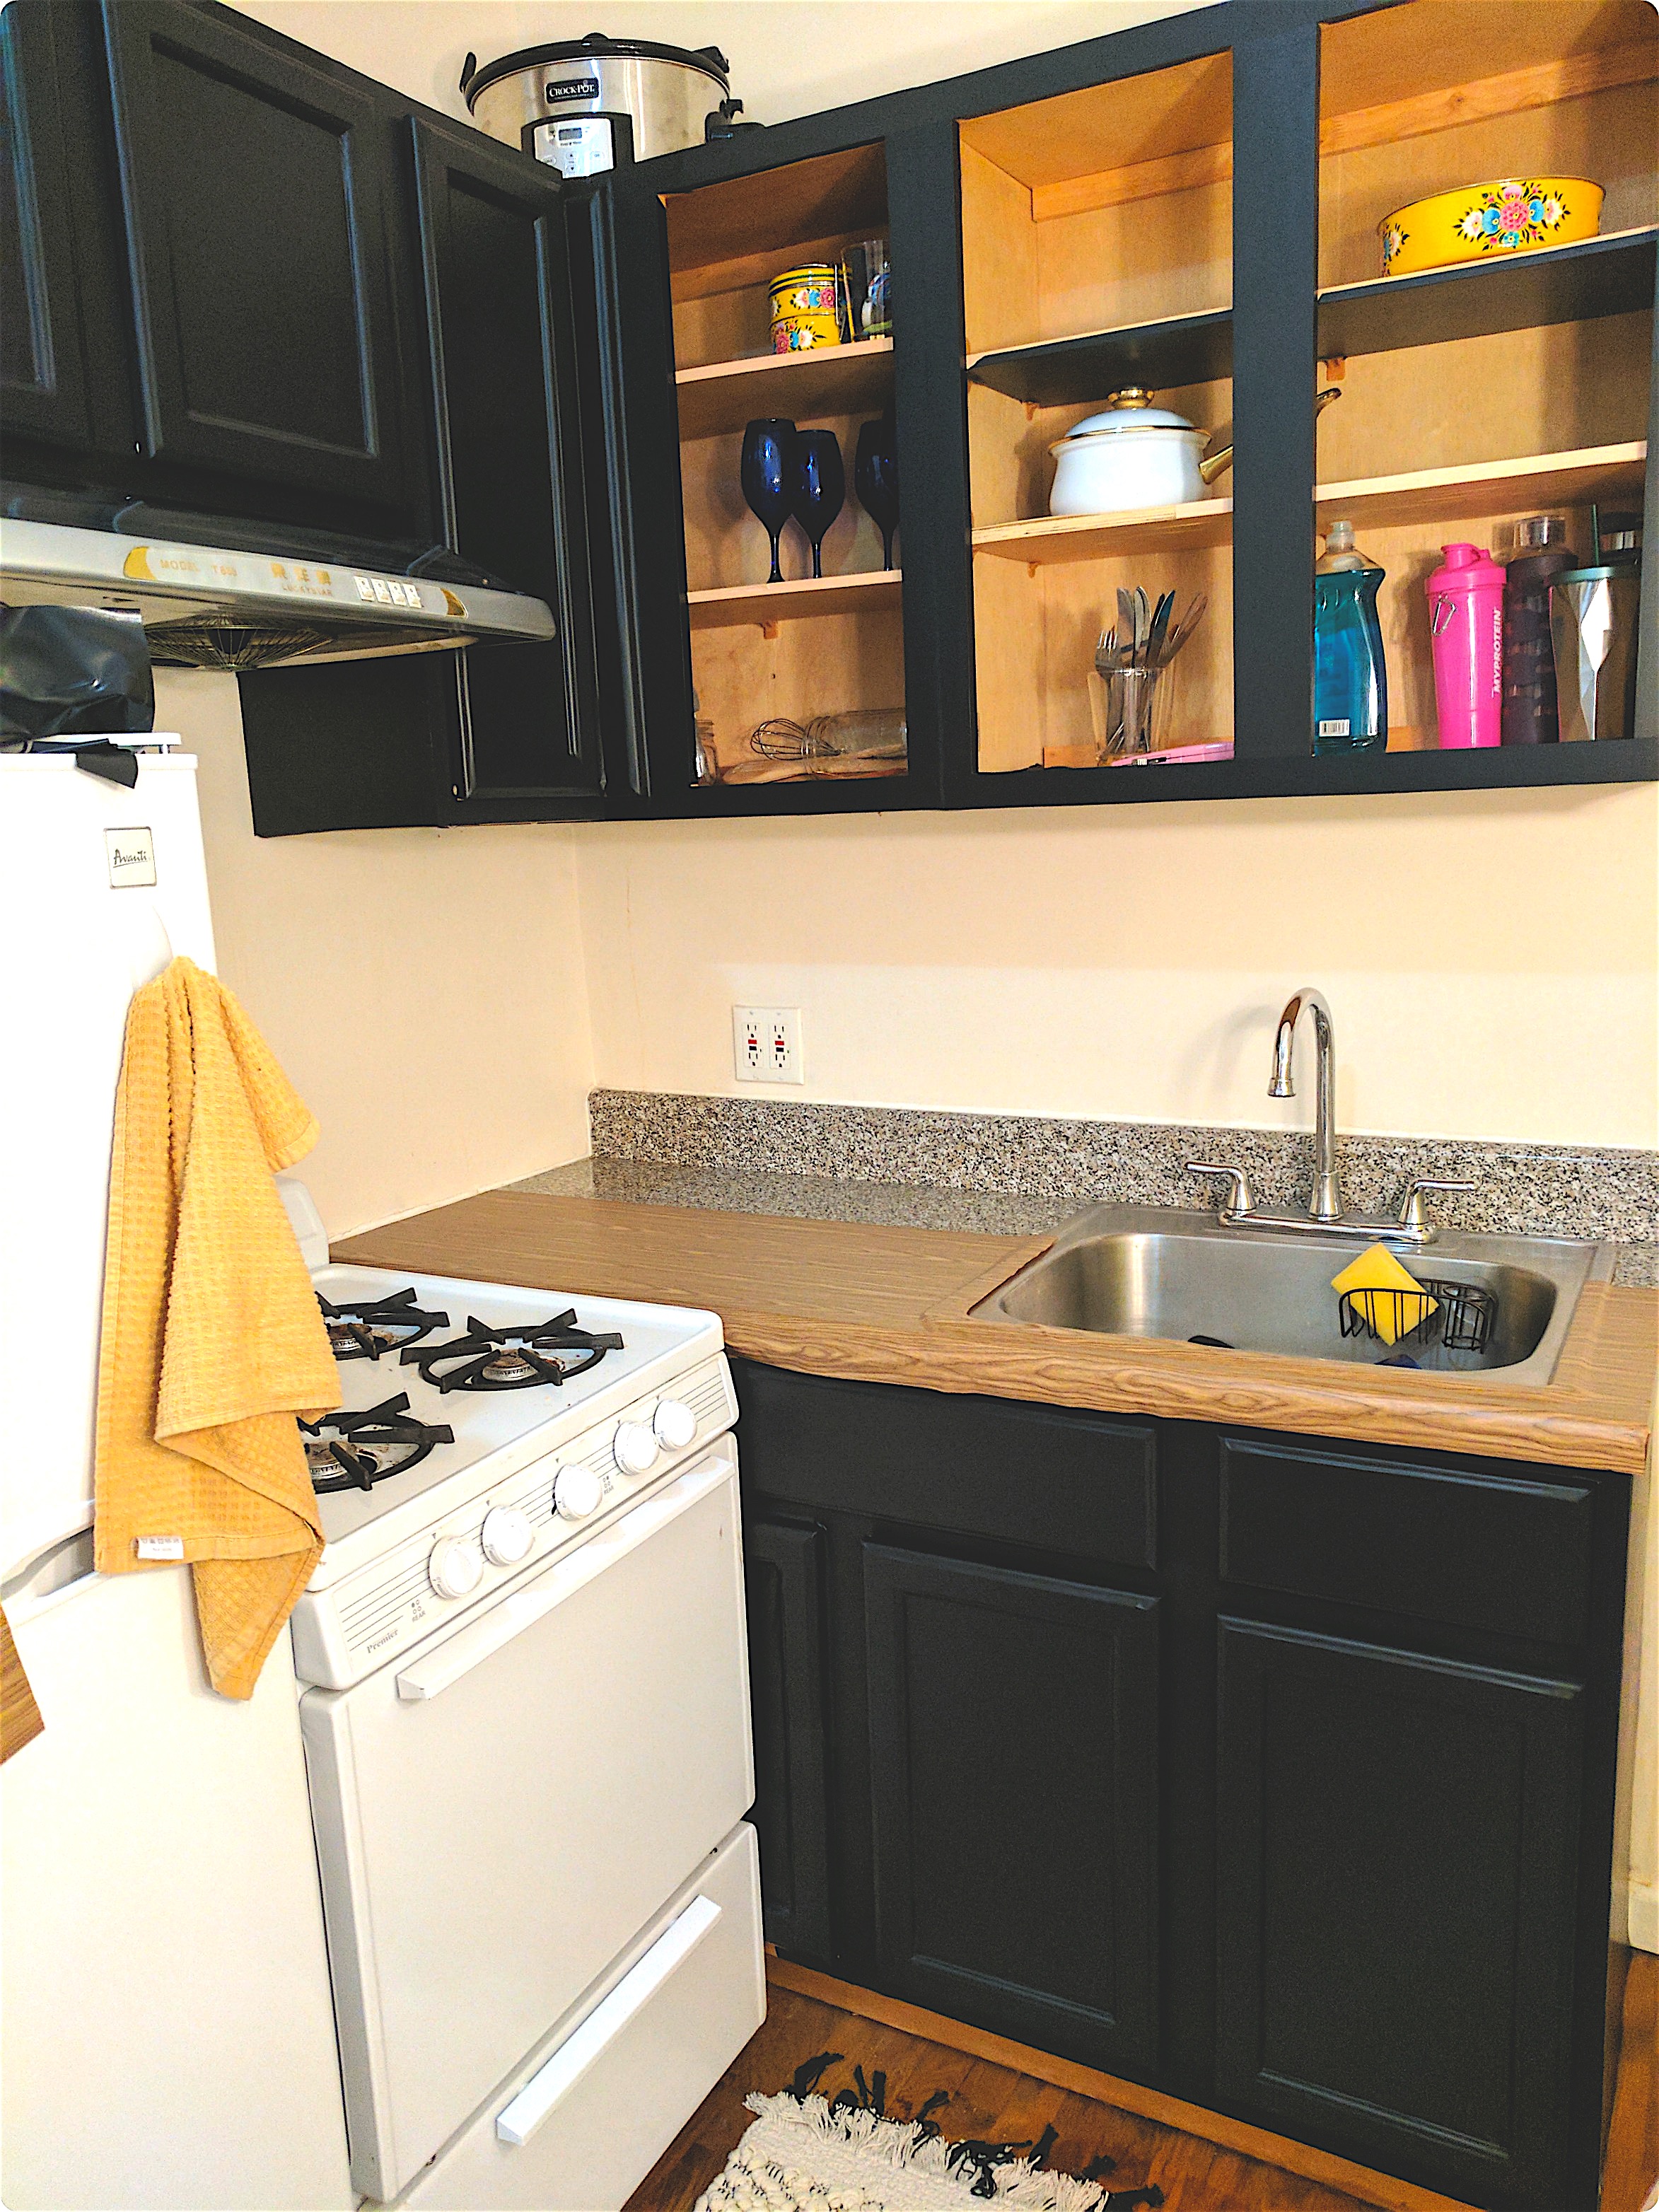
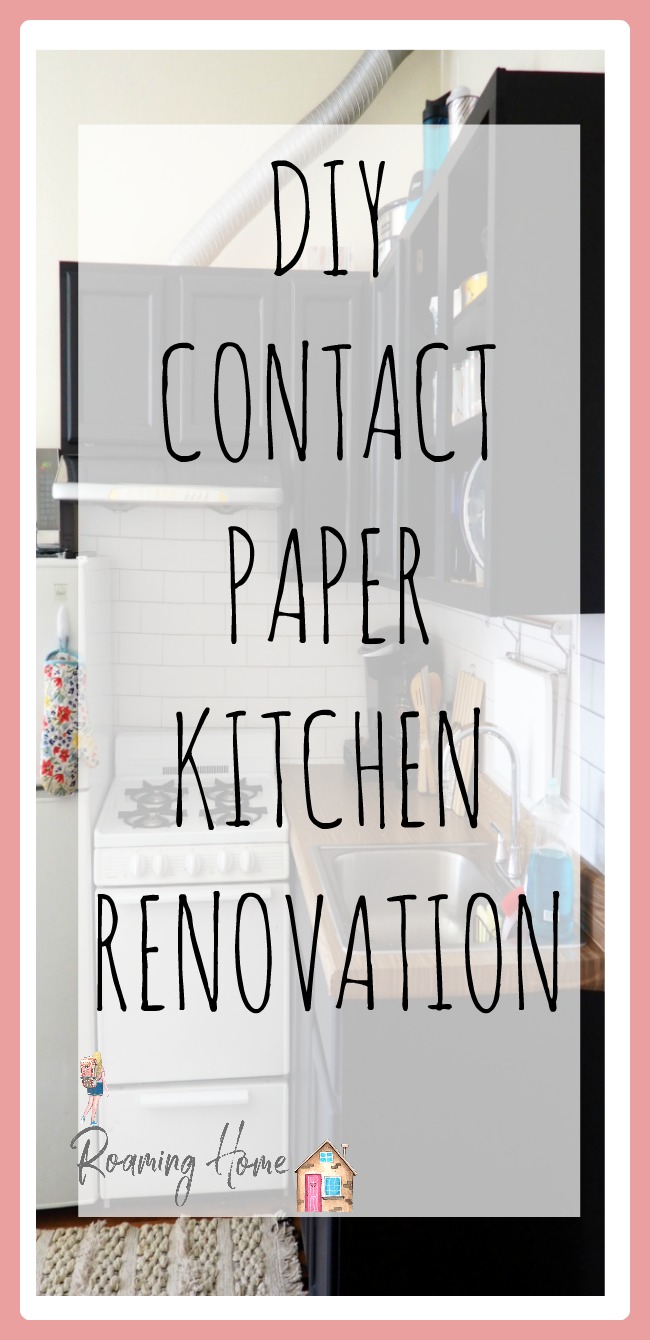
Before starting Part 1 of my Contact Paper Kitchen Update, I knew that I wanted to update my depressingly cookie-cutter rental kitchen to look modern and dramatic, but still be able to get back 100% of my security deposit when I move out! I landed on Contact Paper as my temporary solution, and everything that you’ll see in this series was updated using 100% removable materials. Just take a look at the difference just the black cabinets I updated in Part 1 make to the space!
YOU’LL NEED:
- WOOD GRAIN CONTACT PAPER
- SCISSORS
- UTILITY KNIFE
- HAIR DRYER
- CREDIT OR GIFT CARD
Adding a Countertop
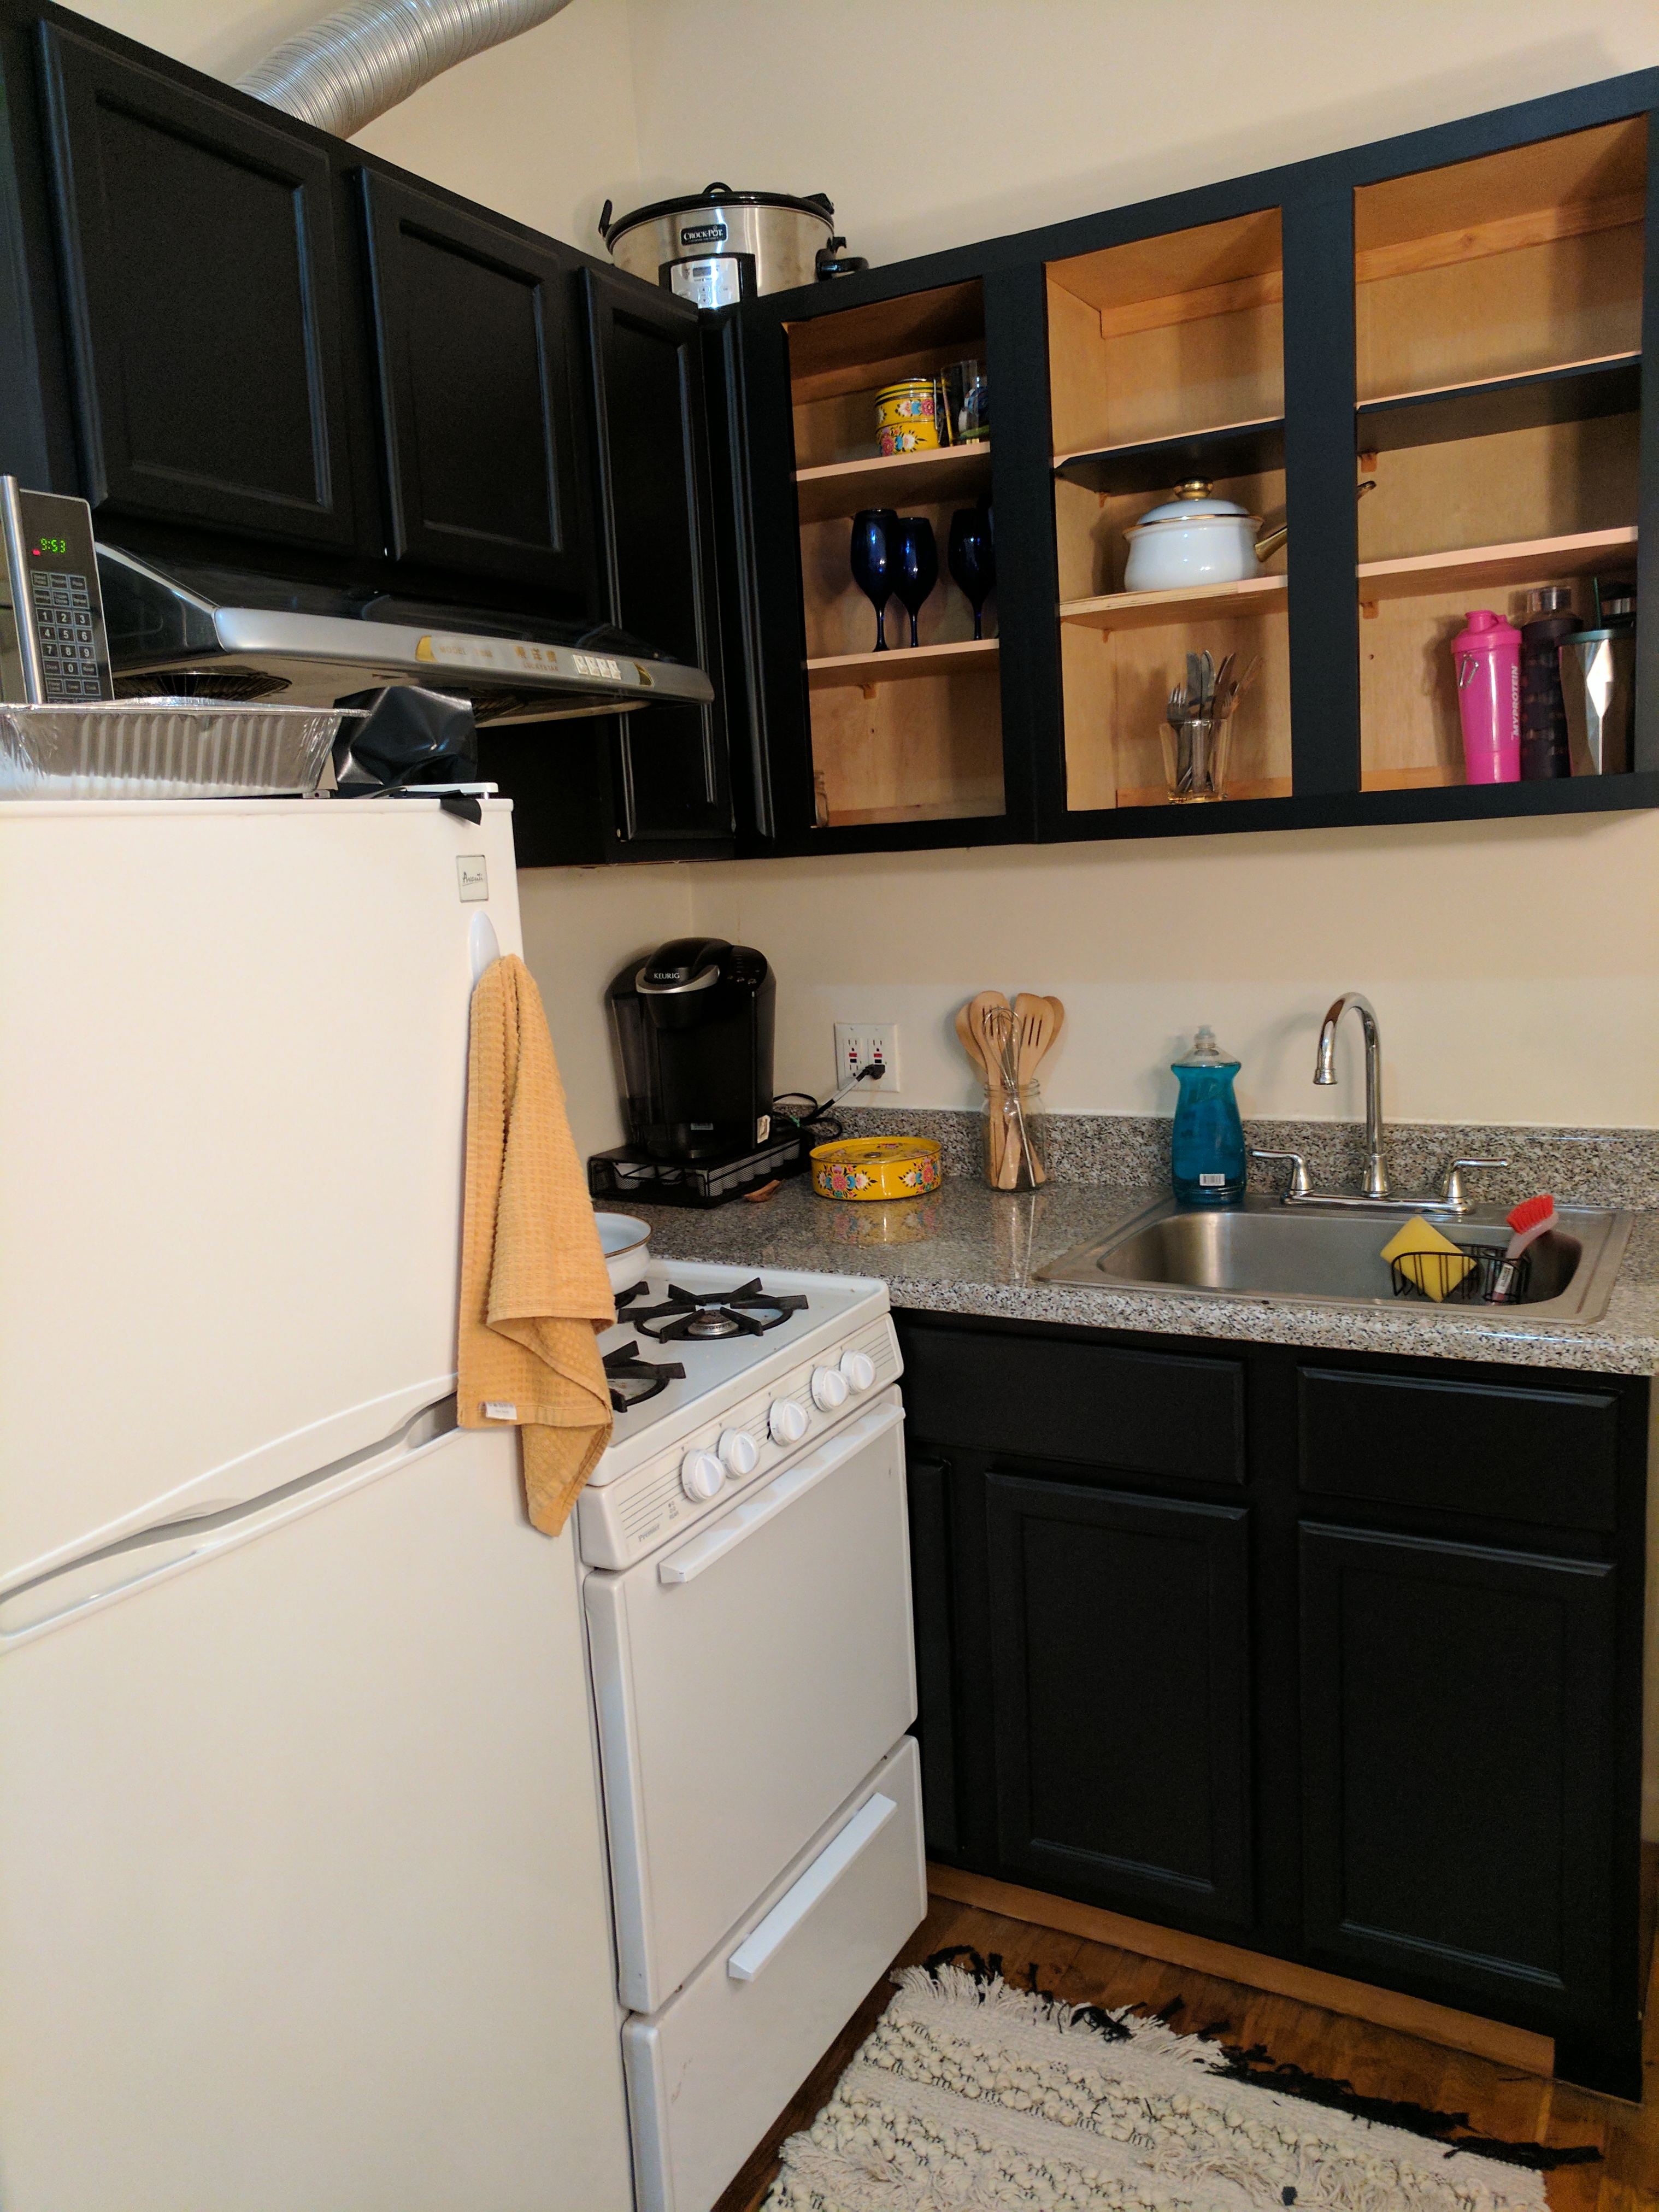
After finishing up my cabinets and transforming them from a boring honey to a fantastically modern black look, I have to admit, my grey laminate countertop looked way better than it did before! I really had a hard time even deciding to re-cover it, and spent a few days in limbo, trying to decide which I thought would look better. Since I already bought a wood-grain contact paper similar to this one, and was mentally committed to the look, I went ahead with the plan and threw some vinyl on that baby! I figured if I finished and decided I didn’t like it in a few weeks, the worst I would lose was $10 and a few hours of time.
The Process
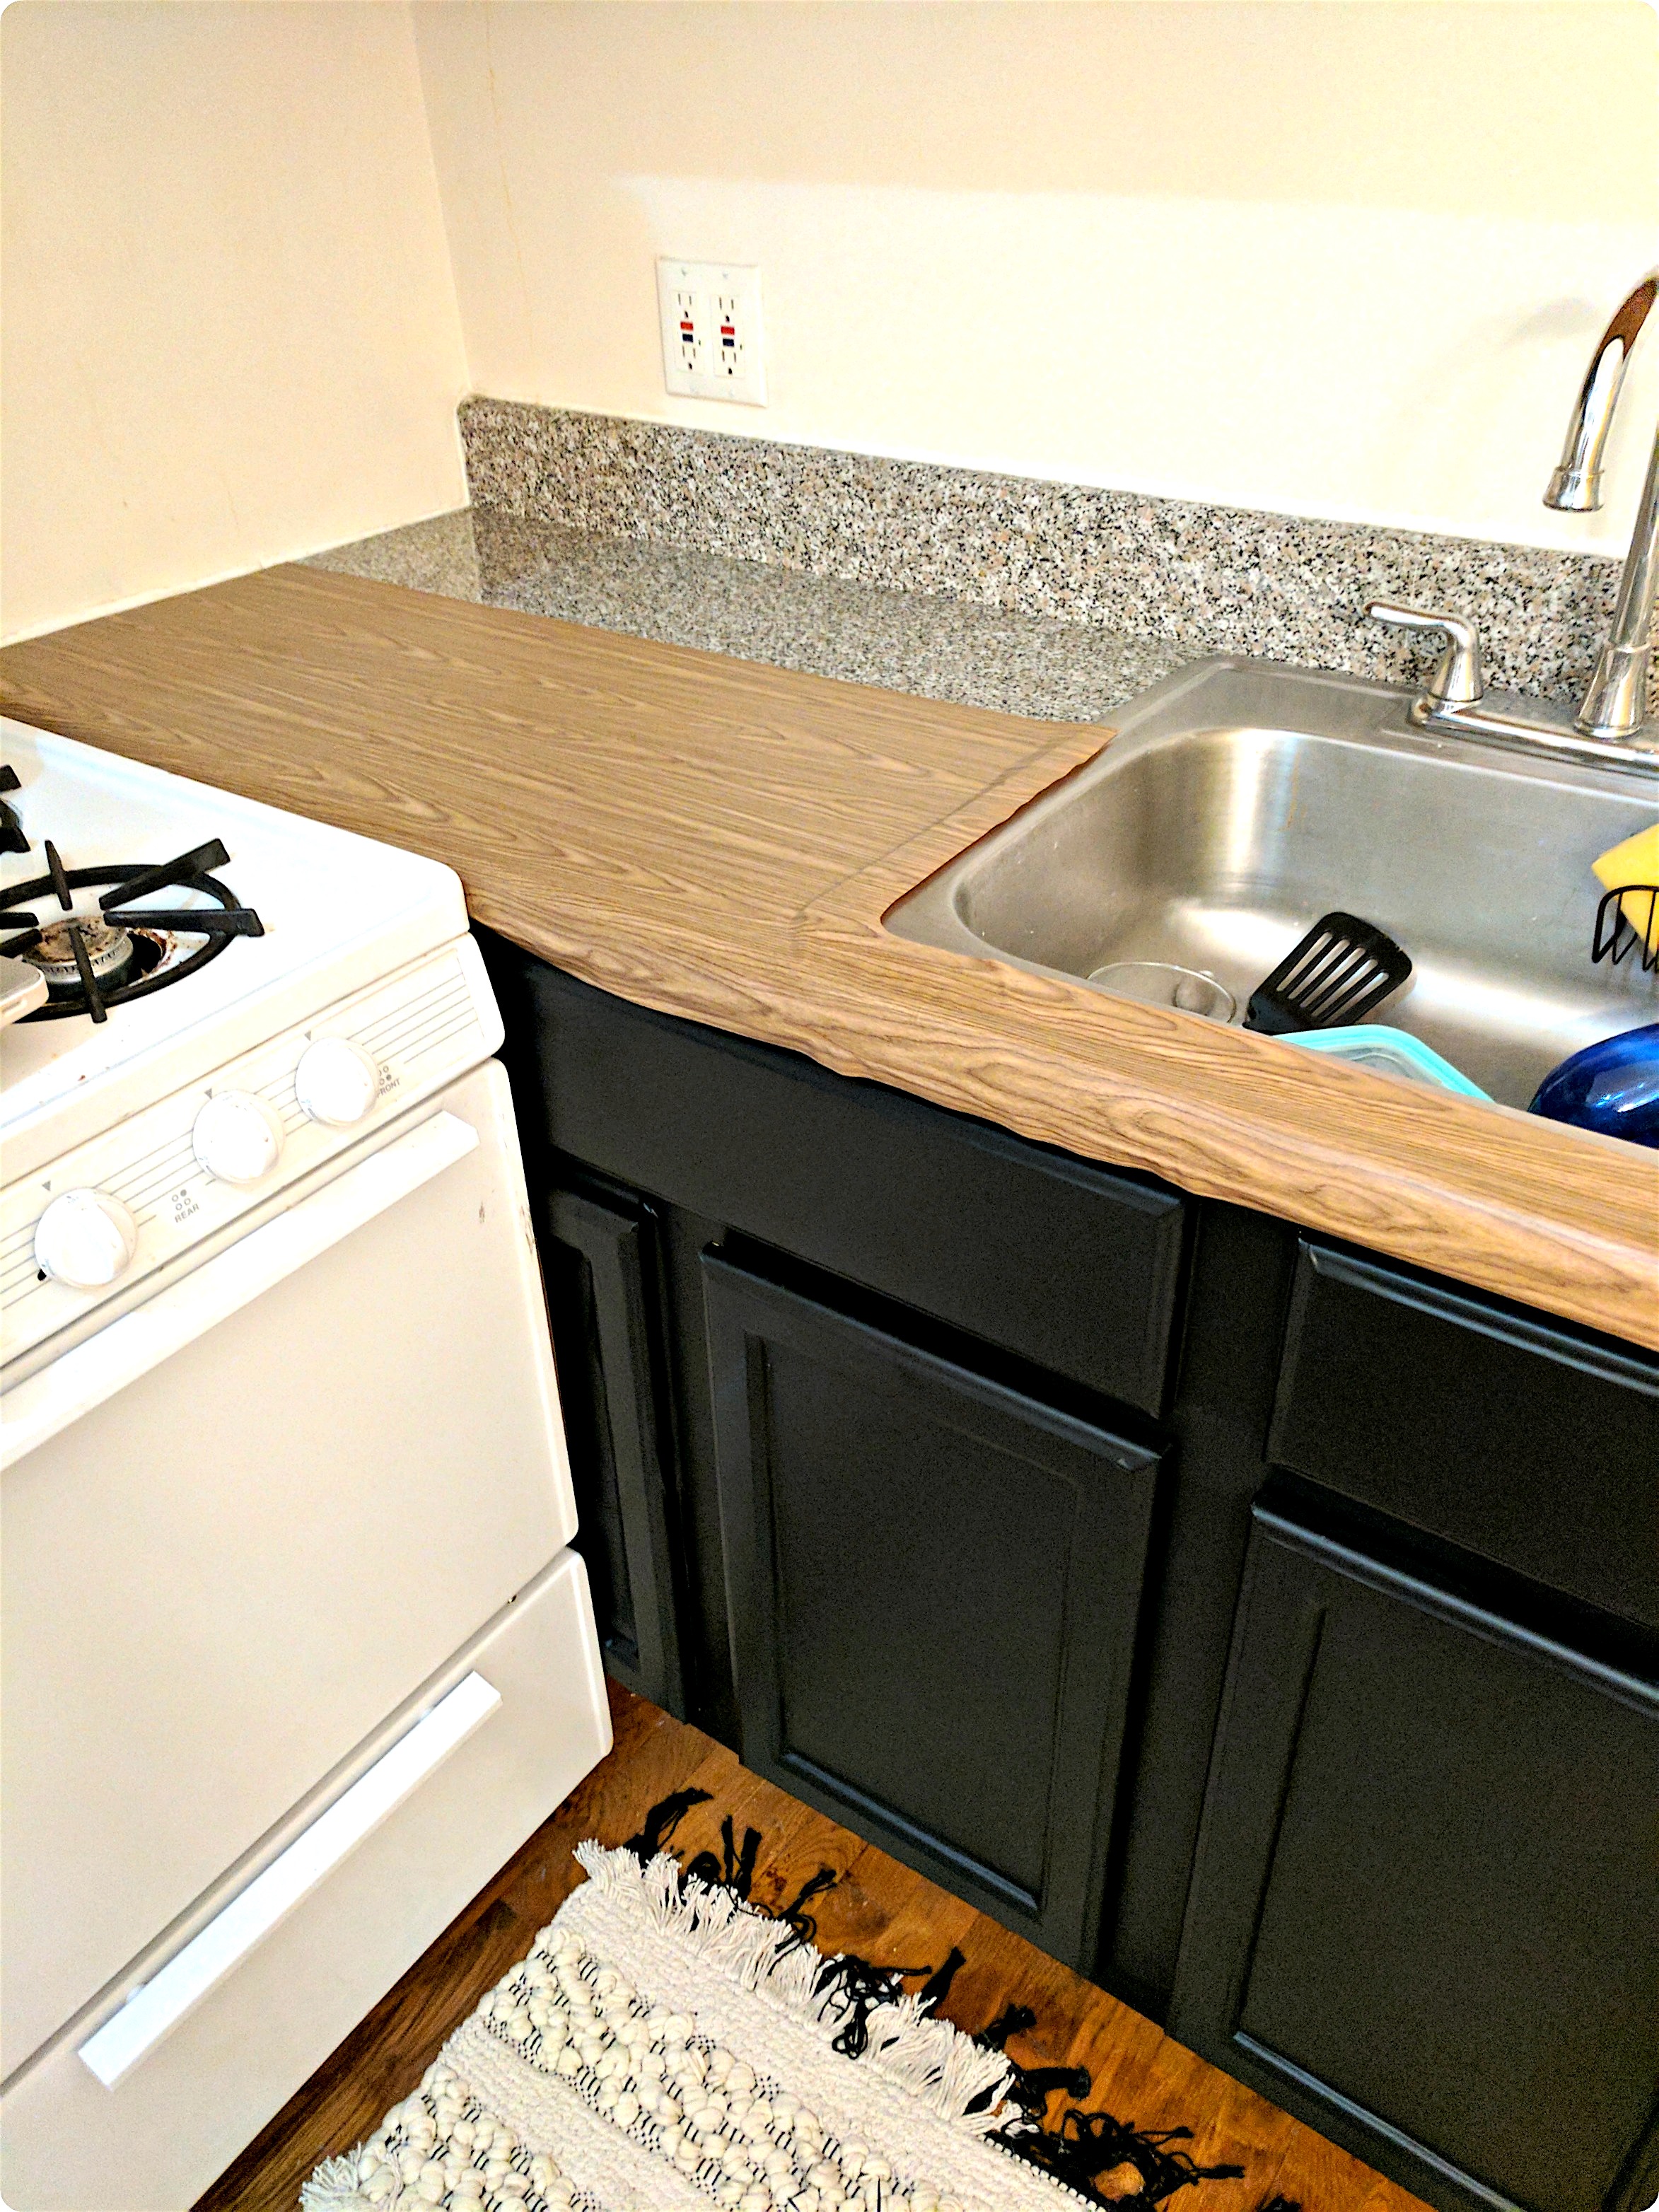
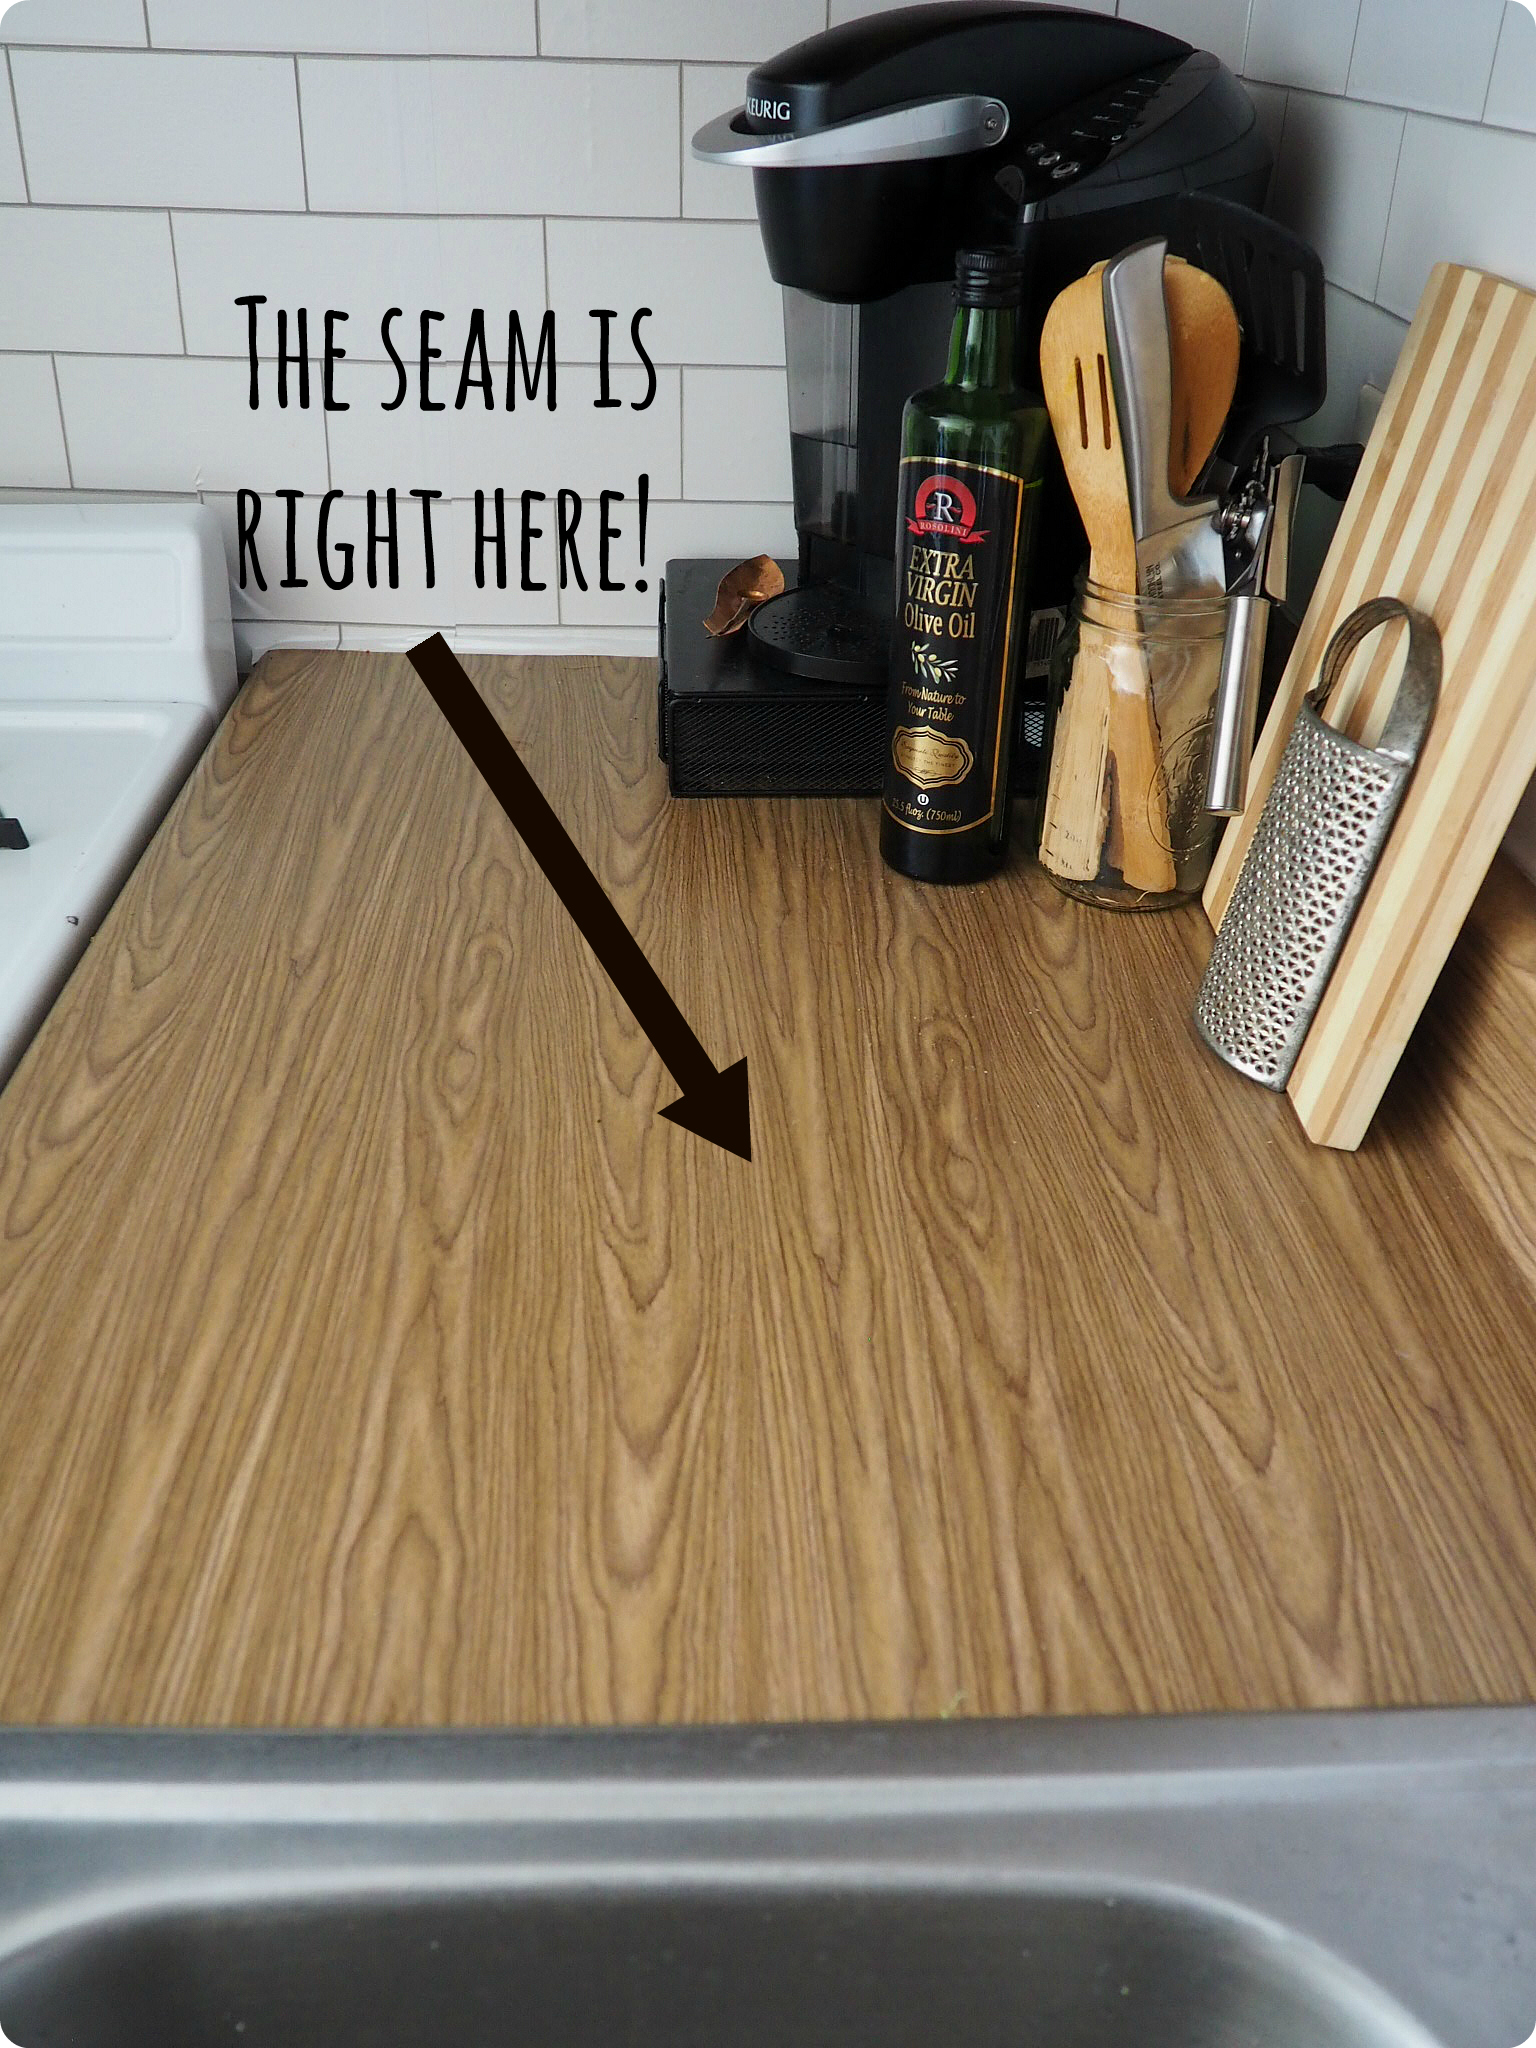
I used this video as a tutorial, using a hair dryer as a heat gun (the low heat setting worked just fine) so that the paper was more forgiving with my placement (and re-placement, and re-placement). Since I don’t live in a luxury high rise, my cramped little kitchen is set up a little poorly, with the stove smack up against my cabinets. It was actually completely covers half of my lower cabinets (a very annoying thing when storage space is already at a premium)! Basically, in order to use my countertop I have to reeeeaaach over to get to the back corner. This made covering it a little more difficult than if had had direct access, but not by much. I decided to do the front piece first since it seemed like the easiest part (sue me). After making sure I lined everything up perfectly, the process was very straight forward. With the black countertops I didn’t really need to pay attention to the orientation of the paper, but since this paper is wood grain, be sure to make sure it stays straight!
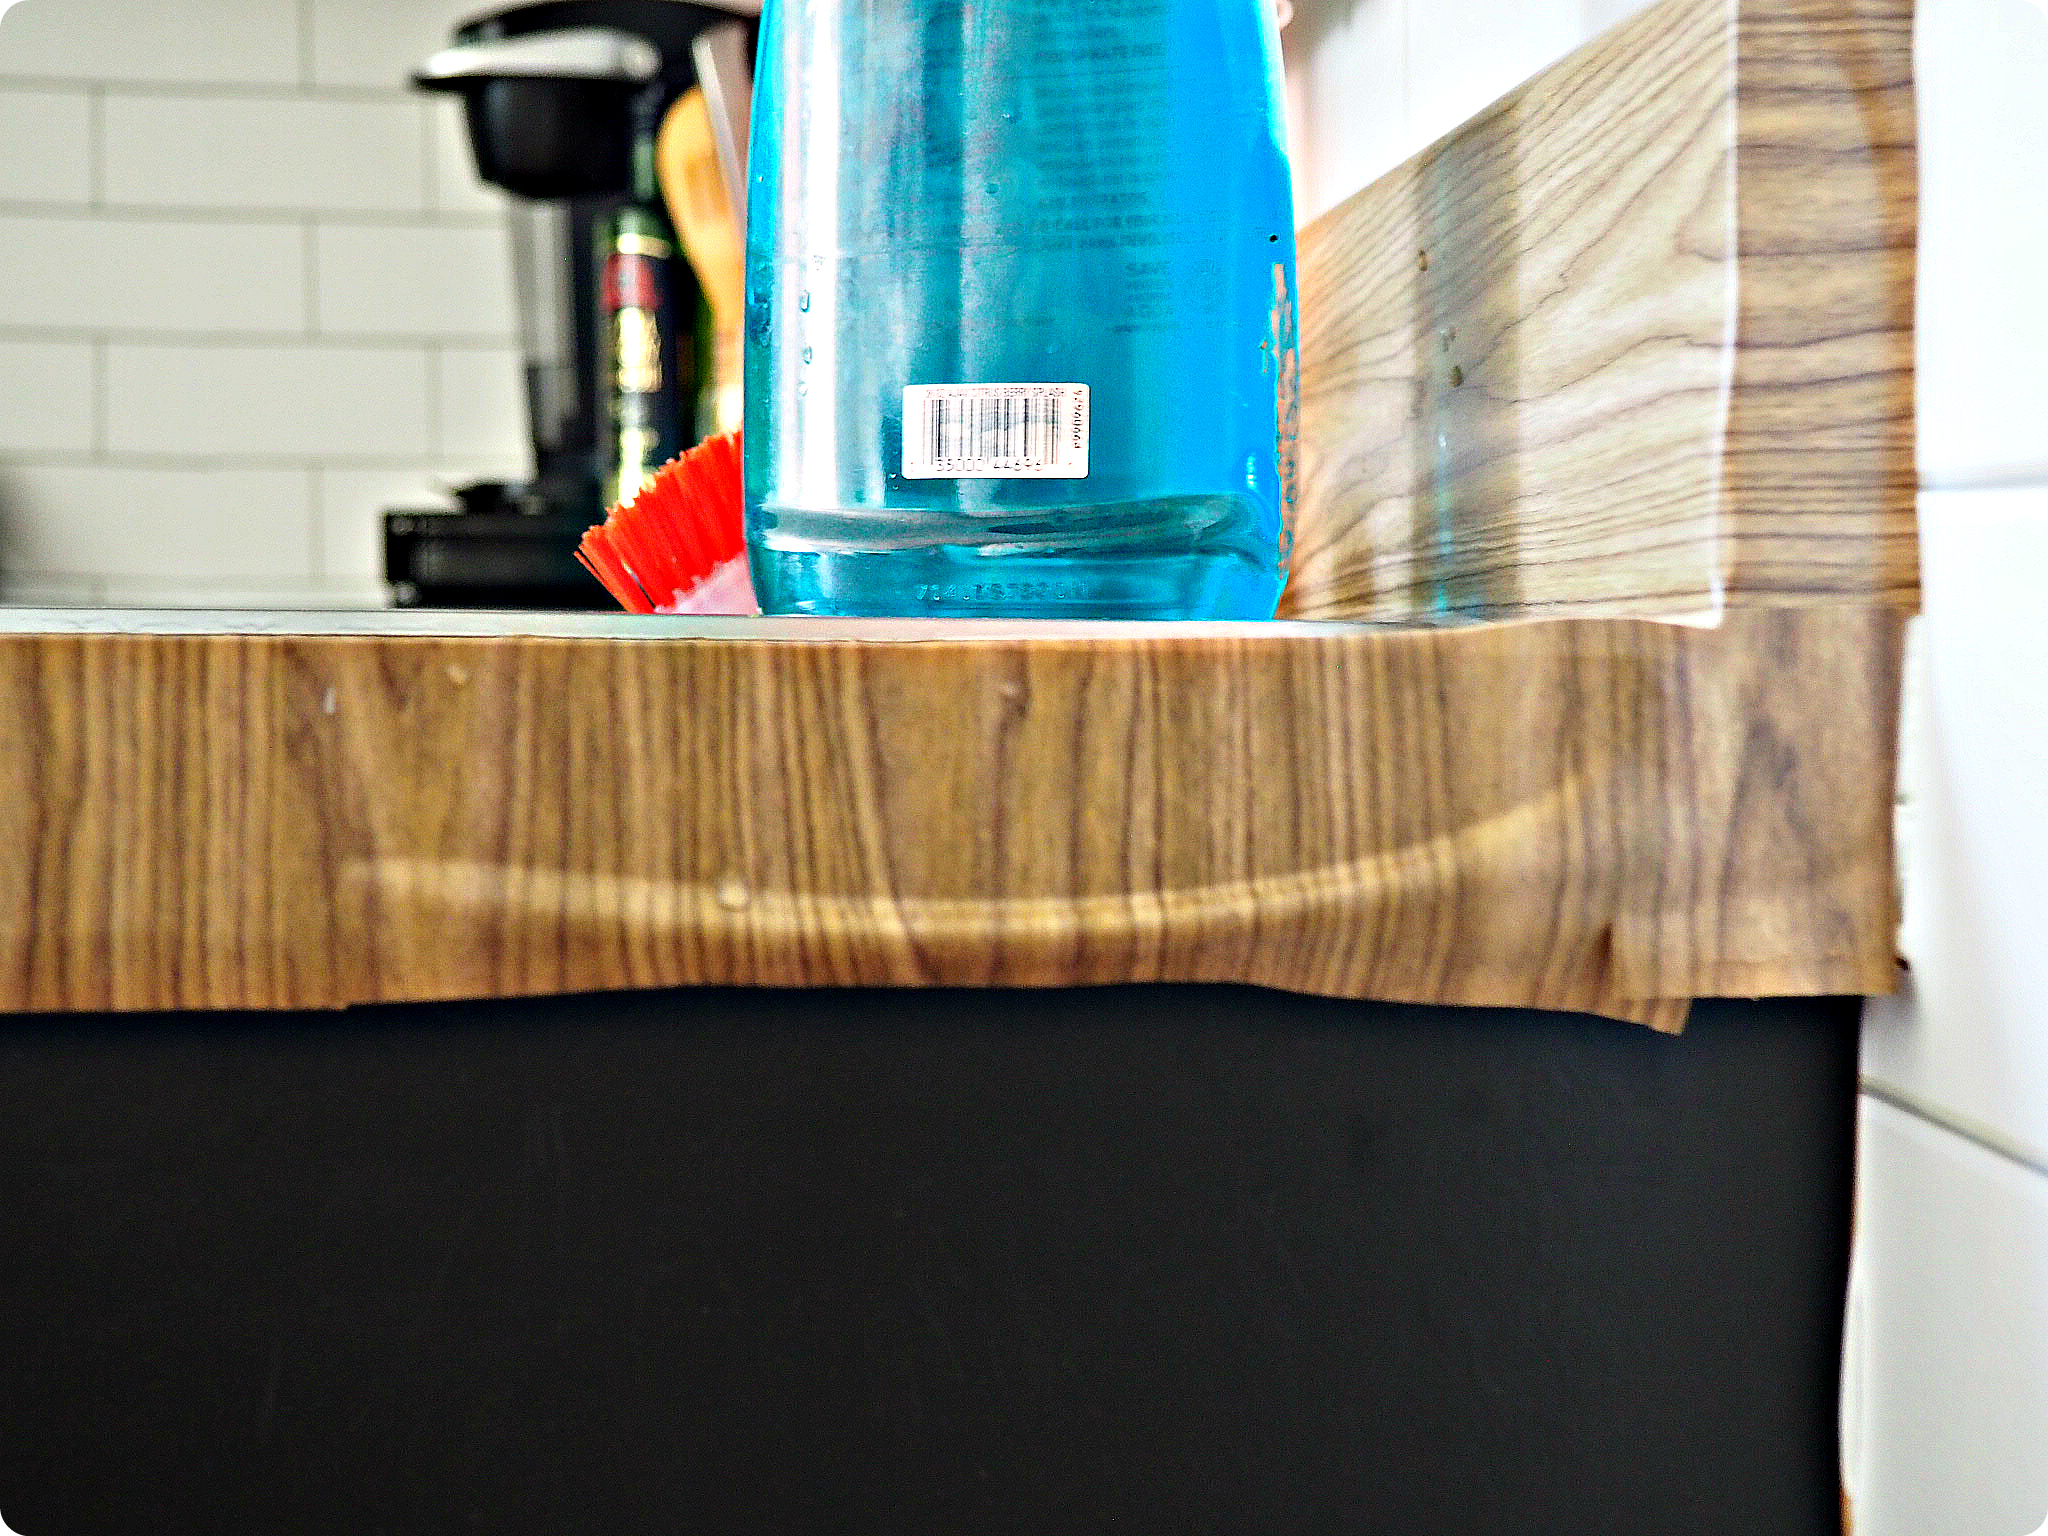
The only difficult part was going around the sink. To do this, I kept the Contact Paper stretched tight, and focused on making sure it adhered correctly to the counter surrounding the metal. I finished off the front corner using the same technique I used for the cabinet doors. Then I did the back half. It was a little more intimidating since it has a round edge leading from the backsplash down to the counter. After getting started though, it wasn’t to hard to keep going. I did the same thing when it came to the sink, but in order to get around the back and still keep using the one piece I did roughly cut the “center” as I went and left a few inches to finish off later.
Finishing the countertop
I got around to the corner and finished off as the cabinet doors. This end has been a little tricky, since the corner itself was unfinished when I moved in. The edge is not straight or smooth, the laminate ends before the actual countertop, so it’s super uneven. Because of that, the paper never really lays flat against it. It’s not super noticeable, but it does bug me when I look at it. I’m planning on gluing it down eventually, probably using hot glue or super glue, since I’m not too concerned about damaging the unfinished wood.
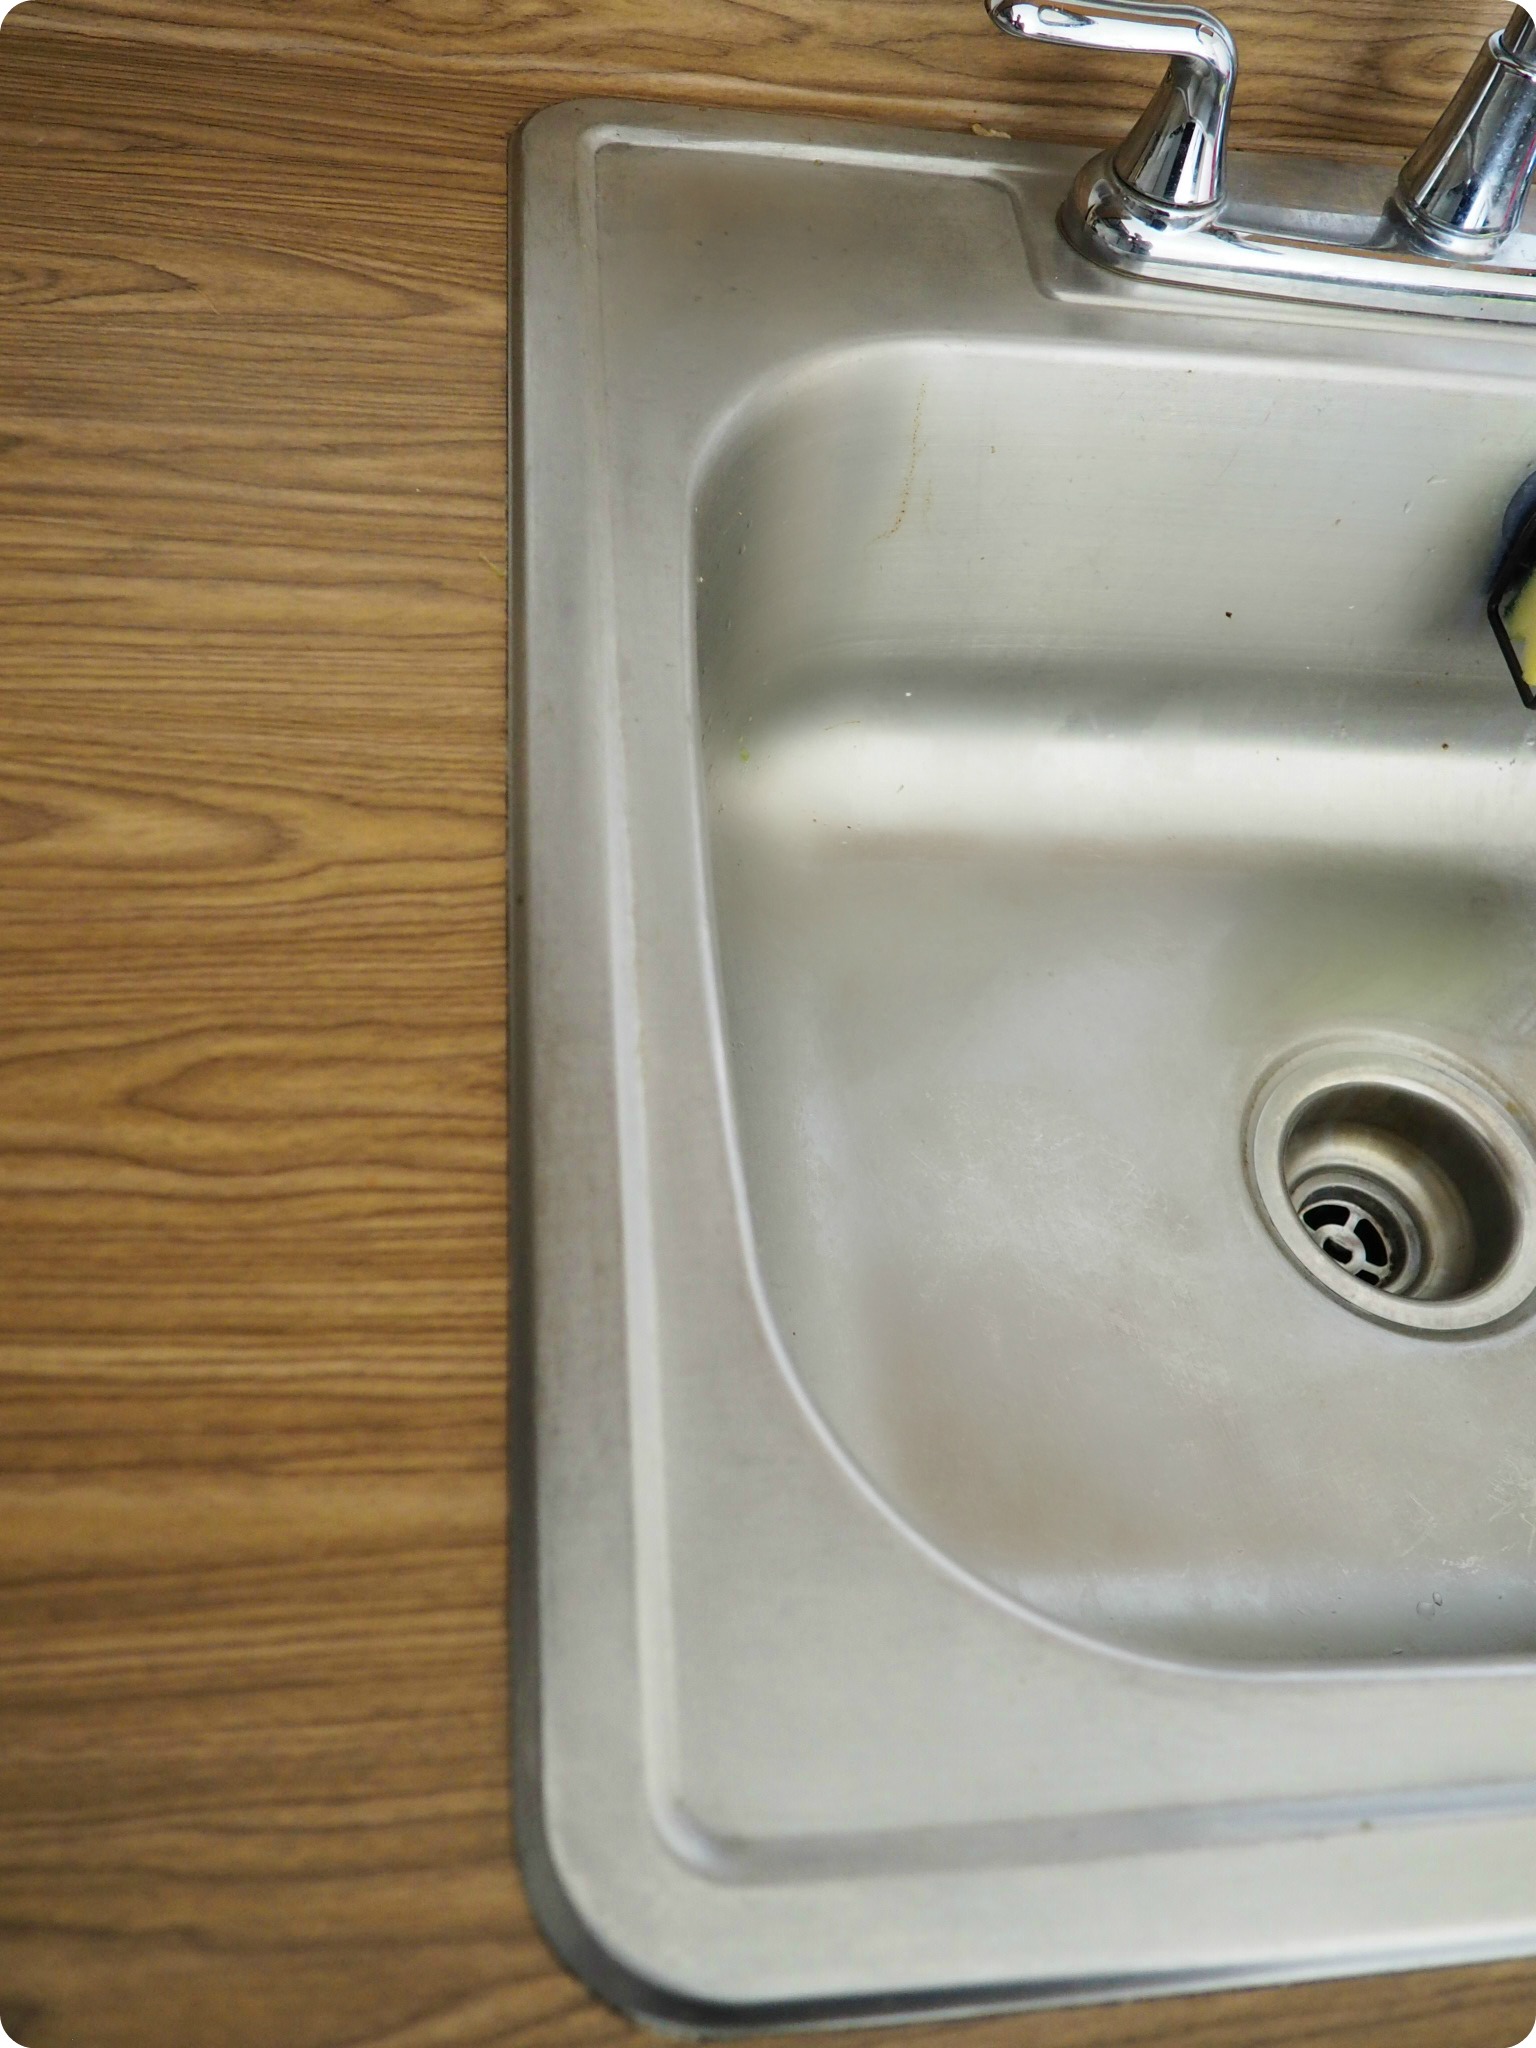
After getting the general covering down I went back to the area around the sink for a final time. I used my hair dryer again, pulling everything nice and tight and pressing tightly to ensure that it was not going to peel up when I cut it. Then I went right around the metal edge with my utility knife, again making sure that everything was as secure as possible.
how is it holding up?
It’s been almost 4 months and I am loving this countertop! It is clear that it’s fake wood, but I think it looks great with the black cabinets. Since the countertop underneath is laminate anyway I wasn’t worried about the trade off of setting hot pots and pans on the surface, I just make sure I have my trivets around. It seems to be water tight and I’ve had no issue with the lining around the sink, I haven’t seen anything get underneath of it at all. Let me know what you think in the comments, and take a look at my Kitchen Update Part 3: Backsplash!
Also Check Out:
Kitchen Update Part 1: Cabinets

