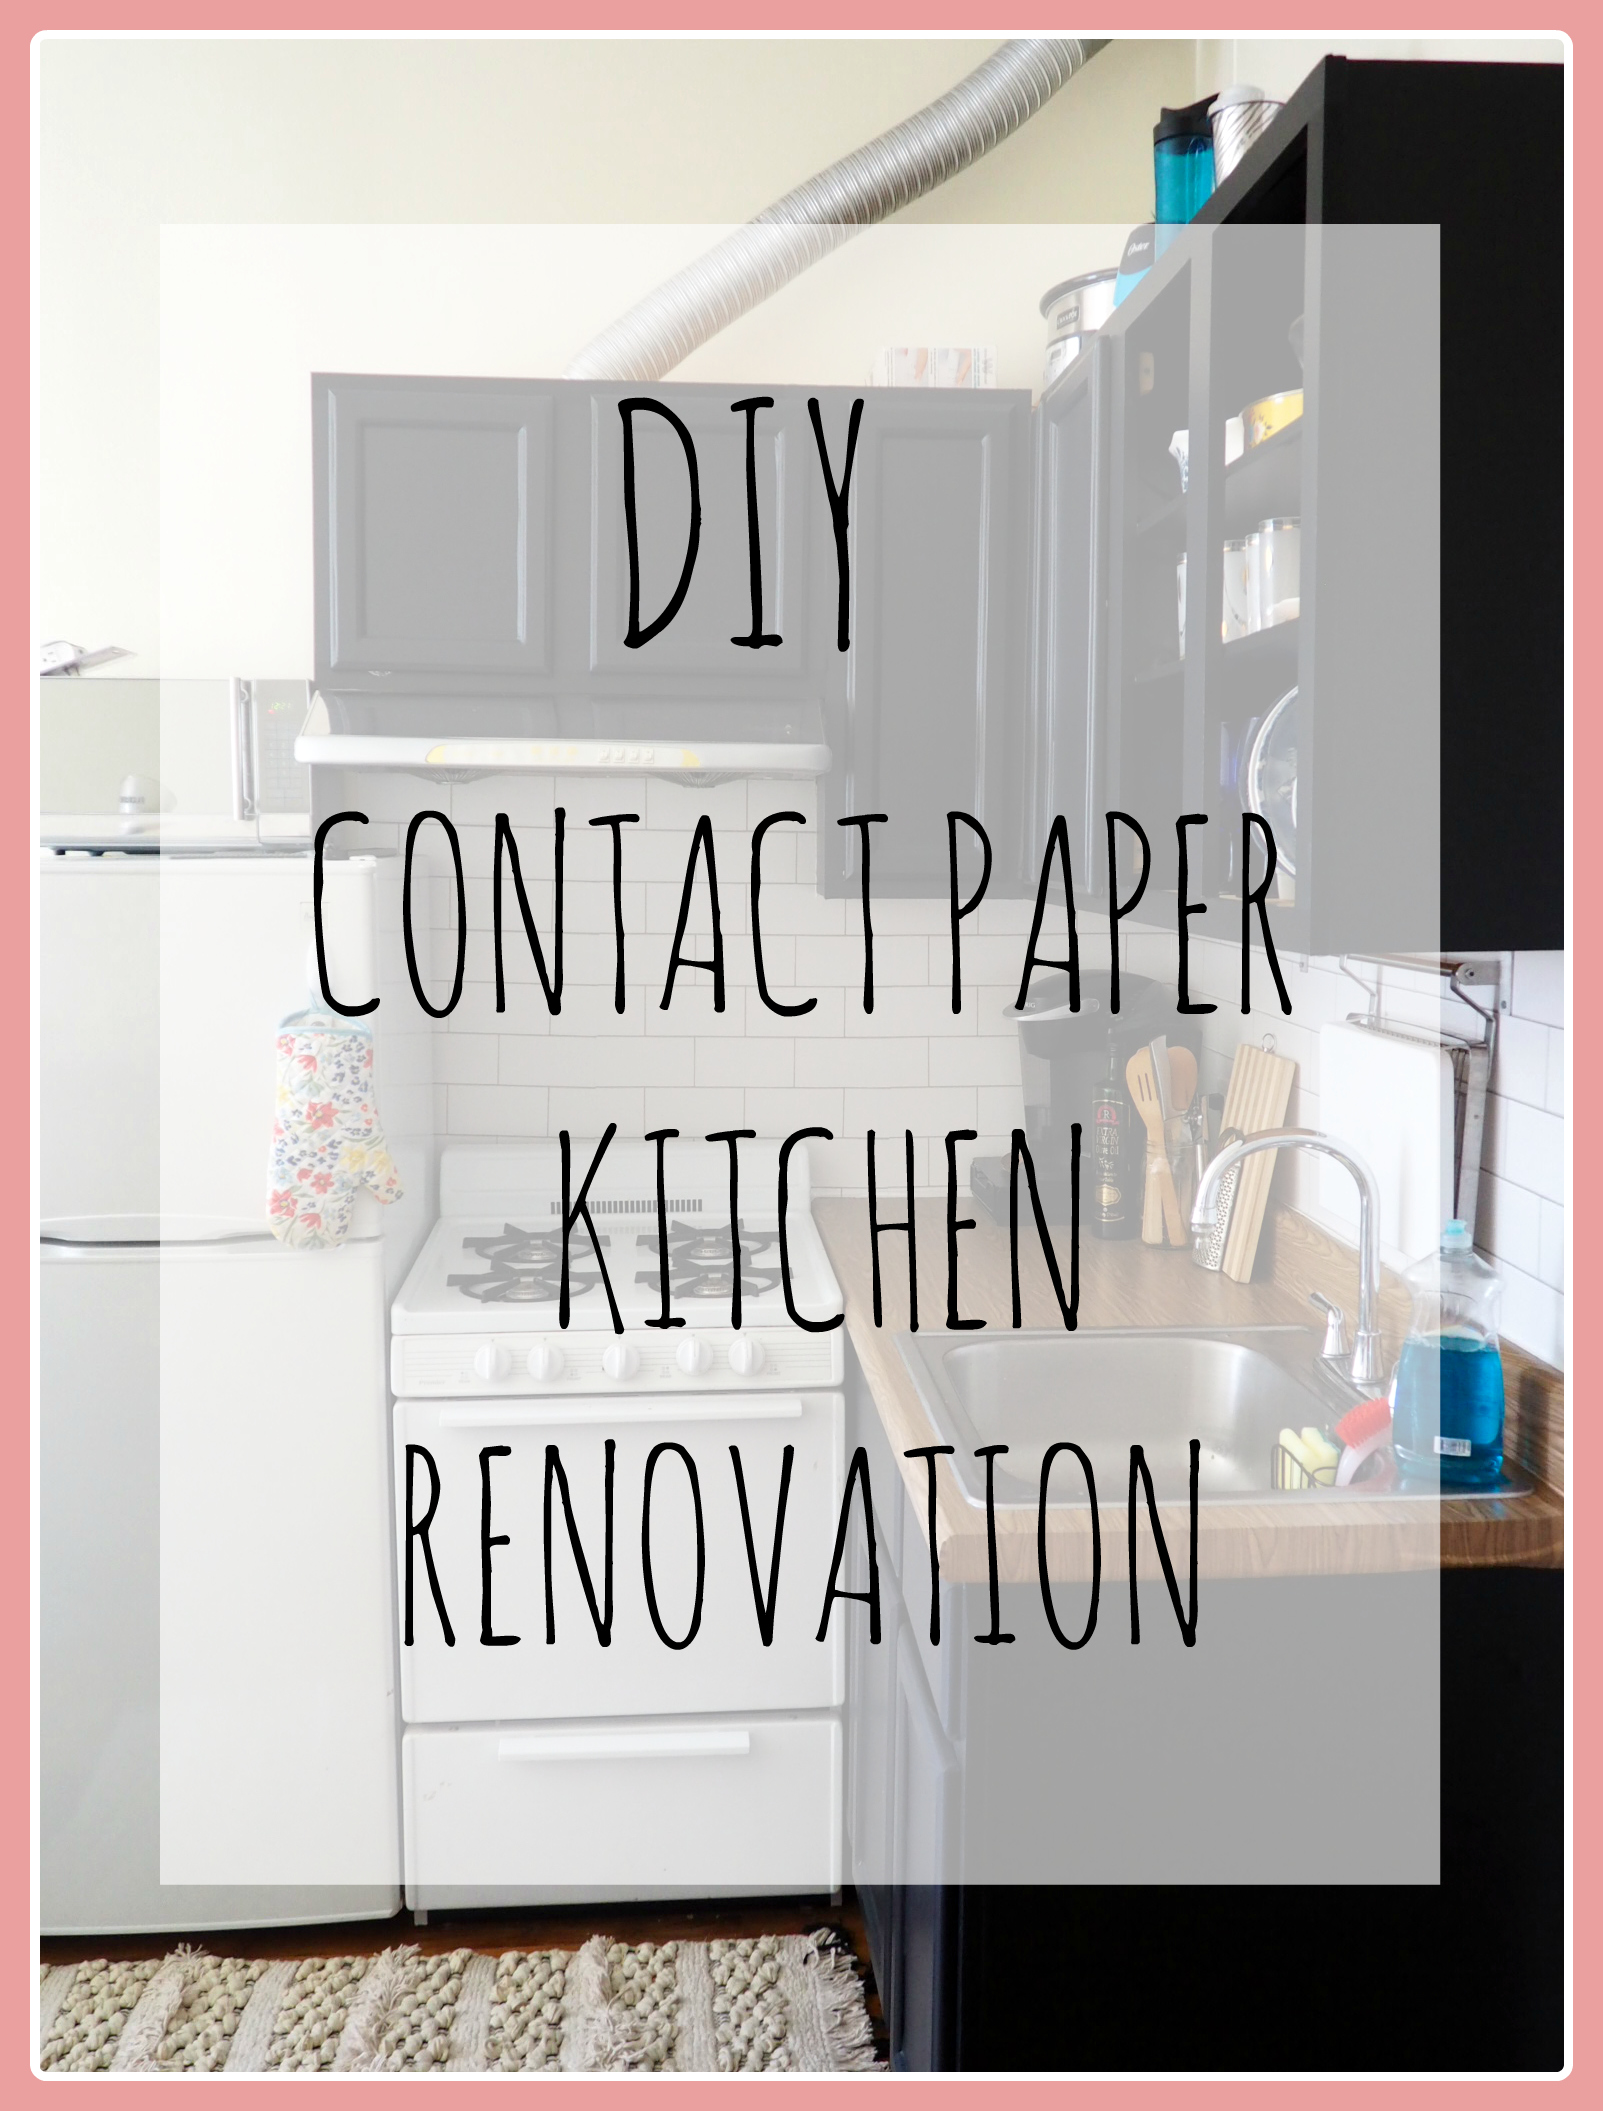
TEMPORARY SPACE, SERIOUS STYLE:

MY REMOVABLE KITCHEN REMODEL

This post may contain affiliate links.

In July moved from my 6 floor walk up in the East Village, to a little one bedroom apartment in East Harlem. While I loved my little walk up (and the seriously amazing view from the roof!) after 3 years with 3 roommates, it was time for a change. So I finally packed it all up and hired other people to do the heavy lifting! I moved waaay uptown to chase that elusive rom-com-single-girl-in-the-city life, and I have to say, it’s as amazing as it looks on screen. I can watch my trashy tv shows whenever I want, never have to wait for the bathroom, and most importantly, I get to decorate the whole apartment myself! At just around 400 sq. ft., the space is still teeny tiny. But! As I like to point out to anyone who will listen, I have 2 full rooms (a living room and a separate bedroom!!) For anyone unfamiliar with New York rent, the fact that I can afford this and still eat, well that’s like hitting the lottery.
After the move I decided that the first order of business would be addressing my seriously drab micro-kitchen (think honey colored cabinets and grey laminate countertop). I love the look of black cabinets with wood counterops but everything I found were along the lines of “Update Your Kitchen with a Coat of Paint” or “Cheap Diy Wood Countertops”. While these sound like great ideas for a first home, I also want to get my full security deposit back when it’s time for me to leave this apartment!  I needed something that’s temporary, easy to install, and looks great. I finally landed on contact paper as my answer! I’d recently recovered the top of my Ikea dresser so I knew that when done correctly, the final product looks just absolutely great. Unless you’re getting up close and personal with it, you can’t even tell that it’s a covering, and it’s cheap!

MATERIALS AND PREP

YOU’LL NEED: 

  • BLACK CONTACT PAPER
  • SCISSORS
  • UTILITY KNIFE
  • HAIR DRYER
  • CREDIT OR GIFT CARD
 
After searching and searching for “contact paper kitchen renovations” (spoiler, not many results) I decided to just go for it, headed out to Home Depot, and bought about 8 rolls of black contact paper. The only reason I had to use so many rolls is because I ended using the chalkboard paper since that was the only black in stock and I was feeling a bit impatient to get started! You can get the chalkboard version here, and the longer roll of regular black here. You’ll also need a utility knife and a pair of scissors.

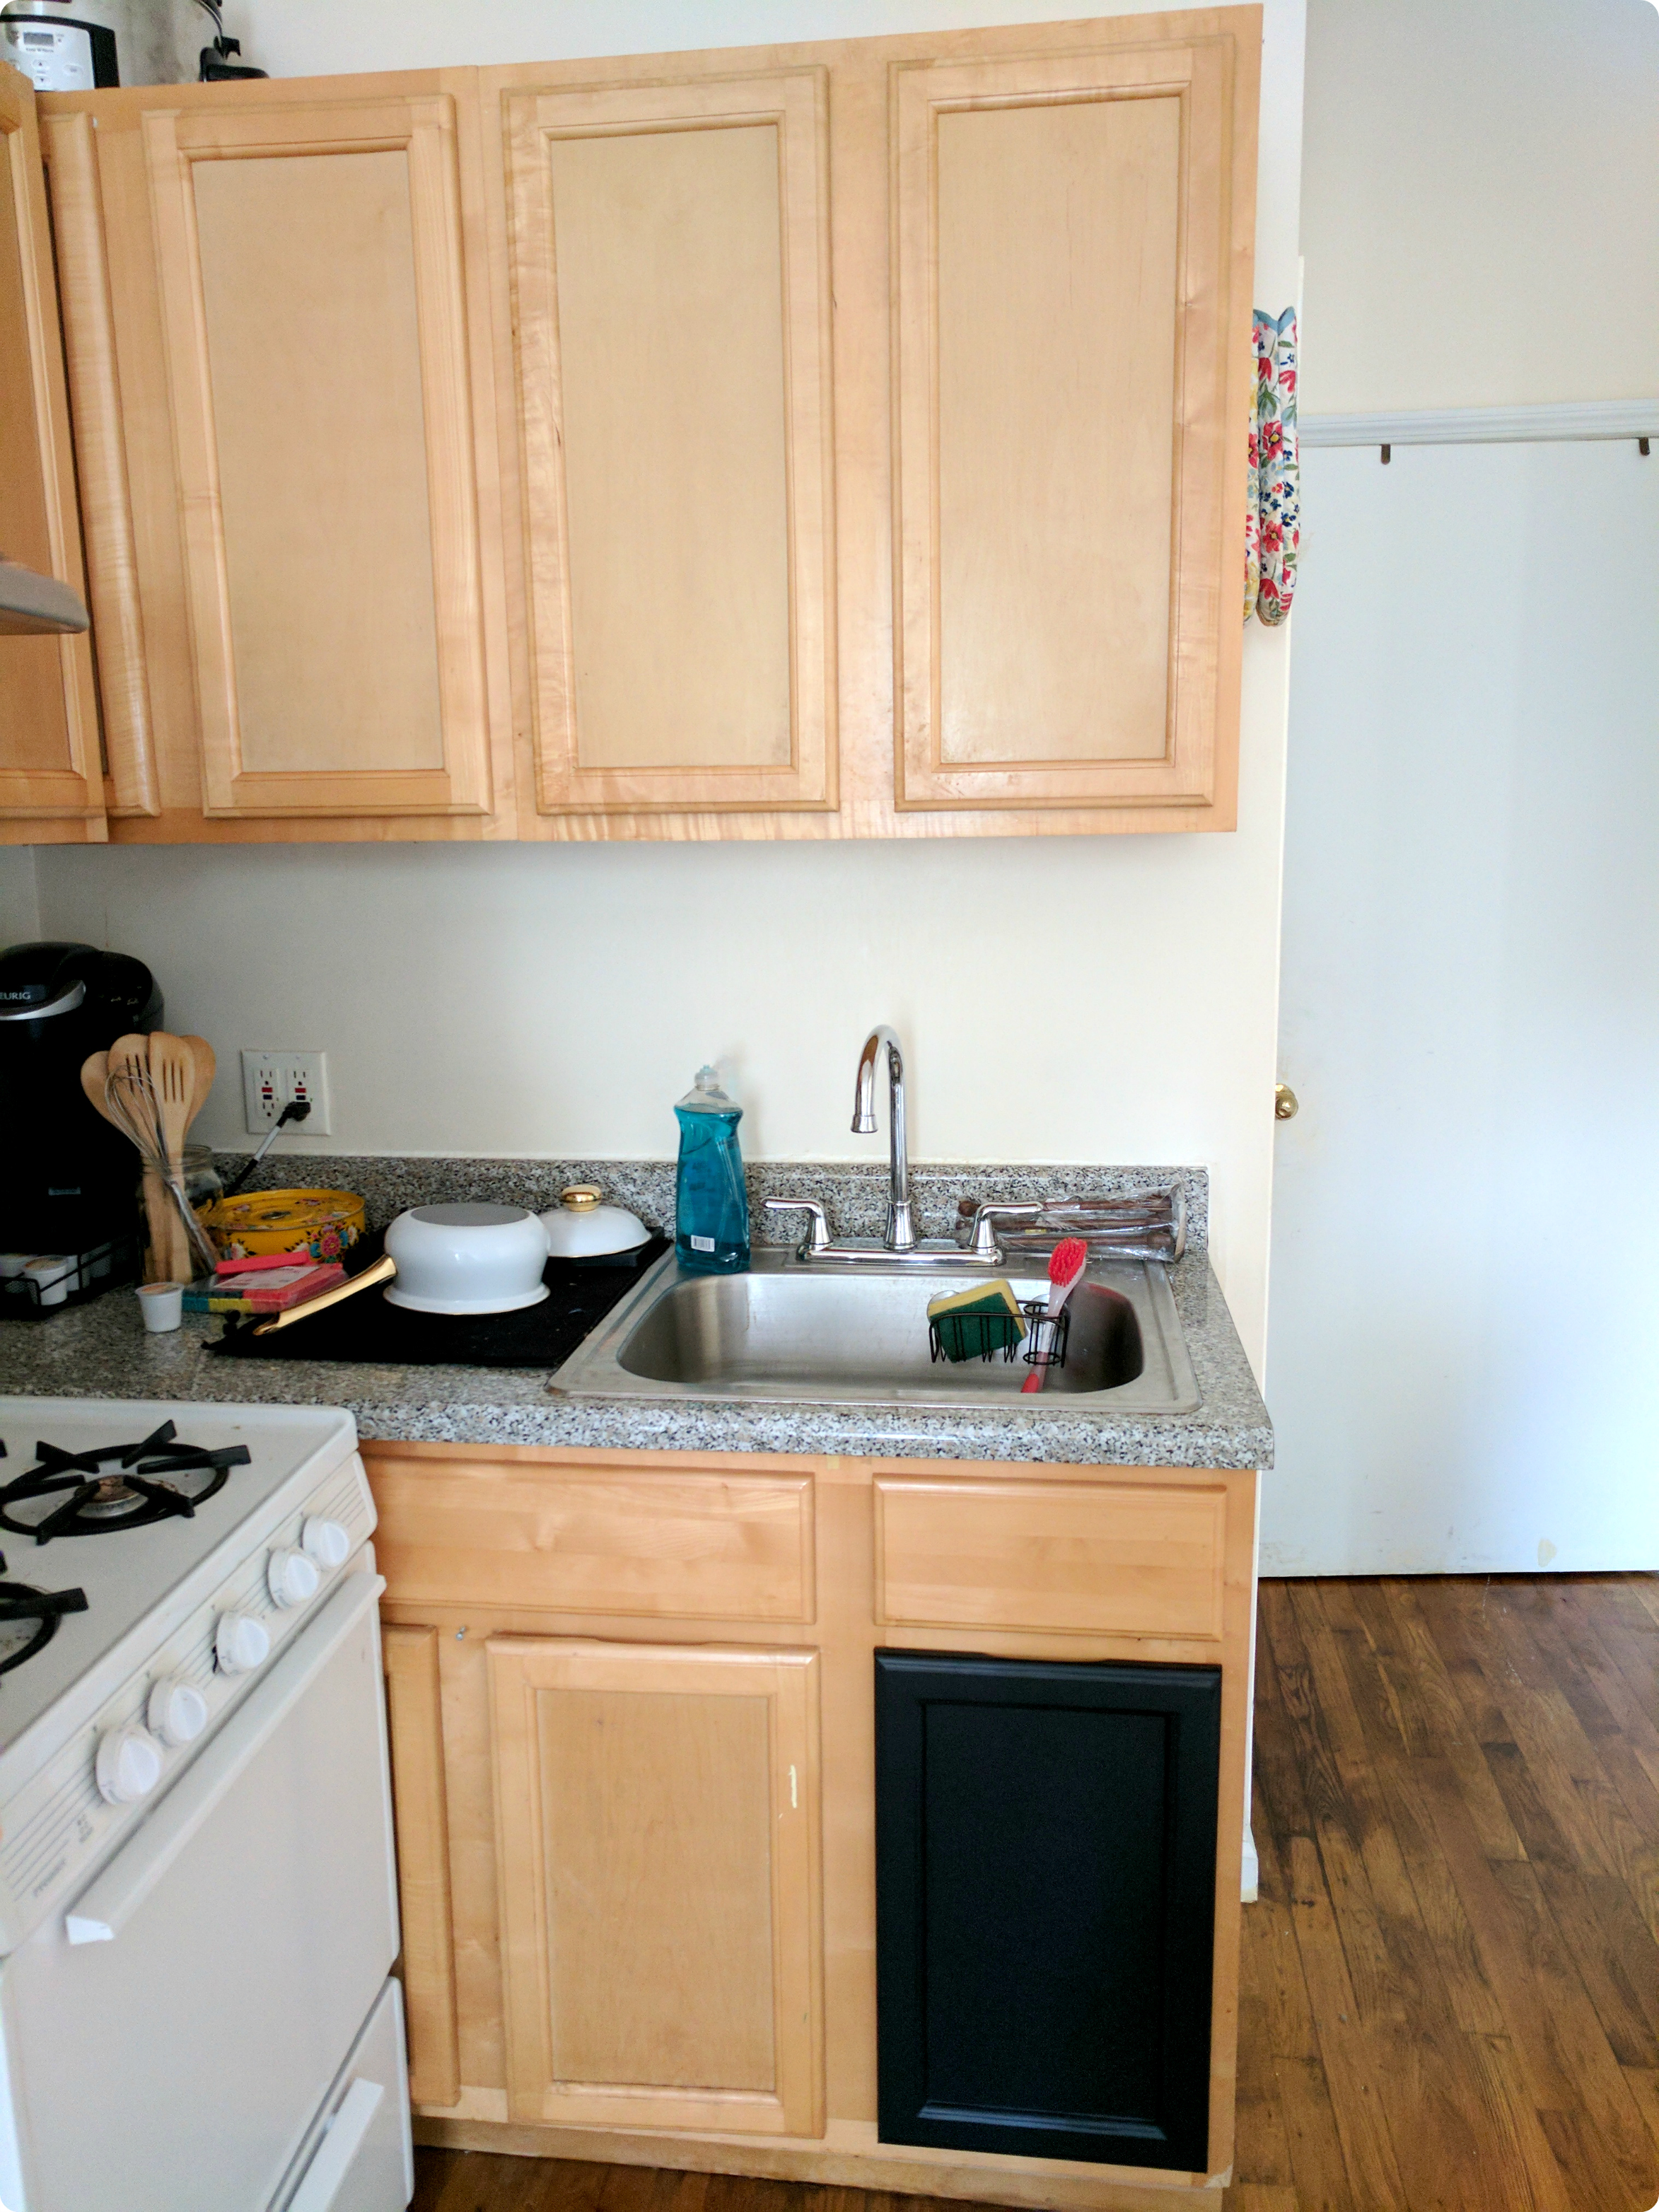
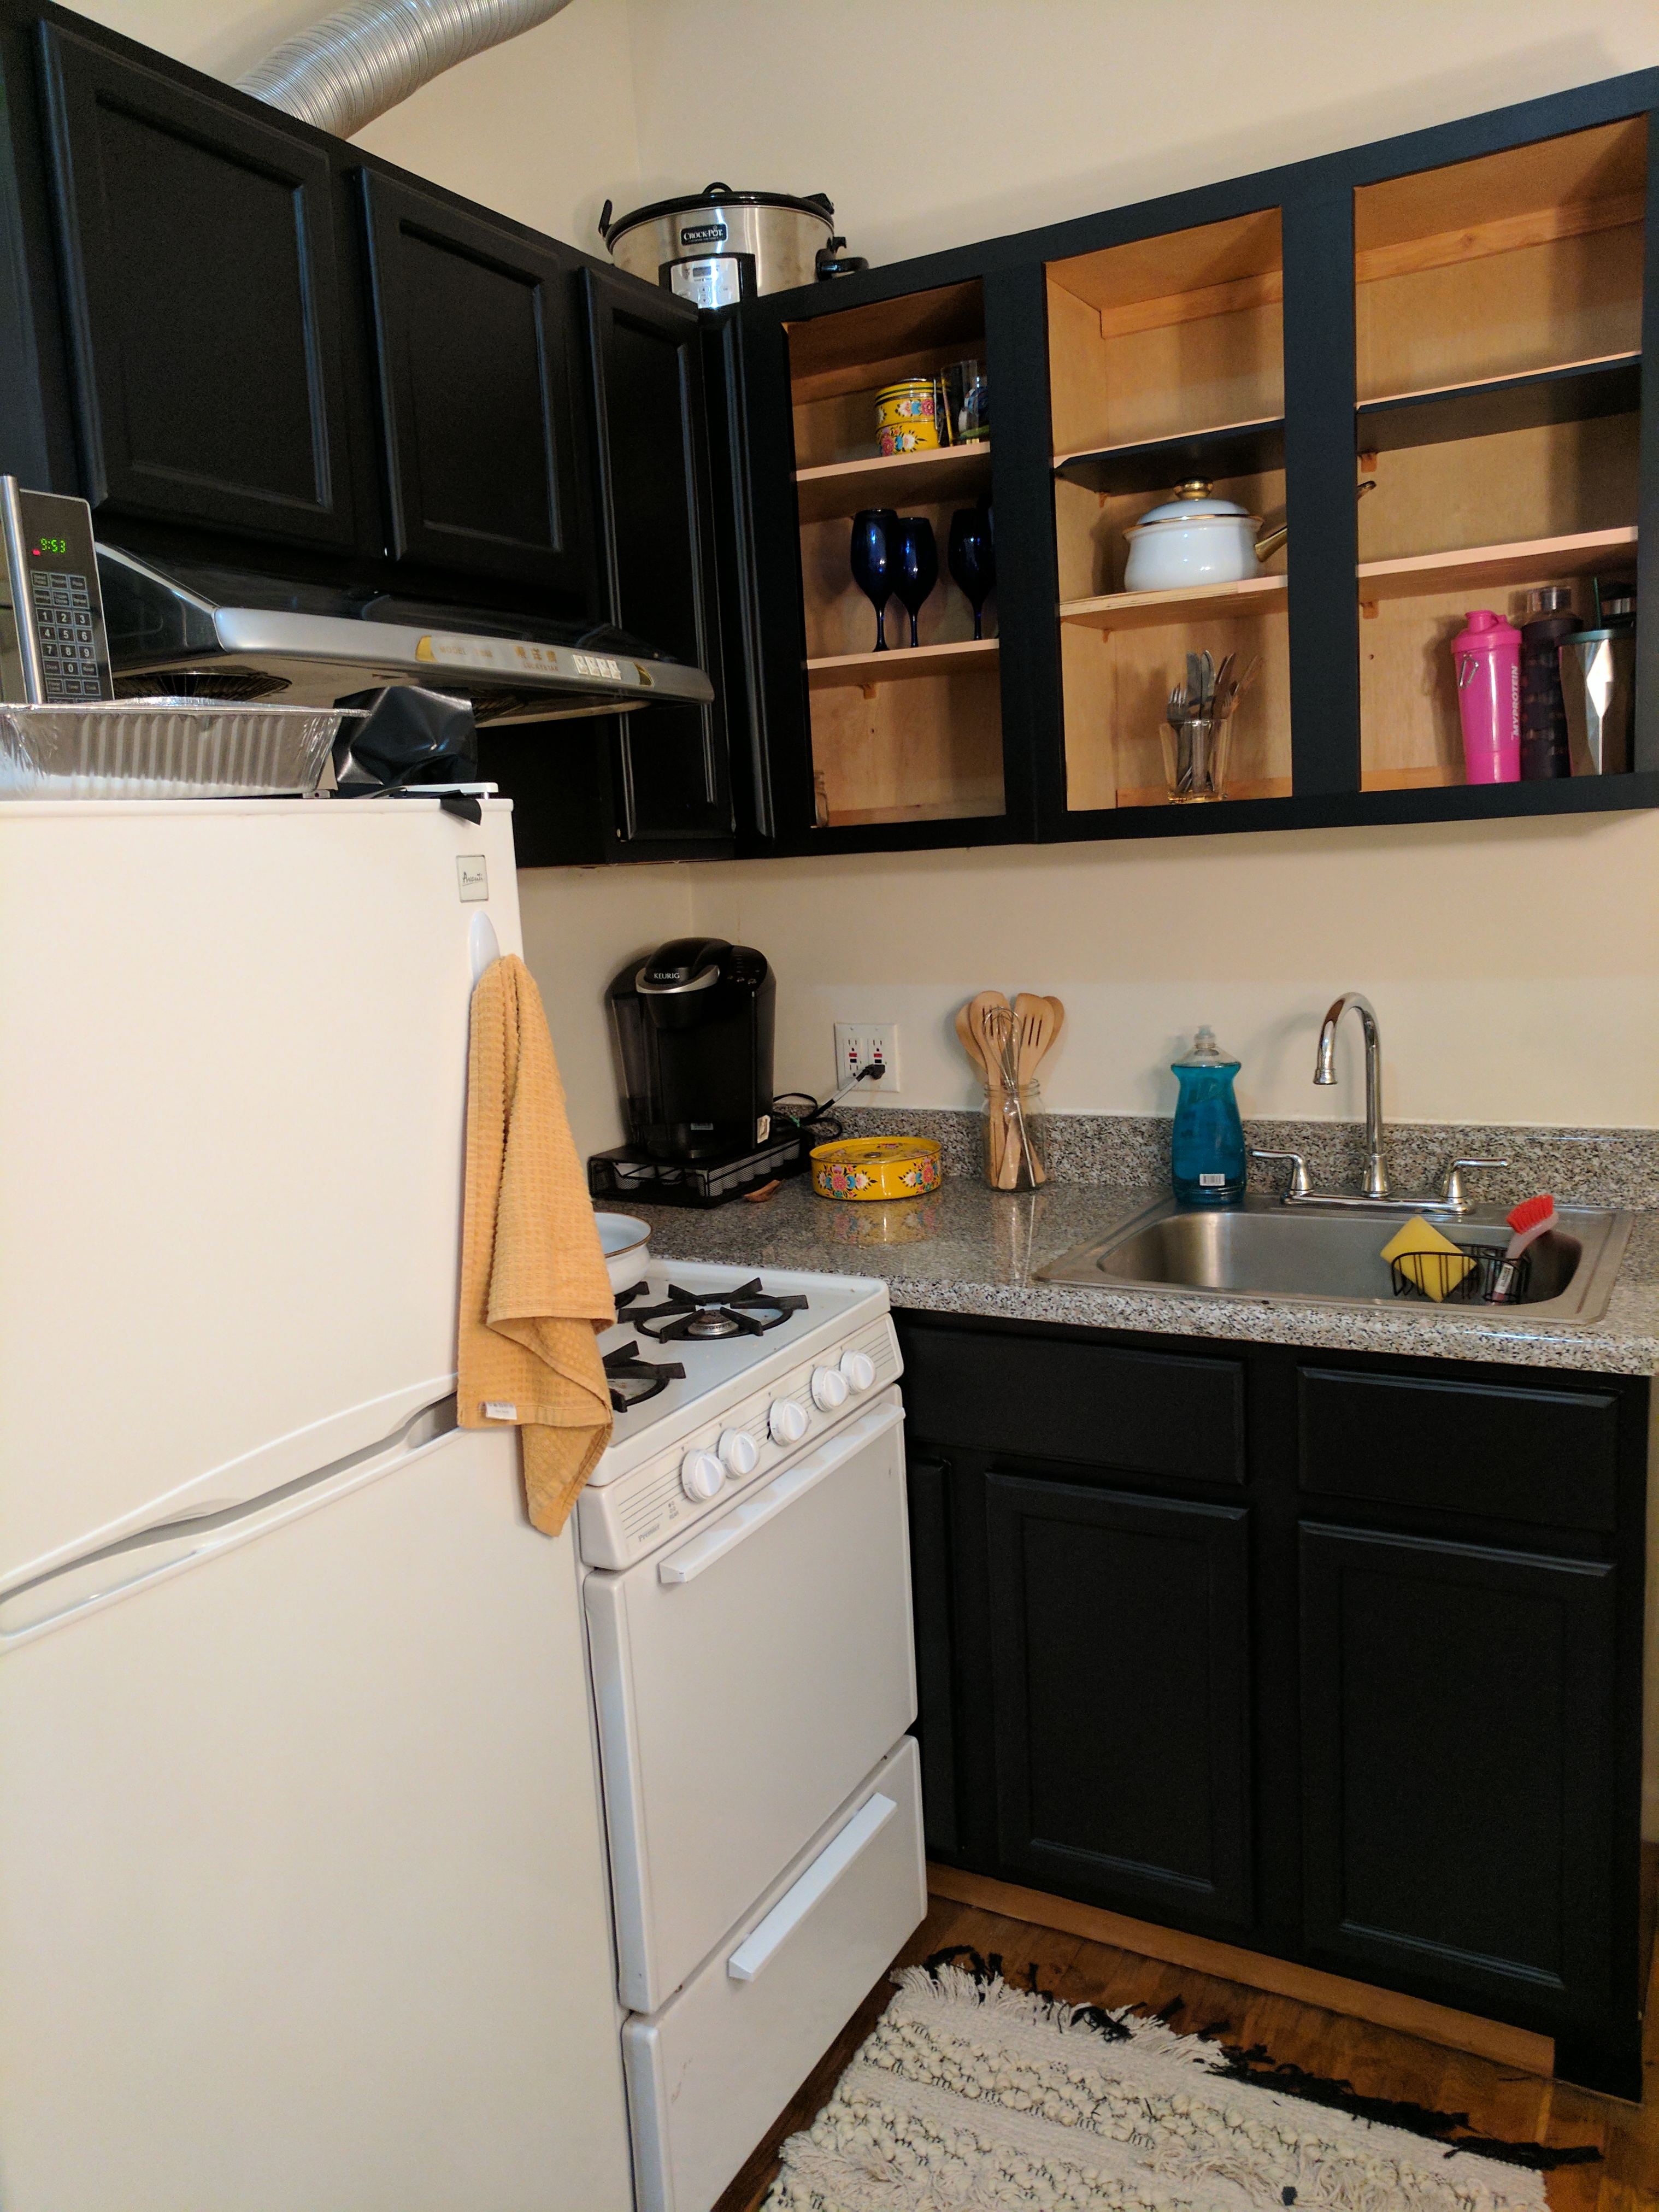
 The first step is to remove all of the cabinet doors and thoroughly clean everything. The paper won’t stick to a dirty or dusty surface so this step is important! I started with the cabinet doors first since I could cover them while watching Fool’s Gold, which let’s be honest, is my go-to background entertainment for almost every occasion. 


APPLYING YOUR PAPER

The best tutorial I found for applying contact paper is this video, and the one thing I would recommend is using a hair drying to add some extra heat. It allows you to stretch the vinyl and really get a tight fit. It also make the adhesive a bit gummier so it’s not as hard to reposition. Some people recommend using one piece on the entire door, or a different piece for each side of the cabinet edge as well as the middle, but after some trial and error I found the best way for me to cover my cabinets, since they have an inlaid center and some edging around the sides.

COVERING CABINET DOORS

First I cut a piece of Contact Paper big enough to fit the center inlay with about 1/4” going up the inside of the edge. I applied that piece first, then started on the outside. I used 2 L shaped pieces for that, so I could have as few seams on my finished door as possible. The black paper hid seams and other imperfections incredibly well, but this could be an issue with lighter colored paper. I aligned the corners and applied the paper, turned and cut the corners like shown in the youtube video above, and smoothed with a credit card and my fingers to avoid bubbles. After that I and trimmed the excess off the back using my utility knife, et voilà!
 Make sure you use a new blade so it doesn’t snag and rip rather than glide through the paper!

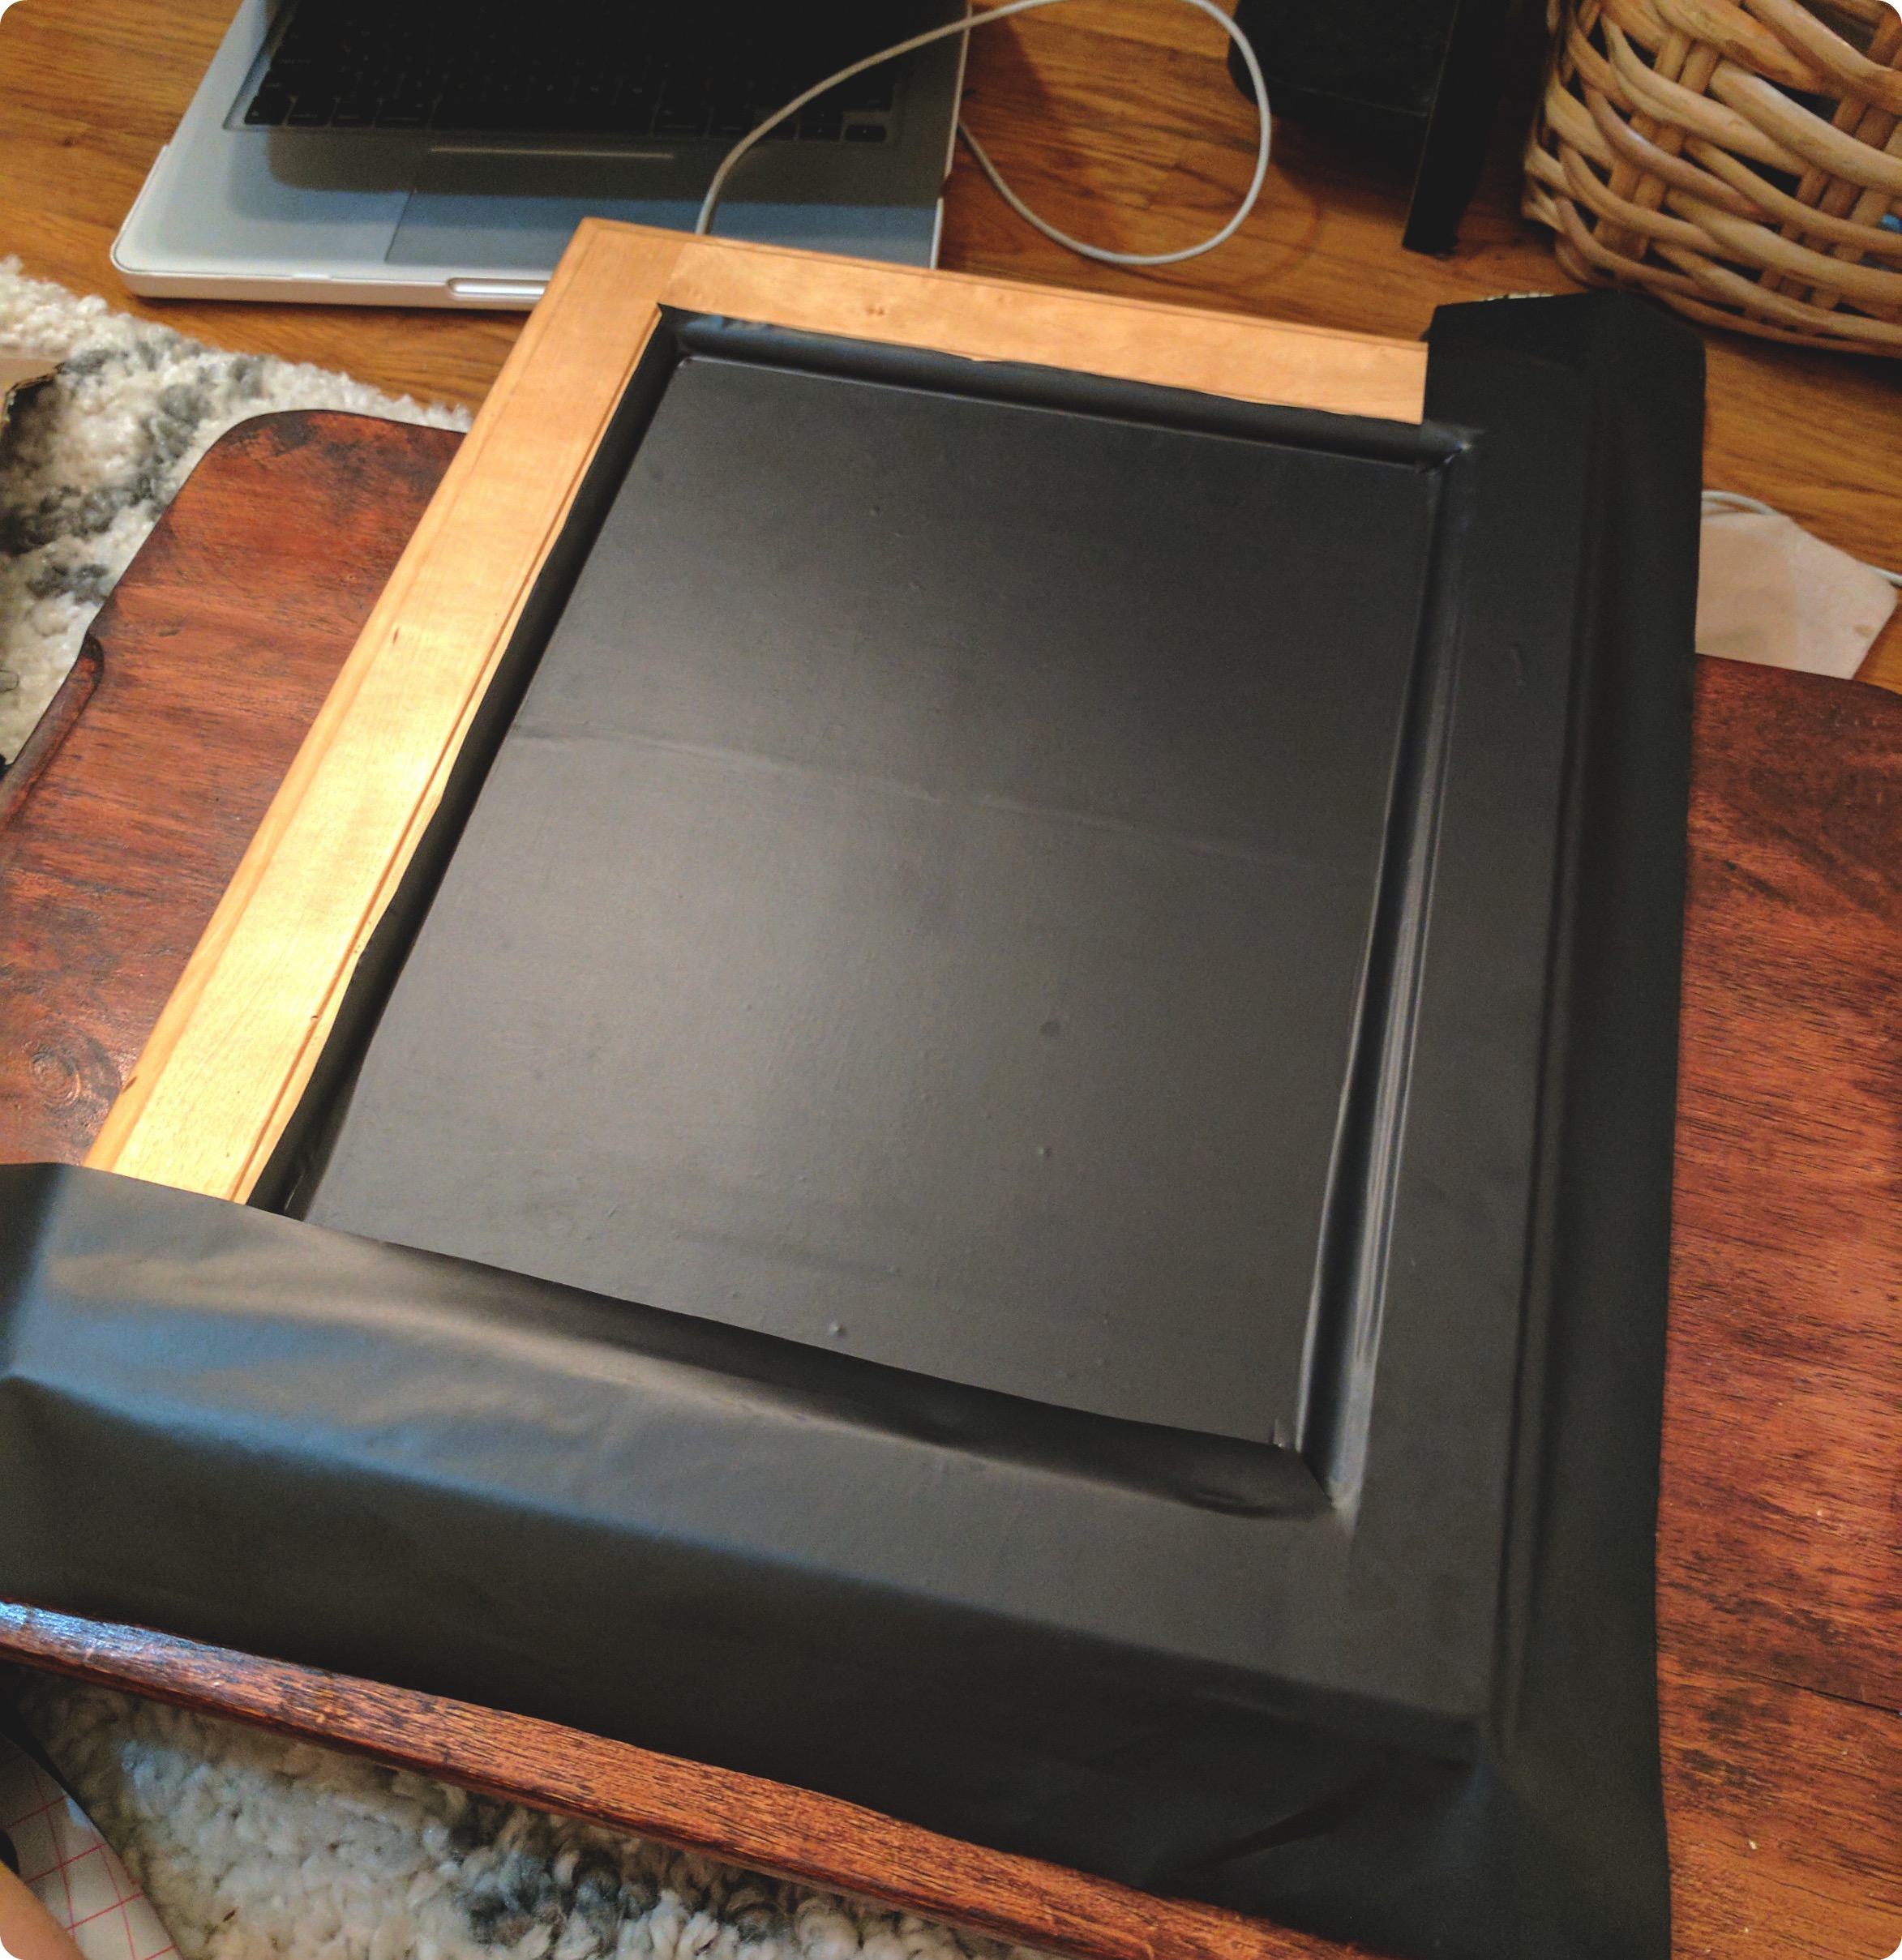
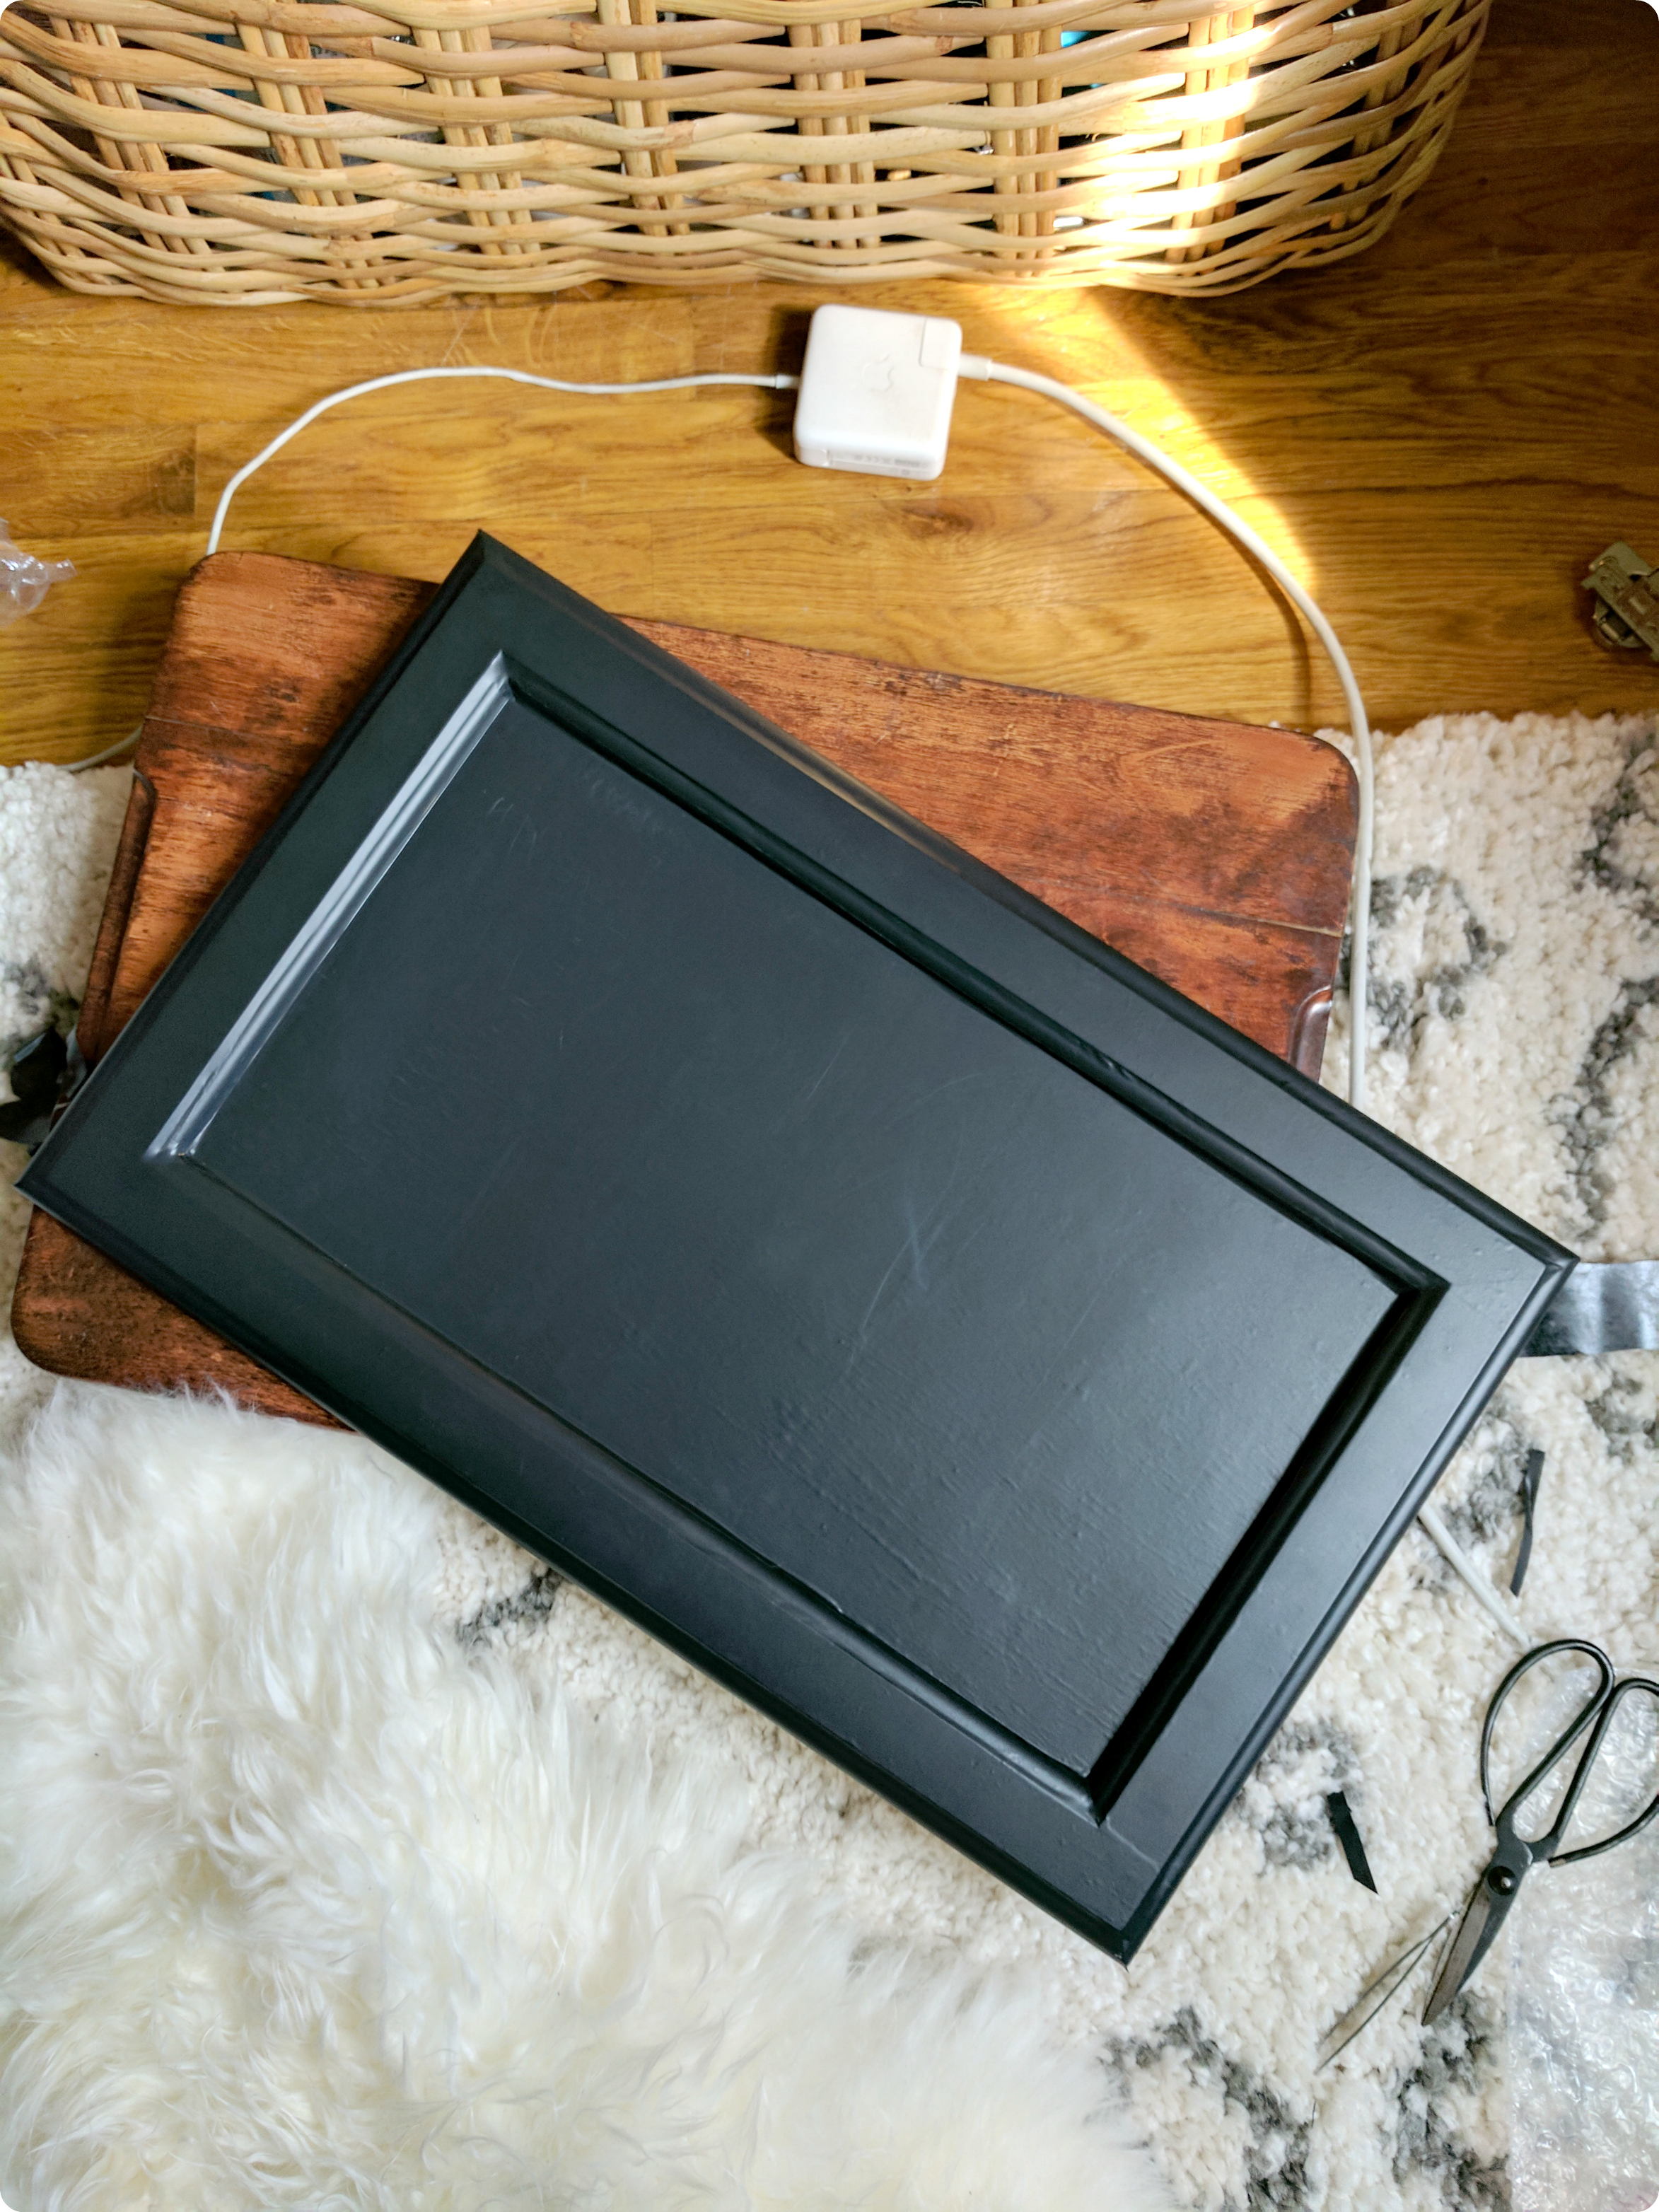
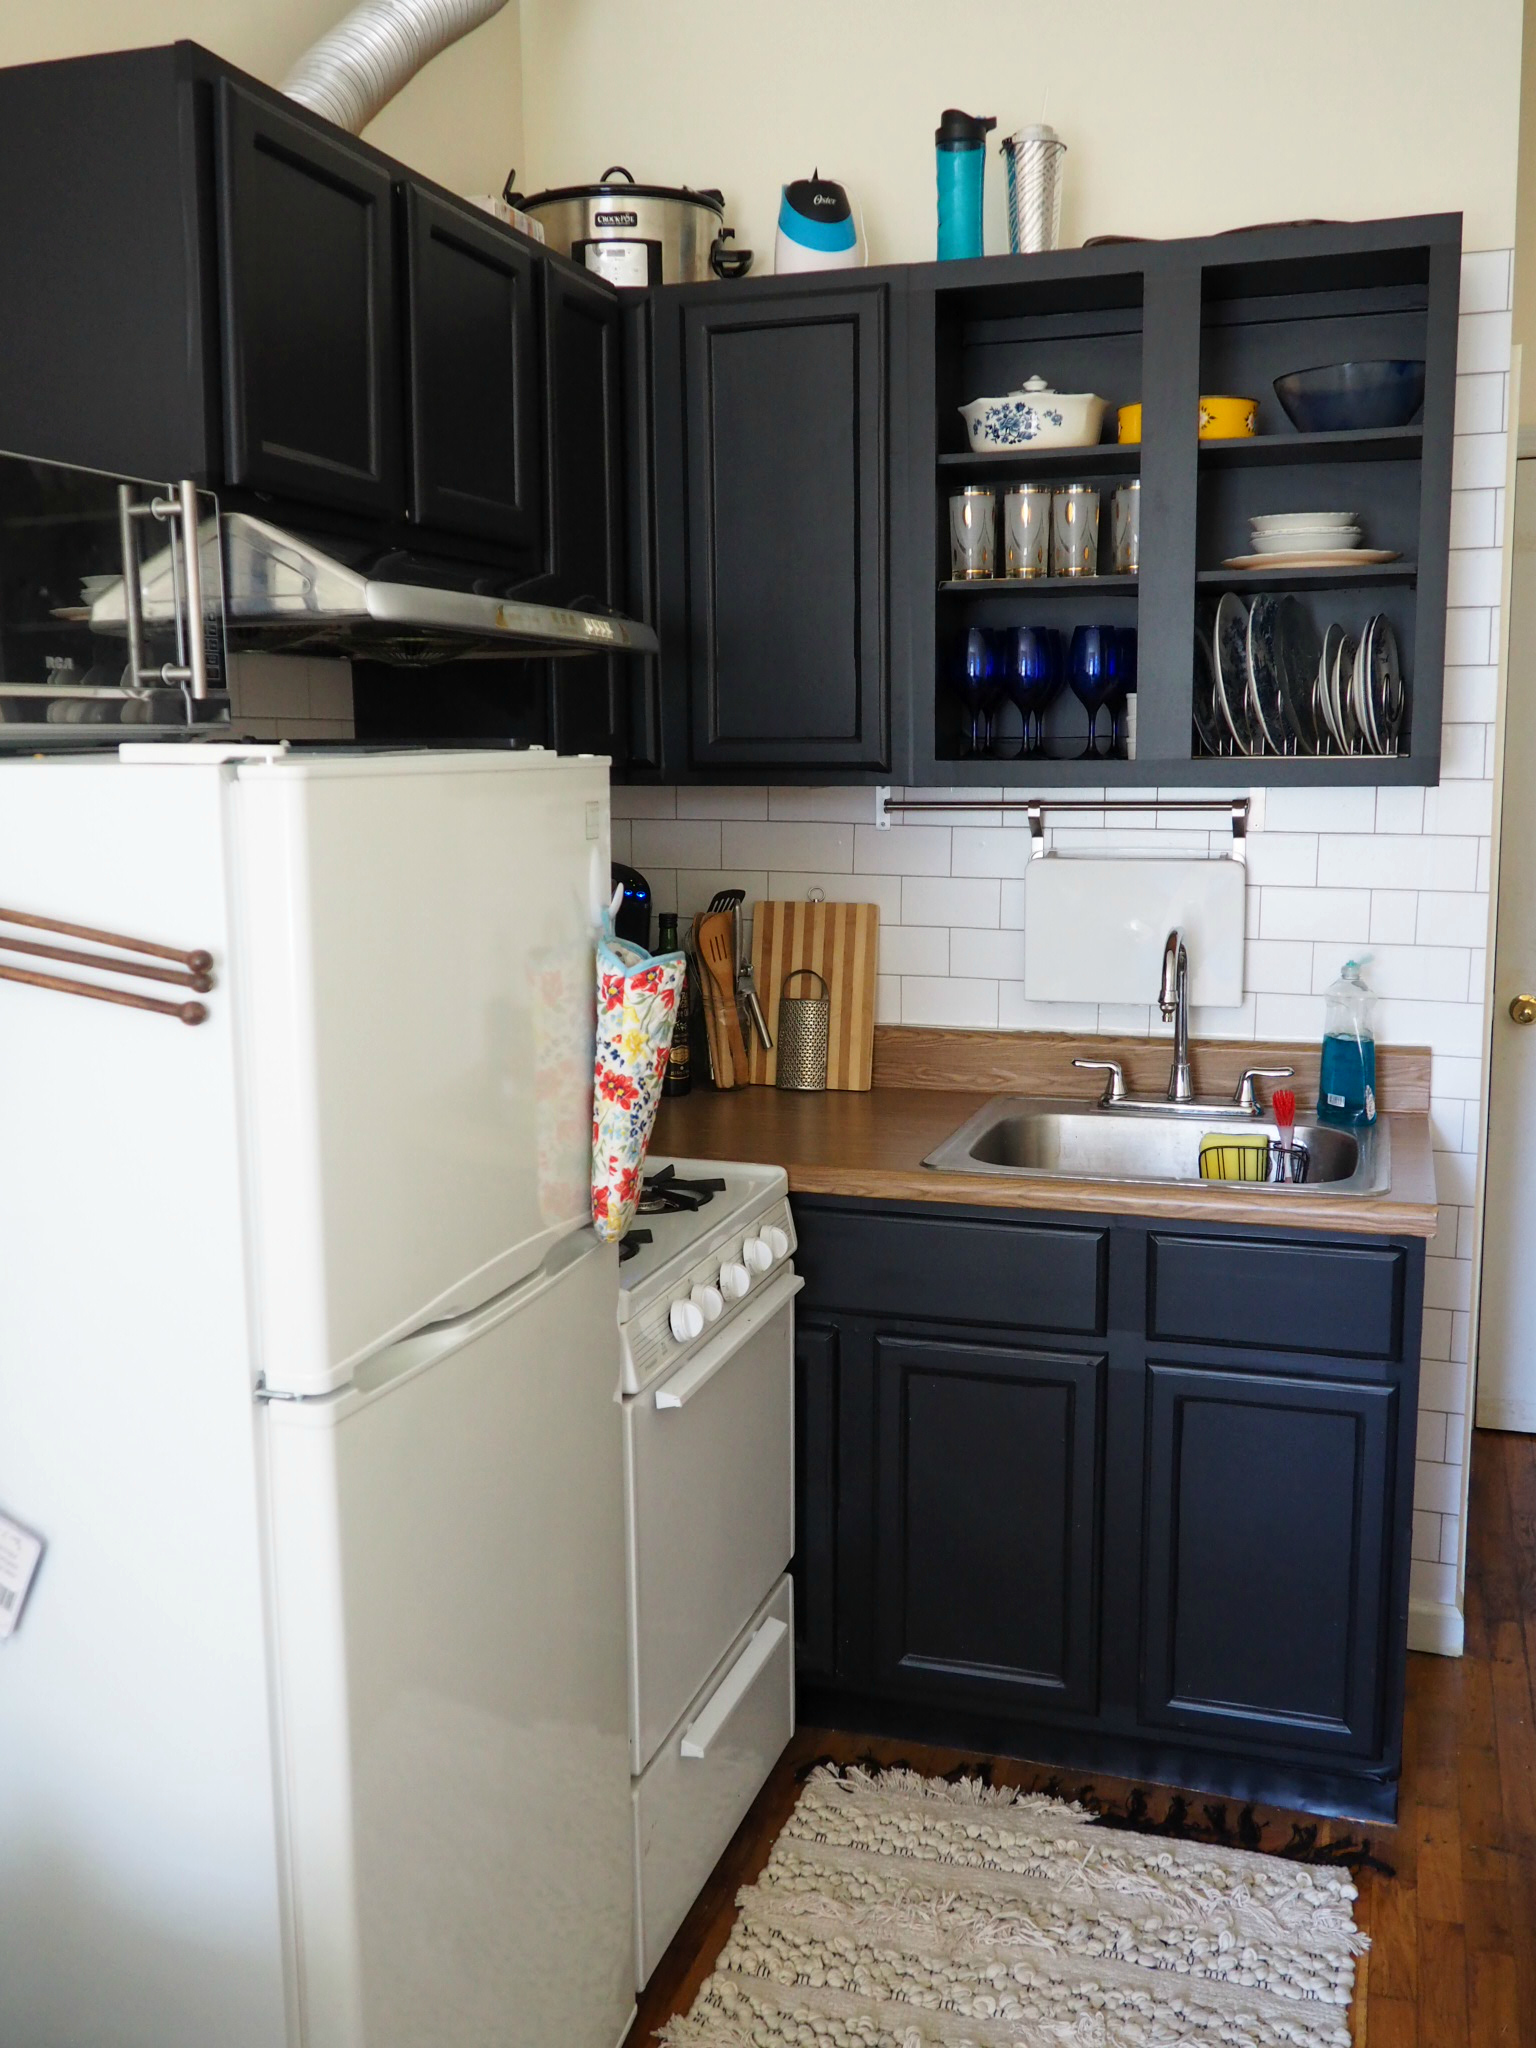
I was initially concerned that cutting the paper so close to the edge would use it to come up, that it would curl back if I didn’t have an inch or two on the back keeping it in place, but it’s been great so far! More than that, I think the finished product is much sleeker without any excess edging on the inside. After repeating this process 4 more times in various sizes I was set!

COVERING…EVERYTHING ELSE

This next step was a little more imperfect, and while I’m sure there’s a more exact way to go about this, I think my way worked out just fine. I covered the sides of my cabinets, the fake “drawers” below my sink, and moved on to the spaces in between cabinet doors, and the kick plate. For these sections, I roughly measured how wide they were, cut pieces from my roll, applied, and trimmed! Since everything at this point was flat, it went much more quickly, barring some raised spots and holes from previous tenants.
I re-installed my cabinet doors and was done! Finished! Almost! Not really! I decided to go one step further and keep off two of my doors, since I have some great gold drinking glasses and mismatched blue china. After buying some new wine glasses that fit the theme and were presentable enough to be out in the open 24/7 (and were super cheap, dollar tree holla!), I set to work lining the inside with the same black paper.

While I am ashamed to say this, it took me about a month to get around to actually lining the inside. While not atypical in terms of my project procrastination, it is something I’m working on! The inside was more difficult to line in terms of measuring (due to the bar in the middle of the cabinet I had to work around), as well as application (shelf supports, uneven construction), and general impatience (a theme I’m finding). Luckily, since it’s hidden by dishes most of the time, and thanks to the black paper again, it’s ok that the inside is not perfect. I’m in love with the finished product and really think that it looks about 10x better than the builder’s grade cabinets I started out with!

Overall I ended up using around 10-12 rolls of Contact Paper on the cabinets, and spent $80-$100 (I didn’t keep an exact count, since I made 2 trips for the rolls). But, as I said earlier, if you go with a longer roll I’m sure you would spend less, I’m pretty sure I went with the relatively “expensive” option when I chose convenience over price.


Check out Parts 2, 3, & 4 of this series!

Kitchen Update Part 2: Countertop

Kitchen Update Part 3: Backsplash

Kitchen Update Part 4: The Follow Up!