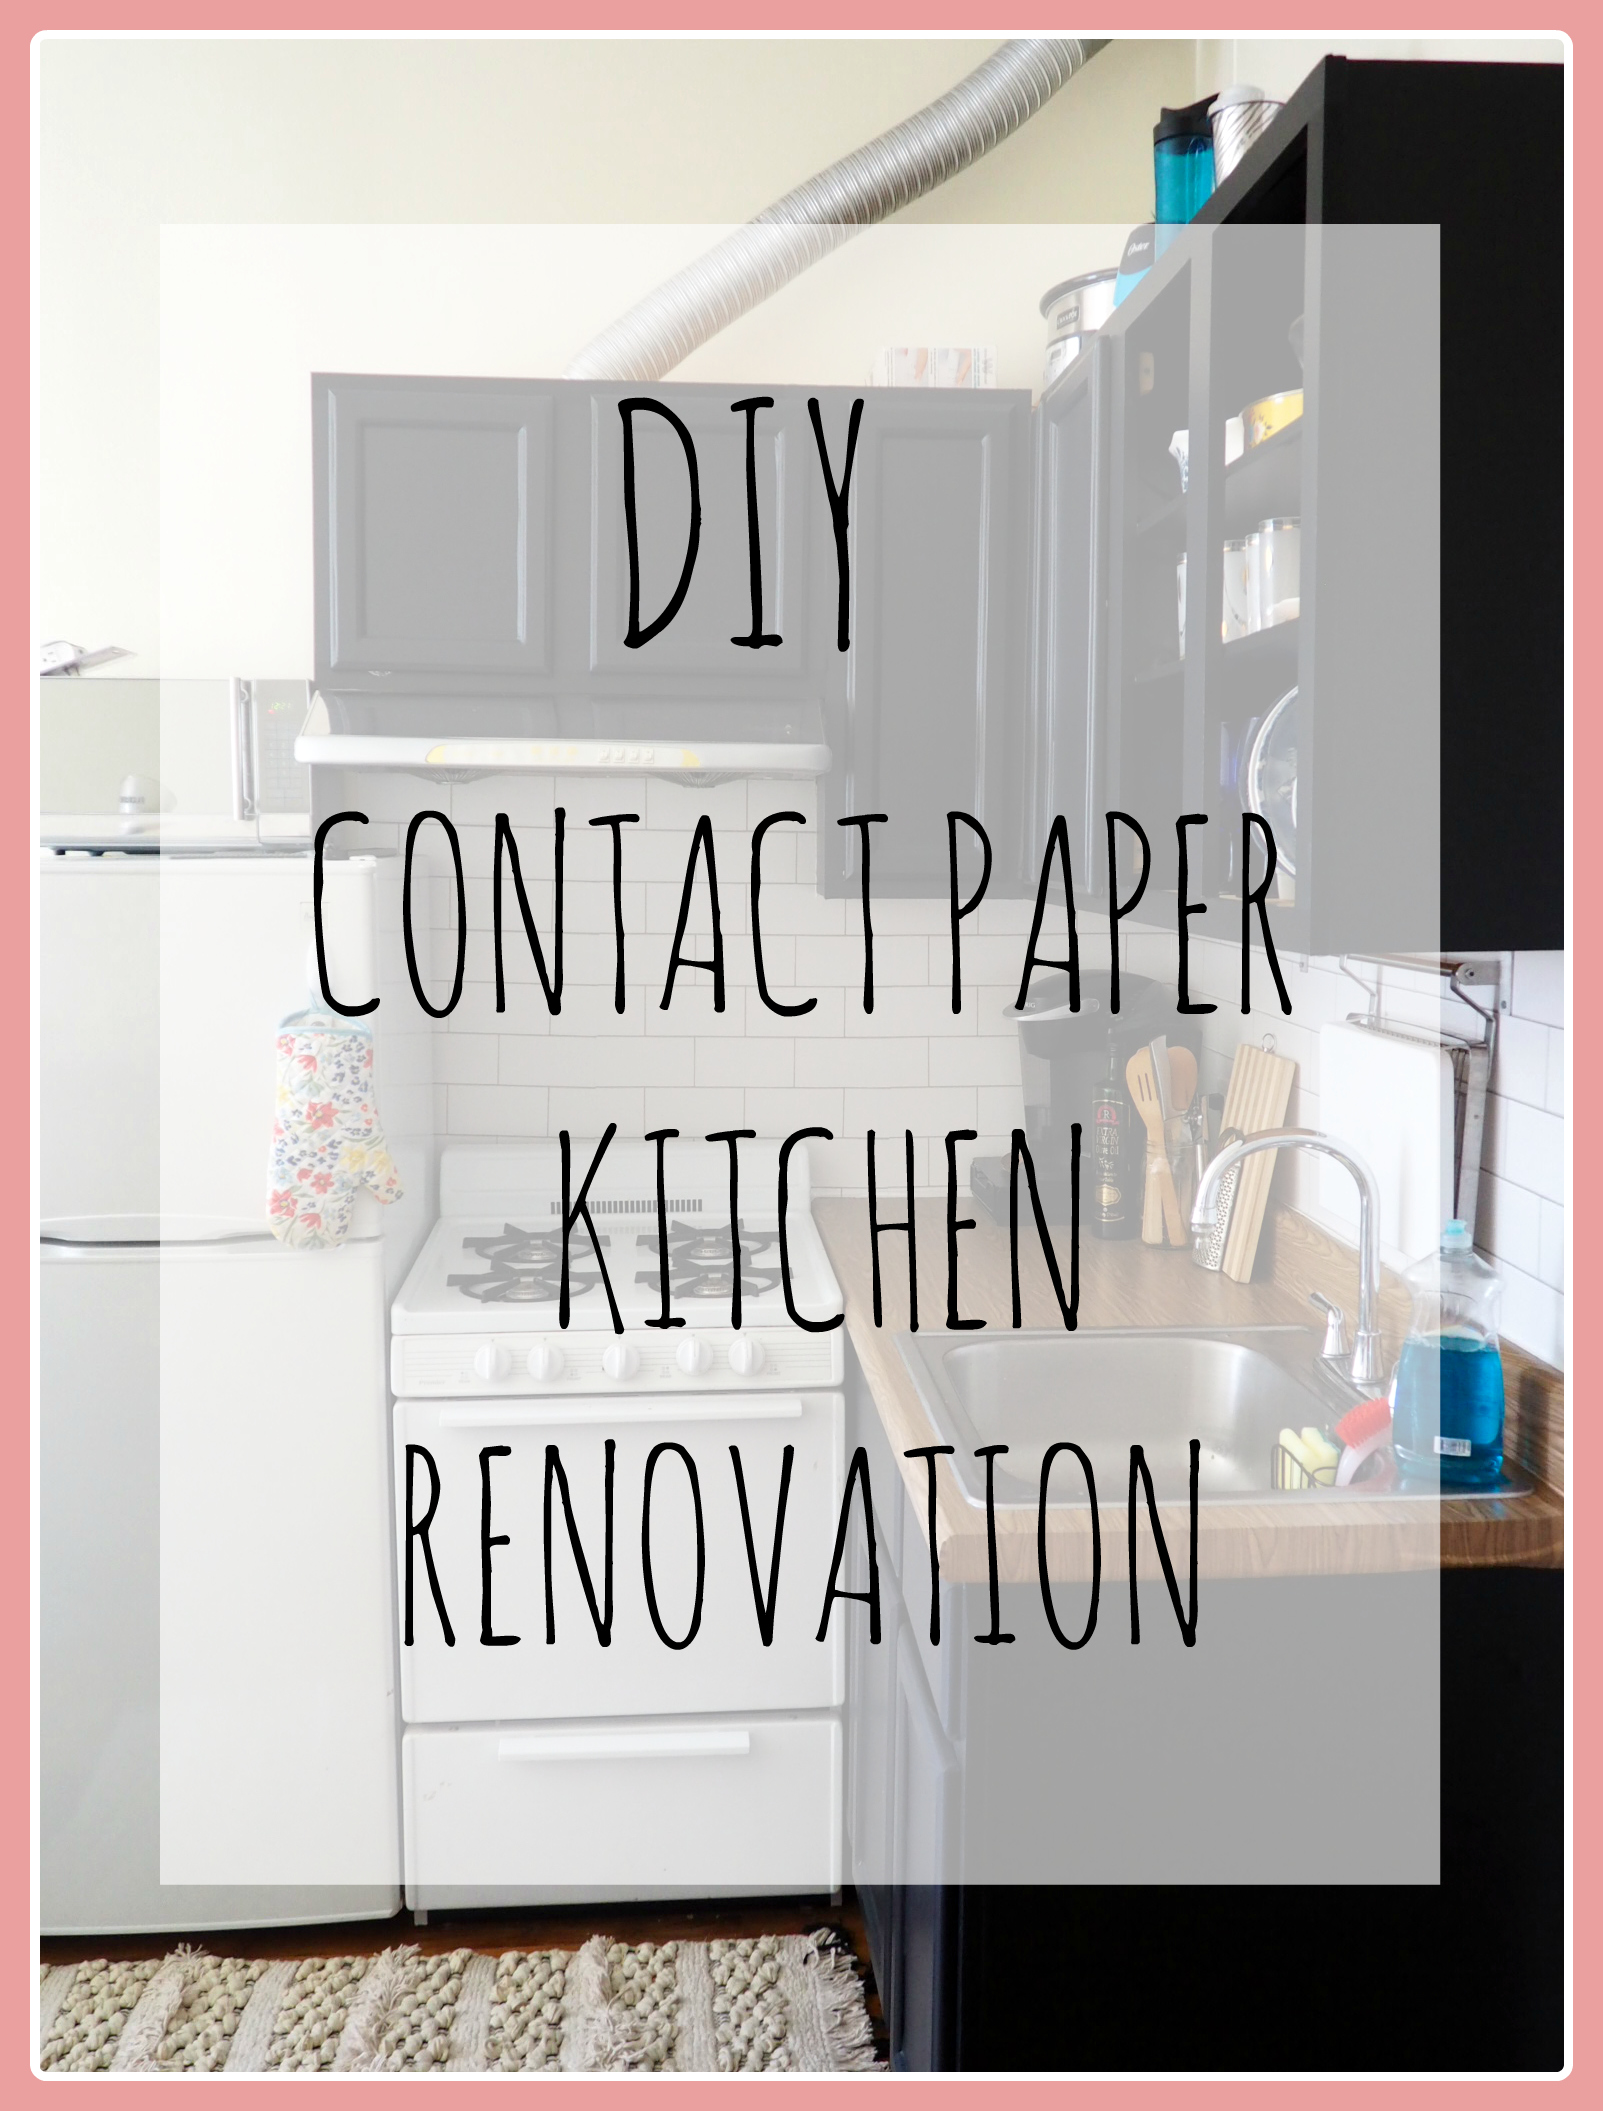
TEMPORARY SPACE, SERIOUS STYLE:
MY REMOVABLE KITCHEN REMODEL
This post may contain affiliate links.
MATERIALS AND PREP
YOU’LL NEED:
- BLACK CONTACT PAPER
- SCISSORS
- UTILITY KNIFE
- HAIR DRYER
- CREDIT OR GIFT CARD
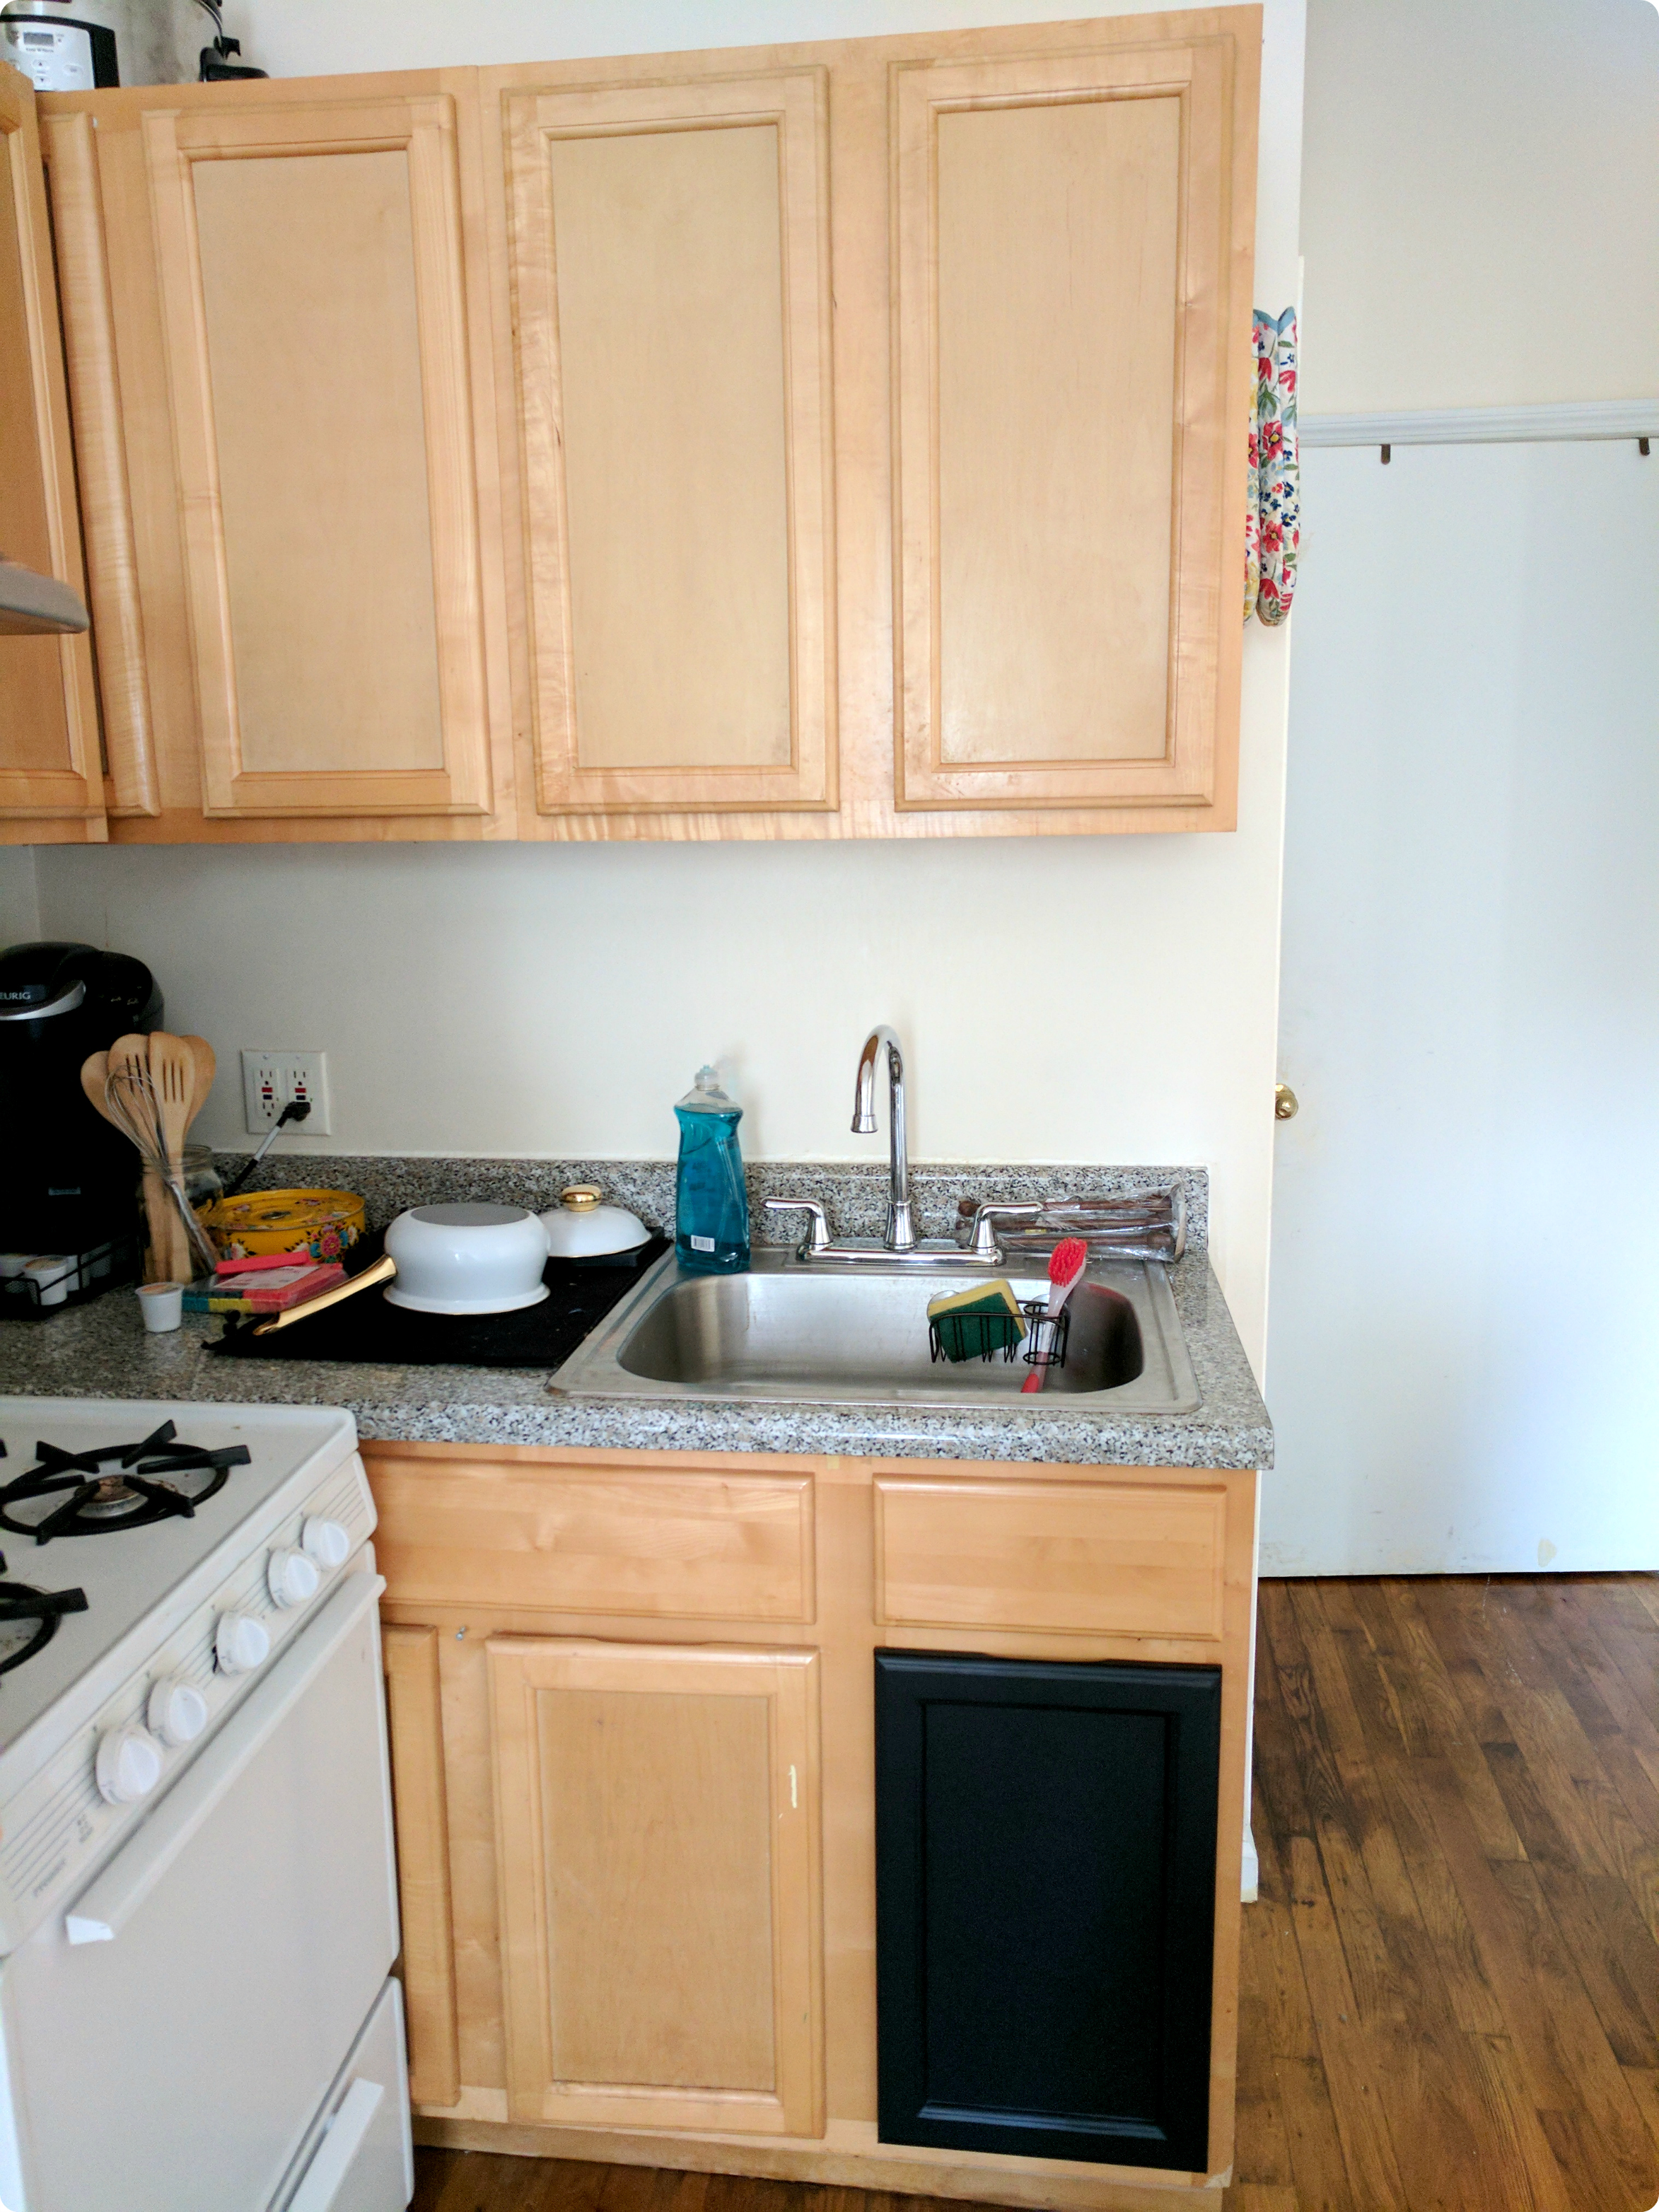
The first step is to remove all of the cabinet doors and thoroughly clean everything. The paper won’t stick to a dirty or dusty surface so this step is important! I started with the cabinet doors first since I could cover them while watching Fool’s Gold, which let’s be honest, is my go-to background entertainment for almost every occasion.
APPLYING YOUR PAPER

COVERING CABINET DOORS
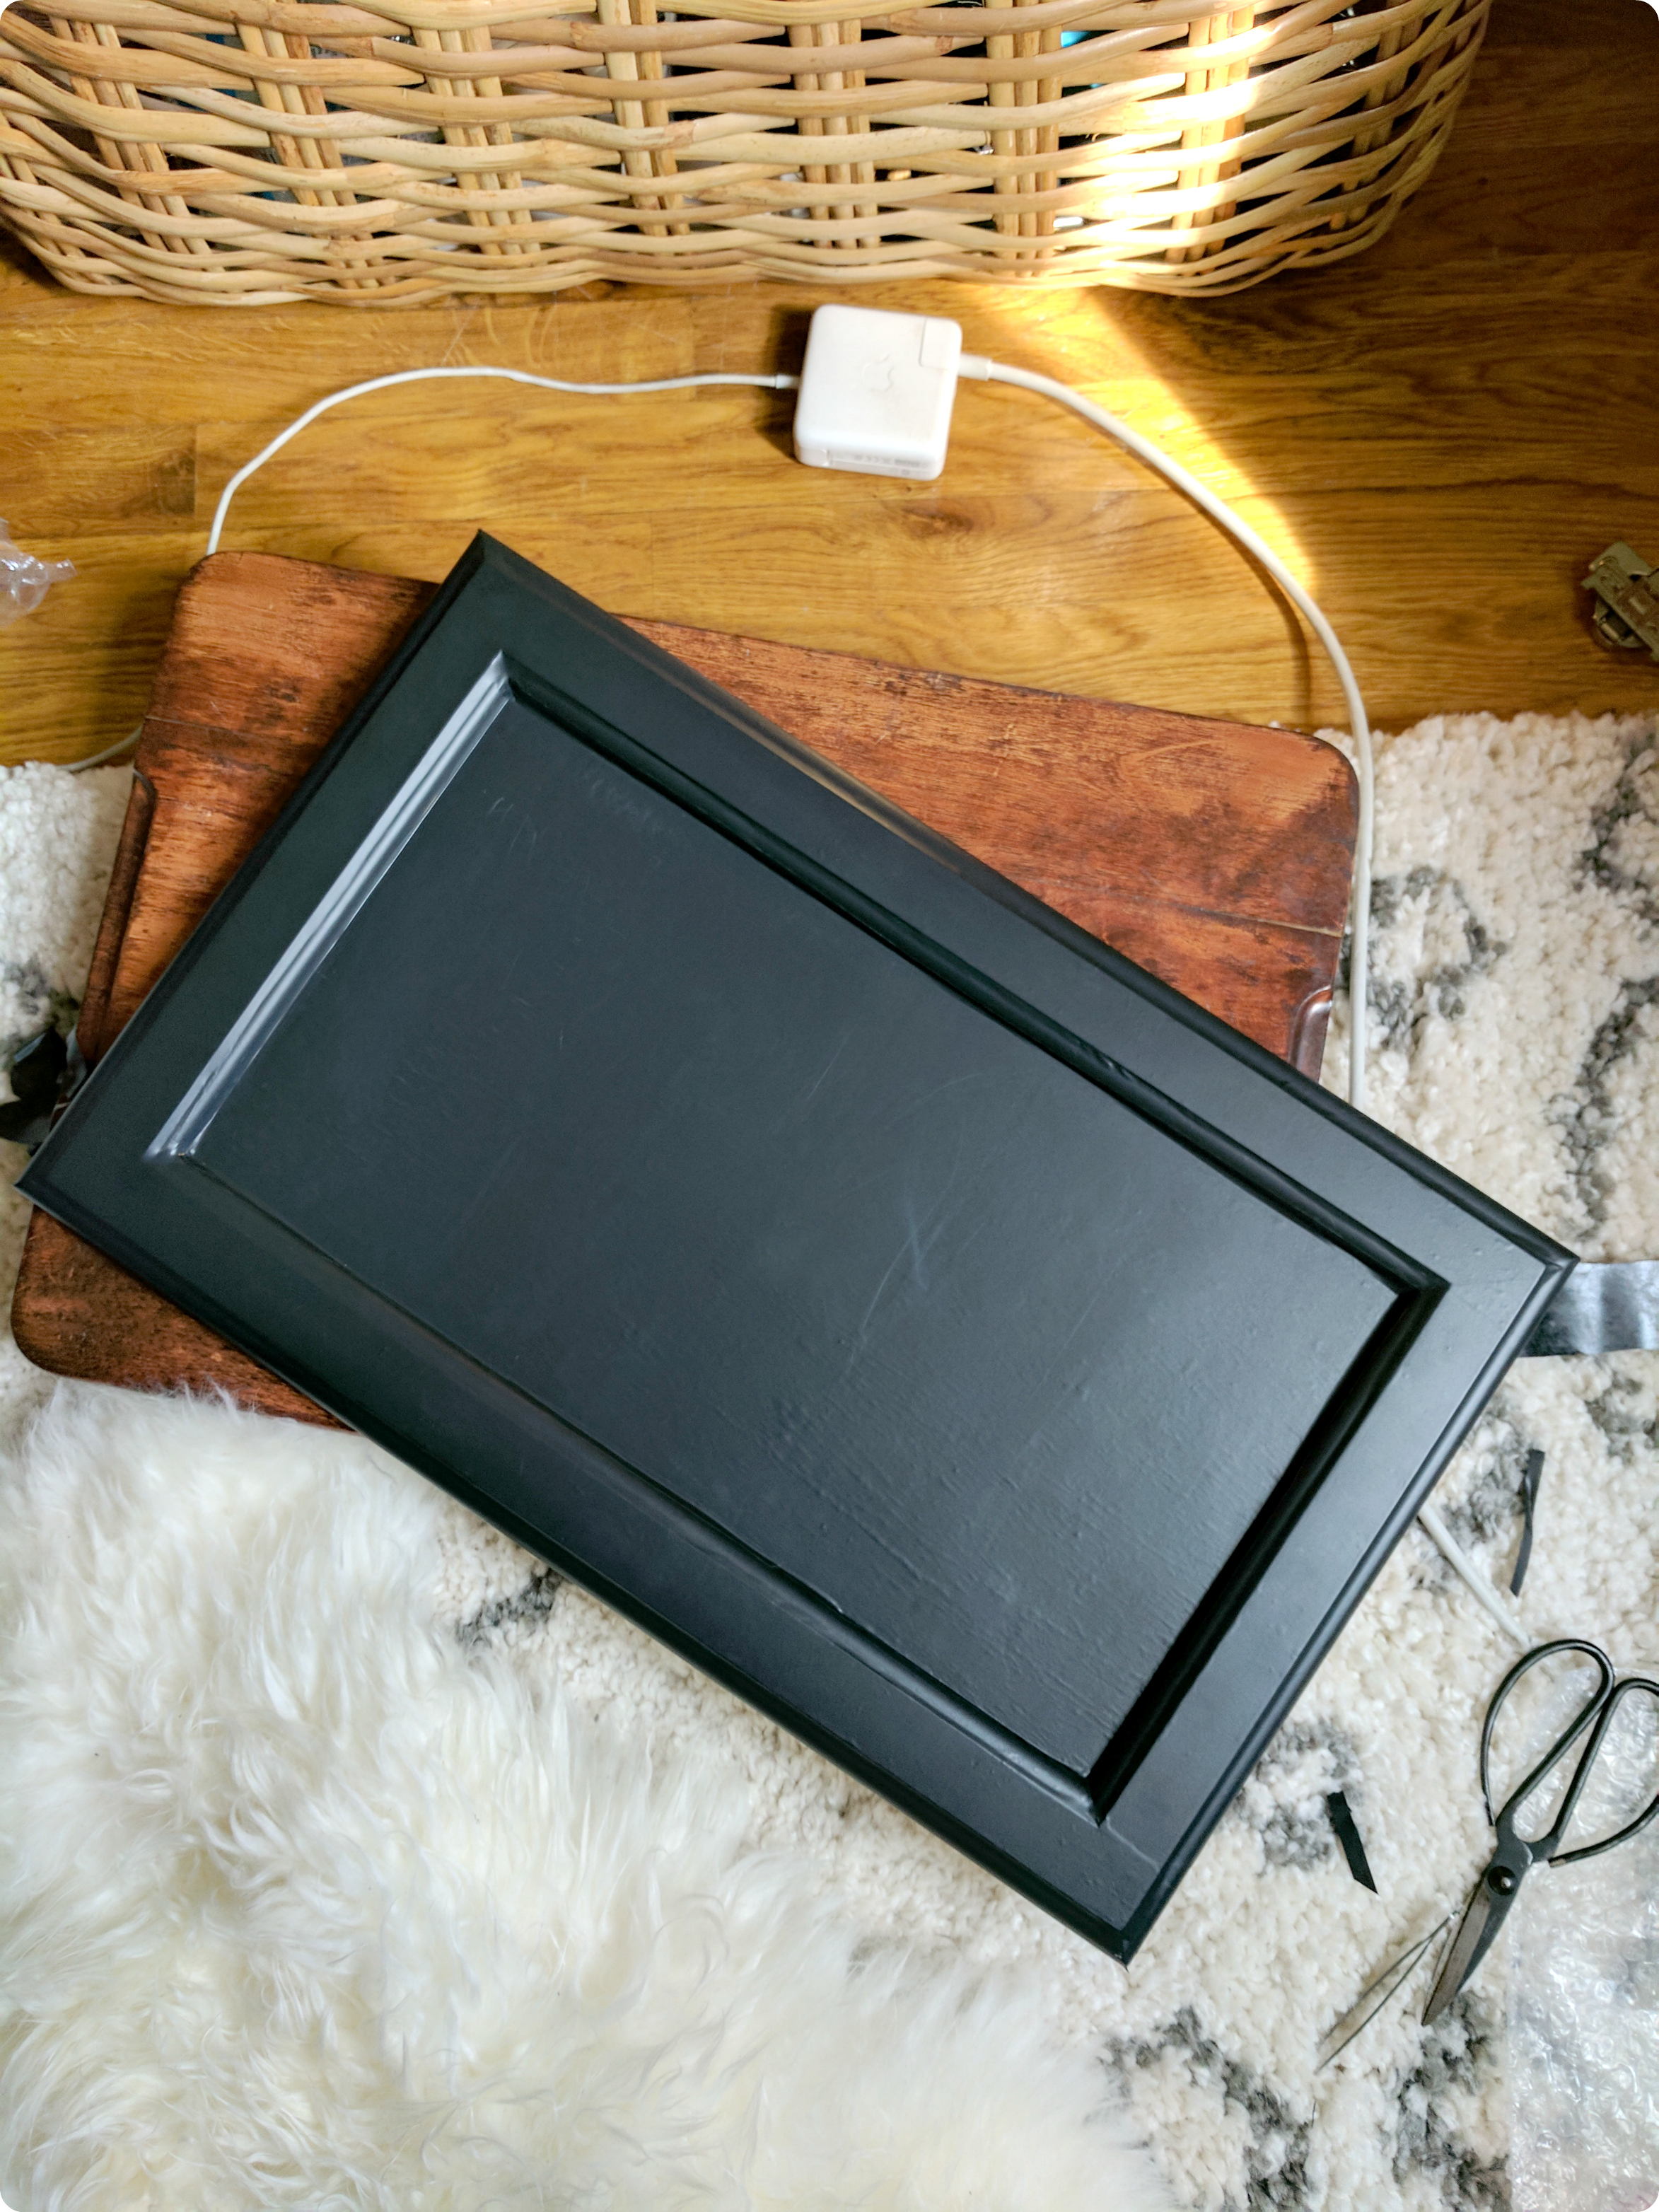
I was initially concerned that cutting the paper so close to the edge would use it to come up, that it would curl back if I didn’t have an inch or two on the back keeping it in place, but it’s been great so far! More than that, I think the finished product is much sleeker without any excess edging on the inside. After repeating this process 4 more times in various sizes I was set!
COVERING…EVERYTHING ELSE
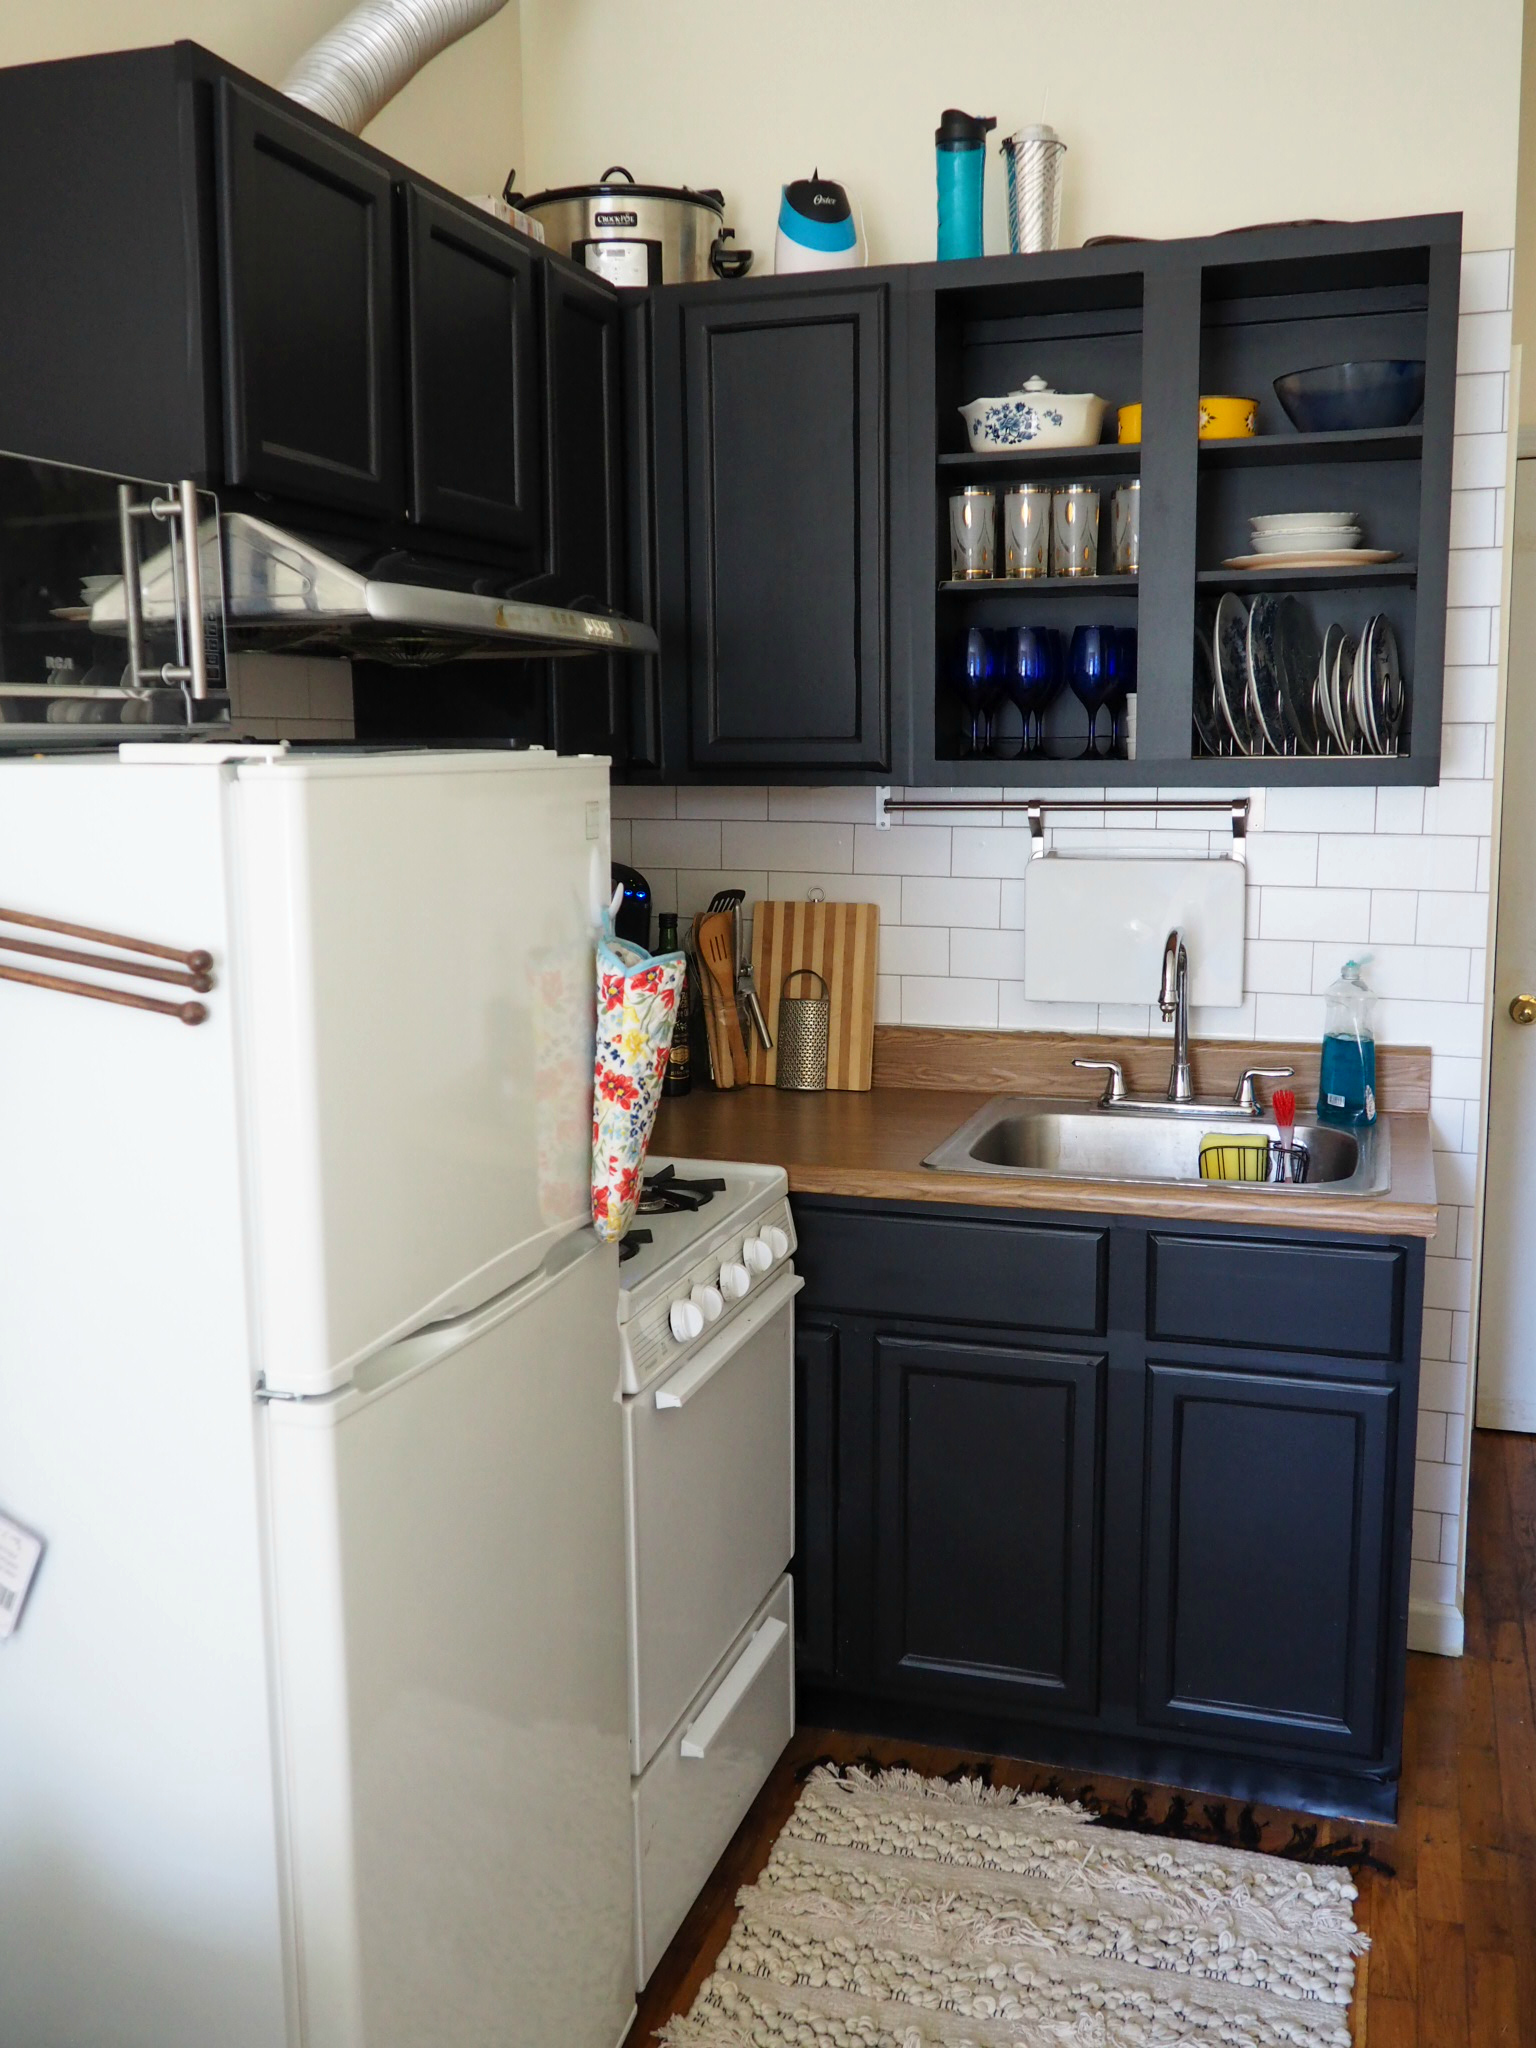
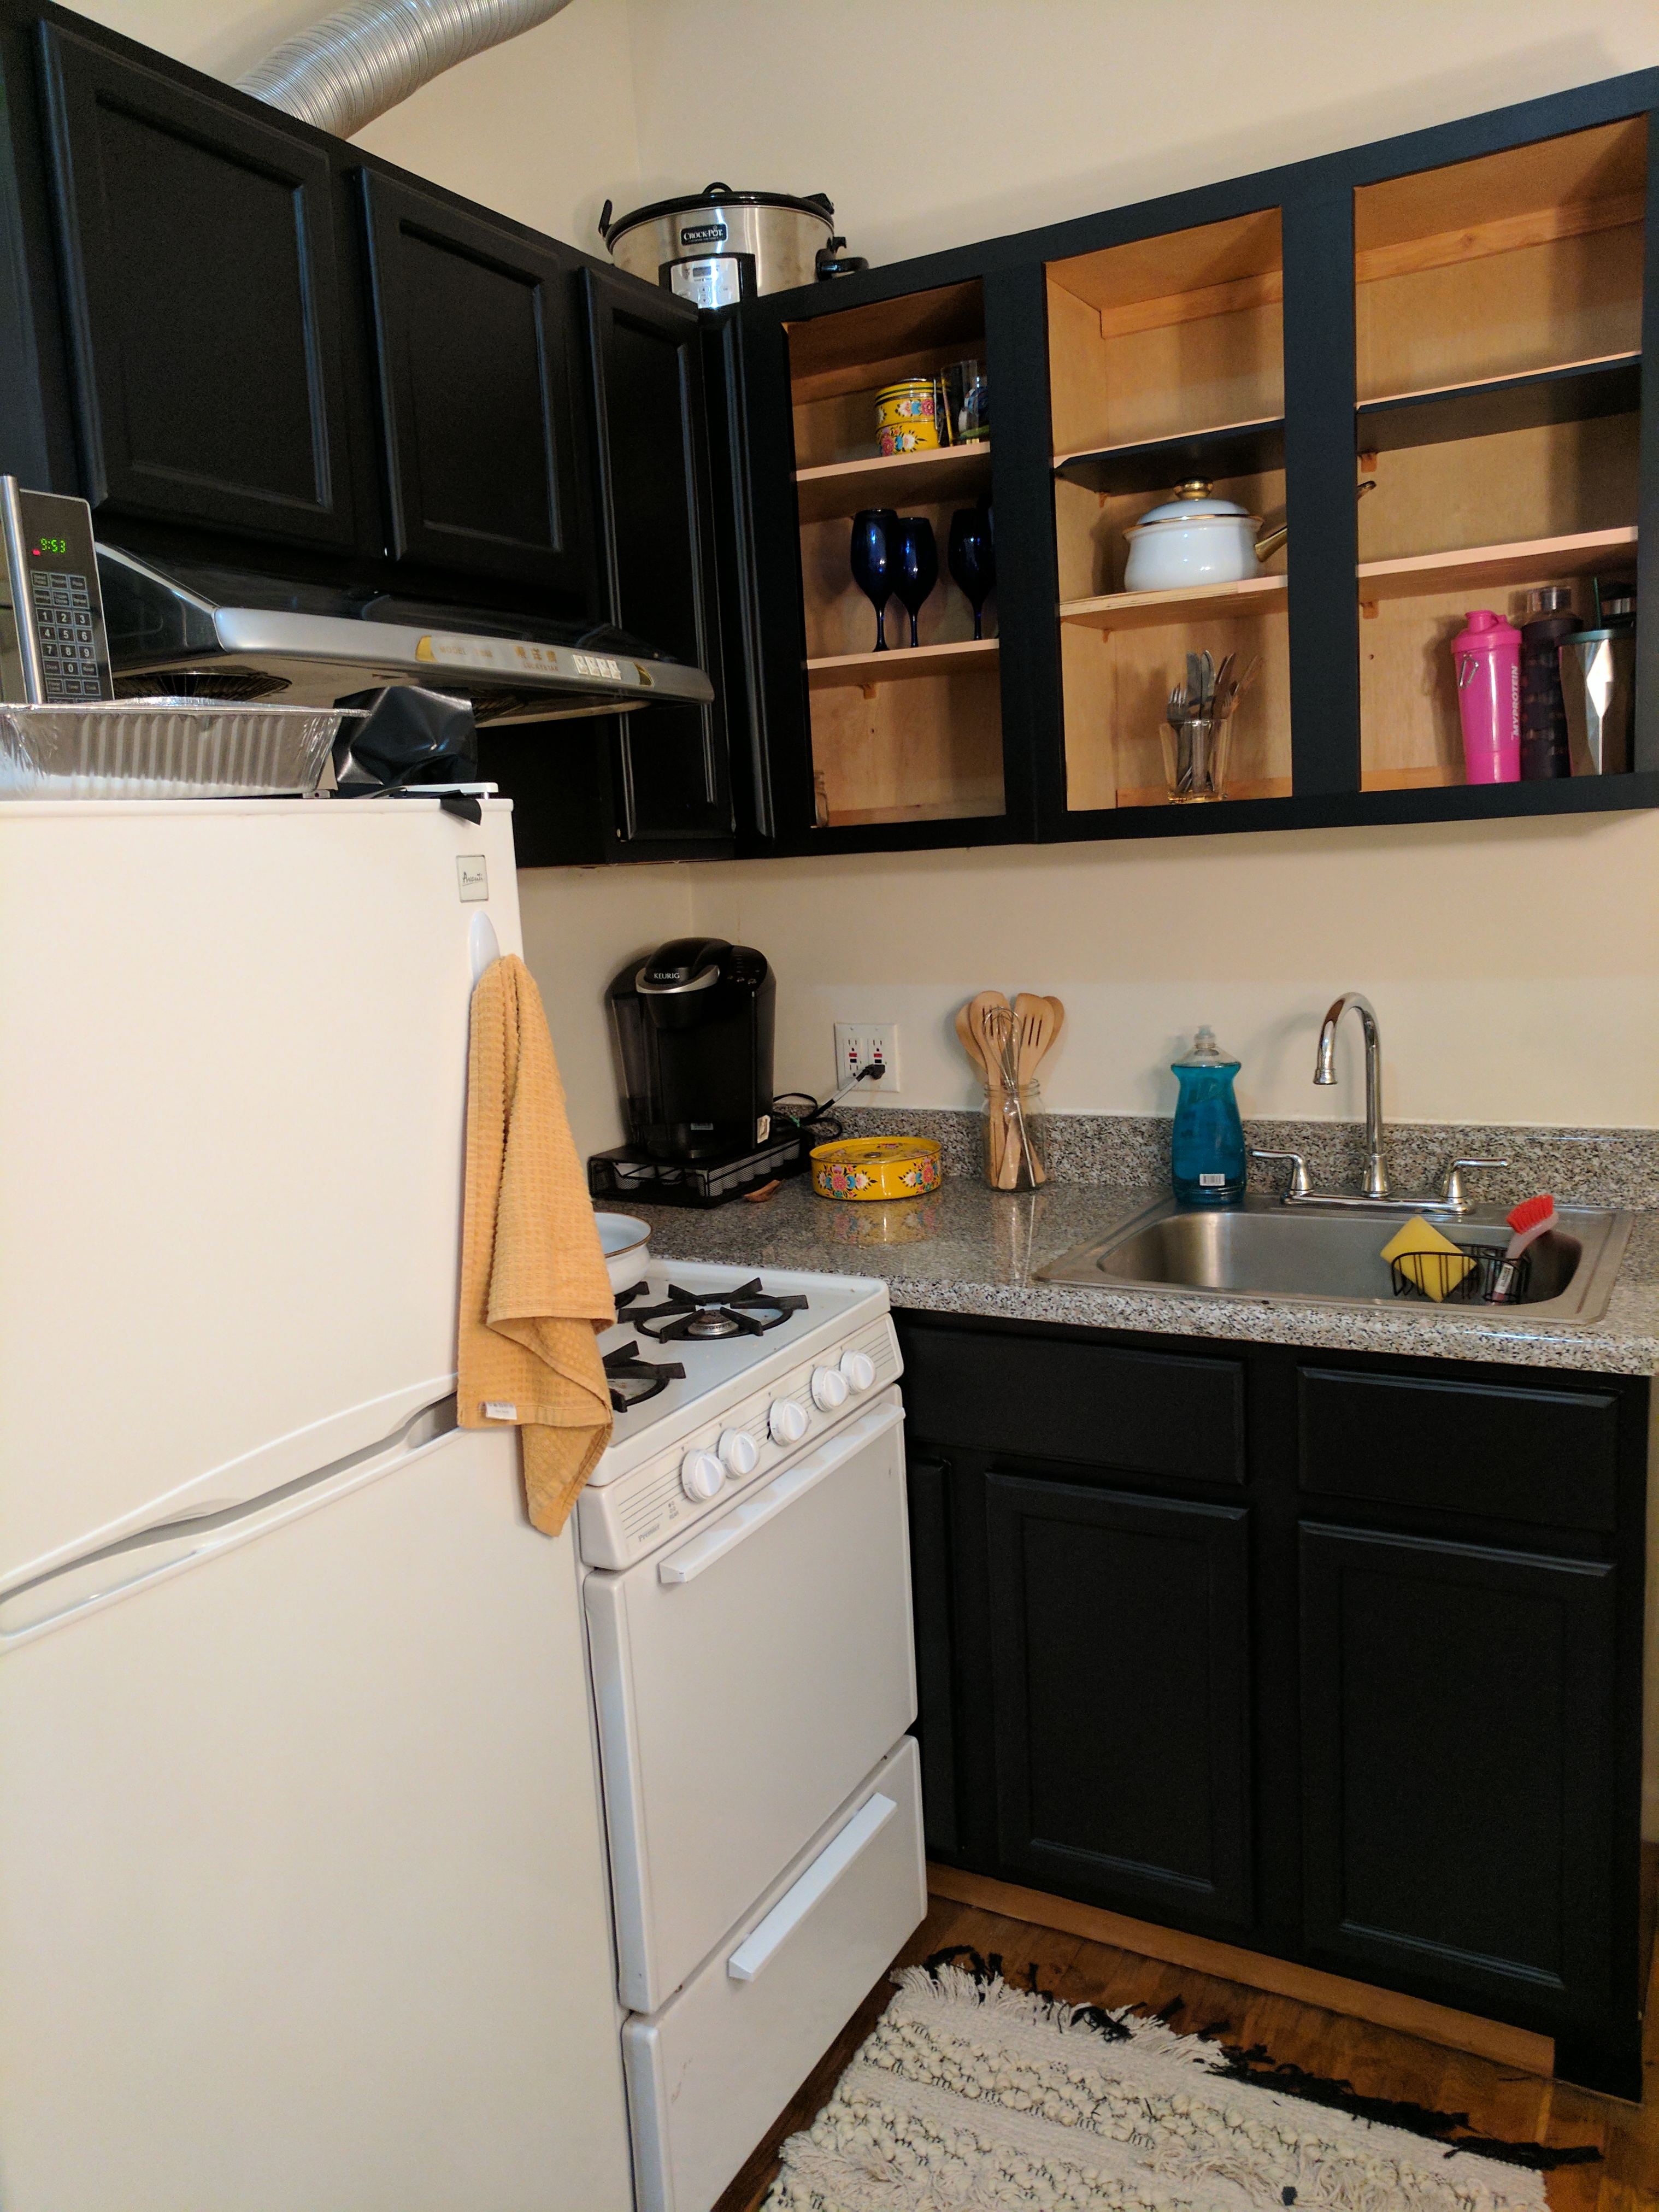
While I am ashamed to say this, it took me about a month to get around to actually lining the inside. While not atypical in terms of my project procrastination, it is something I’m working on! The inside was more difficult to line in terms of measuring (due to the bar in the middle of the cabinet I had to work around), as well as application (shelf supports, uneven construction), and general impatience (a theme I’m finding). Luckily, since it’s hidden by dishes most of the time, and thanks to the black paper again, it’s ok that the inside is not perfect. I’m in love with the finished product and really think that it looks about 10x better than the builder’s grade cabinets I started out with!
Check out Parts 2, 3, & 4 of this series!
Kitchen Update Part 2: Countertop

